Categories
YouTube

Misoyaki Butterfish

Today we’re making misoyaki butterfish from the Aloha Kitchen Cookbook! This is another redemption from a member of our Twitch community, this time from Blacklash.

You’ll probably be seeing a lot of recipes from this cookbook – not only because everything looks delicious, but because there’s also a lot of overlap between the recipes in this book, and the Japanese-American recipes I grew up with.

Beef teriyaki, somen salad, manju… all foods from my childhood, and as far as I can tell, all very similar to my family’s recipes!

But today, we’re making something that I didn’t grow up with.

Back when Son and I were practically babies (we’ve been together for over 15 years – so anything from the first few years of our relationship feels like a lifetime ago!), the first big trip we ever took together was to Hawaii, right after I graduated from college, three years into our relationship.

It was our first big foodie trip – first time eating poke, first time we ever had real ramen, first time dressing up and going to fancy(ish) restaurants.

A couple of the nicer restaurants we went to had misoyaki butterfish on the menu.

We tried it, and were in love – but never quite realized what butterfish was.

Years later, I made miso black cod at home a few times – but still never realized what butterfish was.

Then I read misoyaki butterfish recipe, which calls for black cod, as “butterfish” is not actually a type of fish, and… HOLY SHIT I’VE BEEN MAKING MISOYAKI BUTTERFISH ALL THIS TIME?!?!

I’m observant, I swear.

This misoyaki butterfish recipe is super easy to make! The most time-consuming hands-on part of the recipe is the sauce.

Start with brown sugar, for a bit more depth than white sugar, but not so opinionated of a flavor as honey or maple syrup would give.

Next miso – a paste made of fermented soybeans, salt, and koji, a type of fungi.

I’ve run out of normal cooking sake and we haven’t been daring/desperate enough to venture out to the Japanese supermarket quite yet. But we just happened to have this bottle of sake which has been sitting in our fridge for ages… and we don’t really drink alcohol… so I’m being a little fancy. But ordinarily, cheap cooking sake is totally fine.

Aji-mirin, another type of rice wine. It has a higher sugar content than sake, and is often added for sweetness.

A little rice vinegar, to add some tang.

A bit of shoyu (Japanese soy sauce).

Lastly, peel a piece of fresh ginger (I like to use a spoon – the skin peels off easily, and you don’t waste as much ginger as you would if you use a knife or peeler!) and grate it into the pot, then simmer it all together for an hour.

Marinate the black cod in the sauce and refrigerate it for a couple of days, turning occasionally so it’s evenly marinated. I like to put the ziplock in a study container, so there’s no risk of it accidentally spilling all over my fridge.

After all that – all you have to do is broil it! Wipe off most of the marinade and place on an aluminum foil-lined baking sheet, then broil until the fish just starts to blacken at the edges.

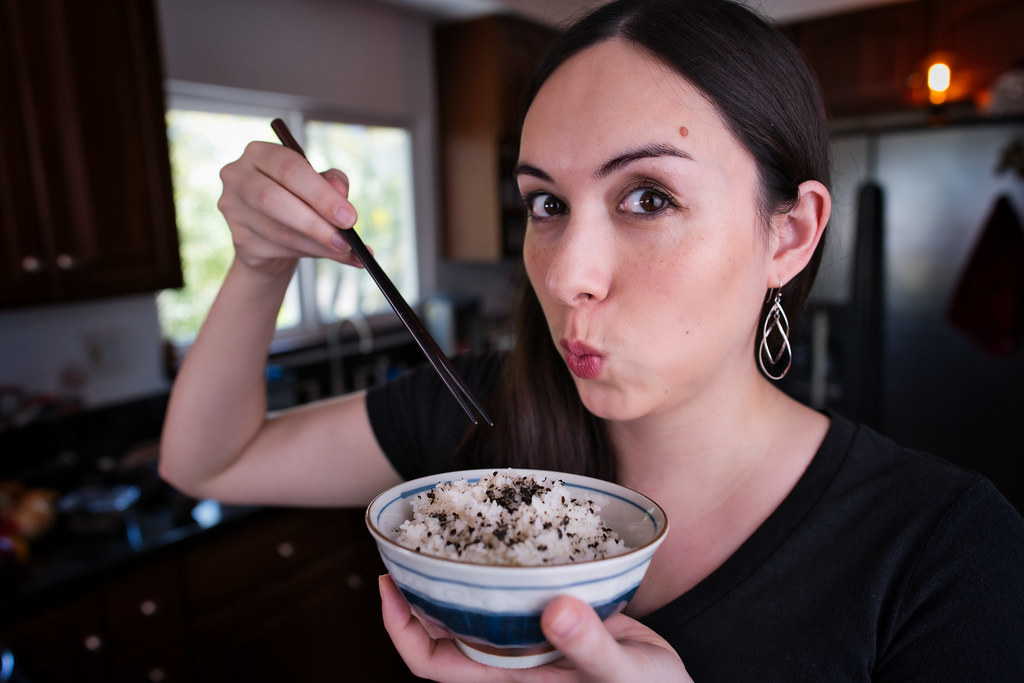
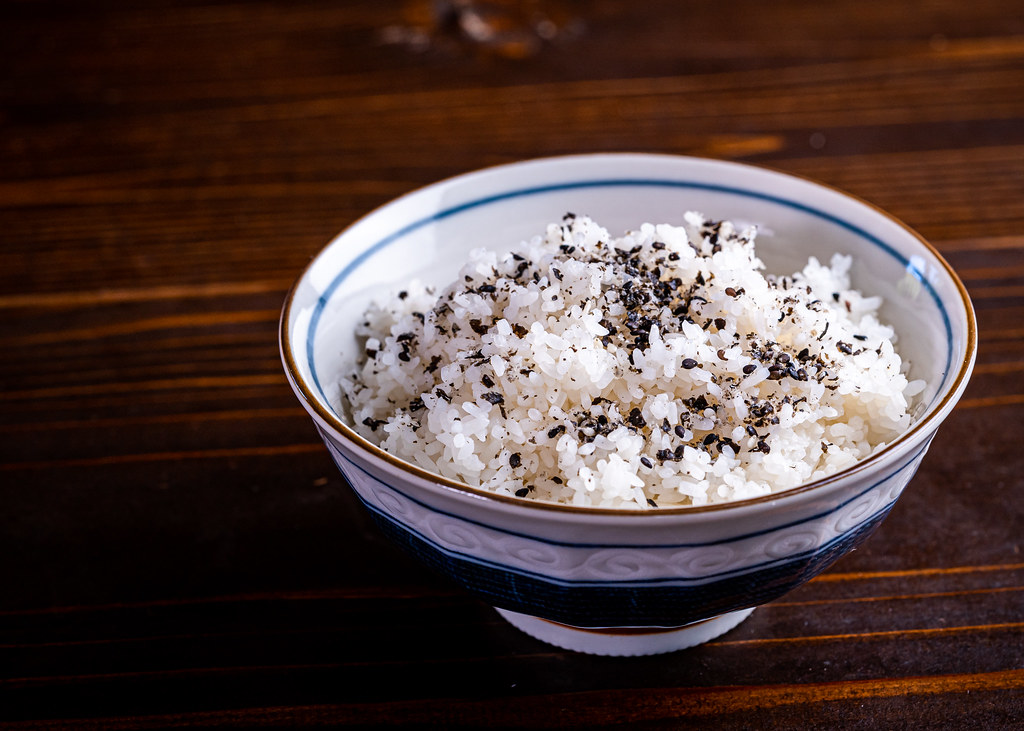
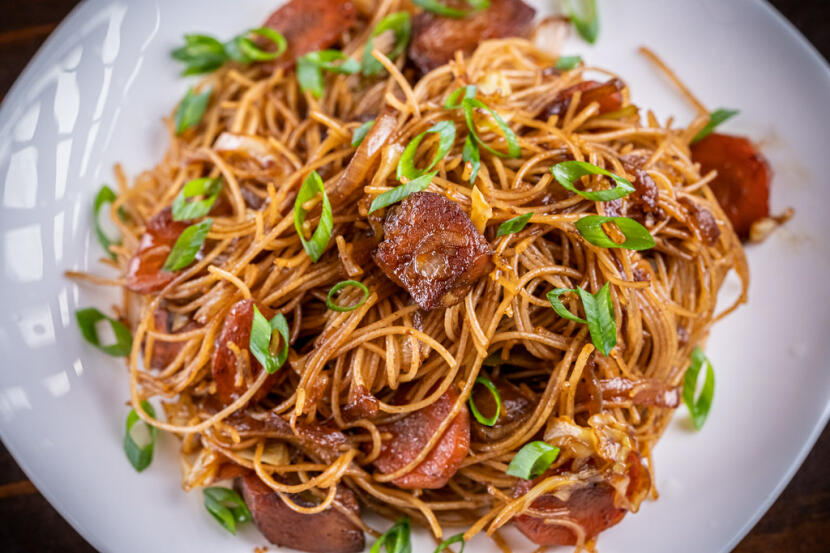
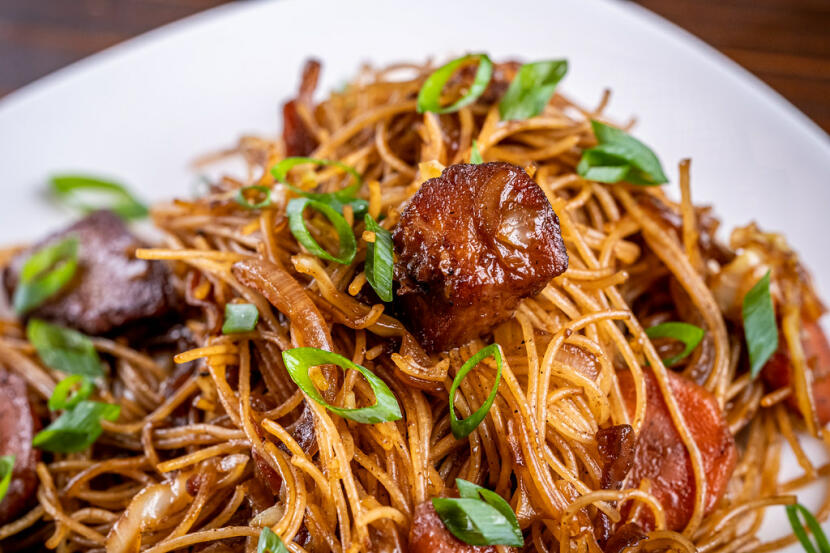
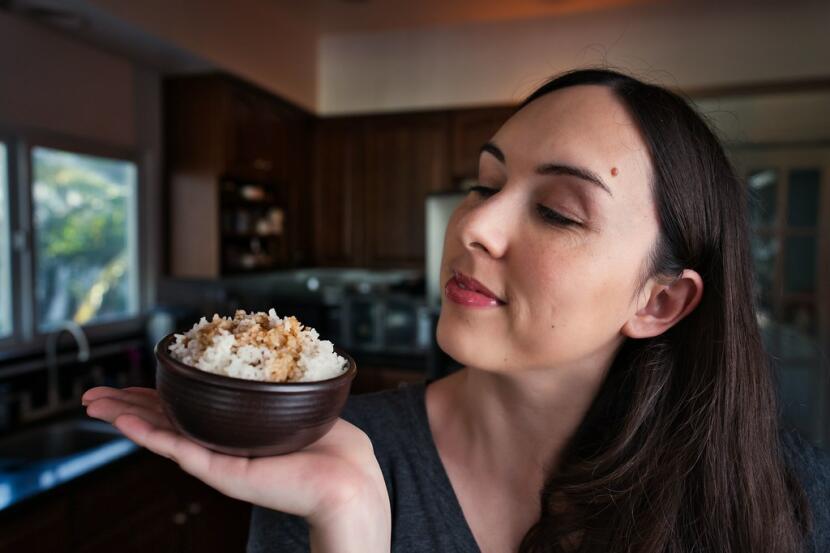
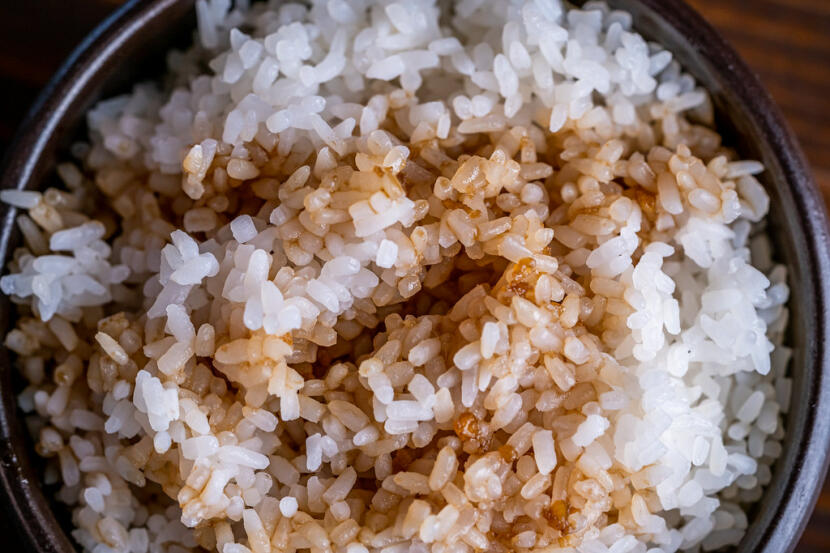
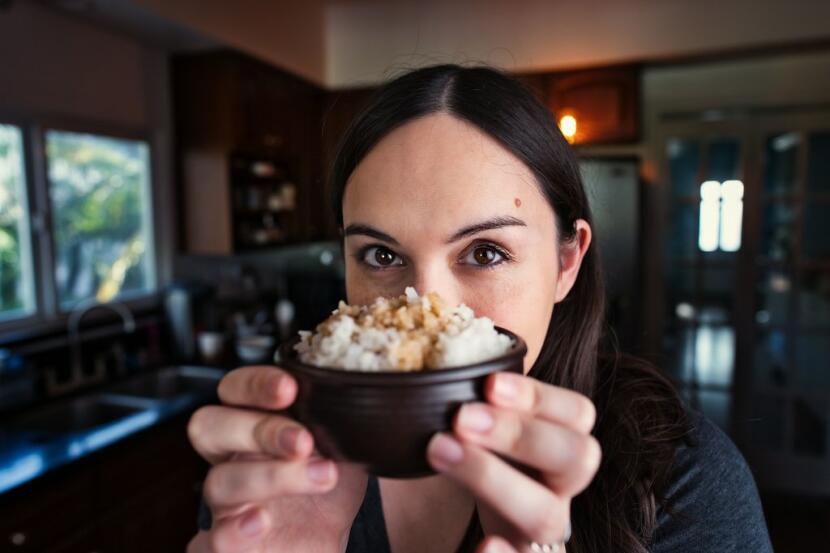
Serve it over rice, with steamed veggies and that furikake we made a few days ago.

Ginger Misoyaki Butterfish

from Aloha Kitchen

Ingredients
  • 3/4 cup white miso paste
  • 3/4 cup packed brown sugar
  • 1 cup sake
  • 1 cup mirin
  • 1/2 cup rice vinegar
  • 1/4 cup shoyu
  • one 1/2″ piece fresh ginger, peeled and finely grated
  • four 4oz north pacific sablefish (black cod) fillets
  • 2 cups steamed rice, for serving
  • furikake, for serving
Cooking Directions
  1. In a small saucepan, whisk together the miso paste, brown sugar, sake mirin, rice vinegar, soy sauce, and ginger. Bring to a simmer over medium heat, whisking occasionally. Turn the heat to low and simmer until the mixture has thickened and reduced by a quarter or so, 45 minutes to 1 hour. Let cool completely.
  2. Place the fillets in a gallon-size ziplock bag and pour the cooled sauce over them. Seal and transfer the bag to the fridge to marinate for 2 to 3 days, turning the bag every 24 hours.
  3. Remove the bag from the refrigerator and let it sit at room temperature for 30 minutes.
  4. Preheat the broiler and raise your oven rack to the top spot; it should be 6 to 8 inches from the coils. Line a rimmed baking sheet with aluminum foil, dull side up.
  5. Wipe off any excess sauce from the top of the fillets and arrange them, skin side down, on the foil-lined baking sheet. Broil until the fish flesh is almost opaque, 8 to 10 minutes. Broil for a minute or two to caramelize the top of the fish; it’s done when the outer edges start to blacken. Serve with steamed rice and furikake.

Sub to my YouTube channel to get notified whenever we have new videos!

Links in this post may be affiliate posts. If you buy an item through an affiliate link, I get a small fee, which helps support this blog!

Categories
YouTube

Furikake

Furikake is to the Japanese what everything bagel seasoning is to American Millennials.

Furikake nori over rice

Furikake is a Japanese seasoning that is often sprinkled over rice, which is rather fitting because the word “furikake” comes from the phrase “furi kakeru”, which means “to sprinkle over” in Japanese.

At its base, it’s often just salt, sugar, sesame seeds, and nori.

Allison holding a bowl of rice topped with furikake nori

However, many different versions of furikake exist, with all sorts of other dried ingredients mixed in.

Bonito flakes, shiso, salmon, egg, wasabi… if you look at the furikake section in a Japanese supermarket, you’ll see a bunch of different types. The possibilities are endless – and delicious!

Furikake nori over rice

The version we’re making today is on the simpler side of things.

We’re starting with sesame seeds – both black and white. Dry-toast them in a skillet, until they’re nutty and fragrant.

A little salt and sugar to round out the flavors.

And nori for umami.

Allison holding a bowl of rice topped with furikake nori

If your nori is maaaybe just a little old like mine is (you can tell because it’s no longer crisp), you can refresh it by toasting it ever so lightly over a flame. Be careful, and use caution! Just gently sweep it back and forth, keeping your fingers well away from the flame, until it’s crisp again.

You can use a knife to cut the nori into strips if you’d like, but if you have a food processor, it’s much easier to just dump everything in and blend it into small pieces.

Furikake nori over rice

Sprinkle over rice, eggs, fish, chex mix, popcorn, rice krispie treats… the possibilities are endless!

Furikake nori

Recipe from Otaku Food

Ingredients
  • 1/4 cup white sesame seeds
  • 1/4 cup black sesame seeds
  • 1 tsp salt
  • 1 tsp sugar
  • 2 sheets nori
Cooking Directions
  1. Dry toast the sesame seeds in a skillet, until fragrant but not browned.
  2. If needed, lightly toast nori.
  3. Tear nori into pieces, and blend all ingredients together in a food processor until nori is in small bits.
  4. Sprinkle over anything you’d like – but especially rice!

Sub to my YouTube channel to get notified whenever we have new videos!

Links in this post may be affiliate posts. If you buy an item through an affiliate link, I get a small fee, which helps support this blog!

Categories
YouTube

Pancit

On our Twitch cooking stream, we had a loyalty point system called fishcoins. If a viewer gathered enough fishcoins, they could redeem them to help choose something for me to make on stream.

Many of the redemptions were cookbooks or countries – you could pick one, and then I’d choose a recipe to cook from it.

However, if you really racked up your fishcoins, you could choose a specific recipe, and I’d have to cook it.

Pancit

Since we’ve wrapped up our Twitch stream to make time for other ventures (such as our YouTube channels, more dev projects, our podcast, blogging… the list goes on), I told all our viewers that they could still redeem their fishcoins, and I’d just do the redemptions on YouTube instead.

Allison holding a plate of pancit

Today’s recipe choice came from busdriv3r, who by far had the most fishcoins of any of our viewers. You’ll be seeing his name a lot, because he used up all his fishcoins for a bunch of redemptions!

We had a lot of Filipino viewers on Twitch, and one dish that they repeatedly mentioned but we still had never tried was pancit.

It sounds delicious – a rice noodle, meat, and veggie stir-fry… what’s not to love? But somehow we just never got around to making it.

However, thanks to busdriv3r, we can’t inadvertently avoid it any longer! He used 10k fishcoins to redeem this pancit recipe.

Pancit

It starts with chicken breast, marinated overnight in the teriyaki sauce that we made in our last video, and garlic.

Then, the ingredient that is most important to pancit, the noodles. I’ve seen pancit recipes using different types of noodles, but rice noodles tend to be the most common.

Soak the rice noodles in warm water – this will soften them, so you can stir-fry them without getting inedible, burnt noodles.

Brown the marinated chicken, and then set it aside.

Pancit

Next, it’s veggie time. Garlic (with a dash of msg!), carrots, cabbage, onions.

Soy sauce for more umami, and then the chicken joins everything.

Lastly, the noodles, and a bit more soy sauce, stir-fried all together with everything until the noodles are tender.

Serve with green onions and lemon juice, and there you have it – pancit!

Pancit

recipe from food.com

Ingredients
  • 1 lb chicken breast, cubed
  • 1/2 cup teriyaki sauce
  • 5 cloves garlic, minced
  • 8 oz bihon rice noodles
  • 2 cups cabbage, chopped
  • 1 cup carrot, sliced
  • 1 cup onion, sliced
  • 5 tbsp cooking oil, divided
  • 5 tbsp soy sauce, divided
  • 1/2 cup green onion, chopped
  • 1 lemon, sliced
Cooking Directions
  1. Marinate the cubed chicken breast with the teriyaki sauce and 2 cloves of minced garlic in the refrigerator overnight.
  2. The next day, soak the rice noodles in warm water for 15-30 minutes, then drain.
  3. Drain the marinated chicken and discard the marinade.
  4. Heat 1 tbsp of oil in a wok or skillet over medium high heat and cook the chicken flipping occasionally, until browned on all sides. Set chicken aside.
  5. Heat 2 tbsp of oil over medium high heat and stir-fry the remaining minced garlic for 30 seconds.
  6. Add the carrots and stir-fry for about 5 minutes.
  7. Add the cabbage, onions, and 1 tbsp of soy sauce and stir-fry until the vegetables are tender.
  8. Add the browned chicken to the vegetables and continue stir-frying.
  9. Add the drained noodles, along with 1/8 cup of oil and 1/4 cup of soy sauce. Mix well.
  10. Continue stir-frying until the noodles are tender and cooked thoroughly.
  11. Serve with the green onions and lemon slices.

Sub to my YouTube channel to get notified whenever we have new videos!

Links in this post may be affiliate posts. If you buy an item through an affiliate link, I get a small fee, which helps support this blog!

Categories
YouTube

Teriyaki Sauce

teri•yaki

Teri refers to the shine that the sauce gives to the food.

Yaki is a method of grilling or broiling food.

Allison holding a bowl of teriyaki sauce

Here in the US, ‘teriyaki’ has come to refer to the sauce that uses the same flavors as the Japanese teriyaki, rather than to the specific cooking method.

Shoyu and sugar always make up the base, and mirin is traditional as well, although it is often adapted depending on ingredient availability.

teriyaki sauce over rice

Since an upcoming recipe had “teriyaki sauce” as one of its ingredients, I figured I’d do a separate video just about teriyaki sauce.

Allison holding a bowl of teriyaki sauce

Today we’re making my grandma’s recipe! She uses this for her teriyaki chicken, which is breaded and fried, then sauced and baked.

It’s one of my favorite things ever, but I rarely make it because it’s a lot of work… aaaand now I’m craving it, so that may have to happen very soon.

teriyaki sauce ingredients

It starts with a base of shoyu, which is the Japanese word for soy sauce, and water.

Then comes sugar, because teriyaki sauce – especially in the US – is always fairly sweet!

A bit of mirin, which is a Japanese rice wine used for cooking. It has a higher sugar content than sake, and is often added for sweetness.

Then, a bit of crushed garlic and ginger. These are a more American addition, as garlic isn’t particularly common in Japanese cooking.

Teriyaki Sauce

My grandmother’s recipe

Makes 2 cups

Ingredients
  • 1/2 cup shoyu
  • 1/2 cup water
  • 1 cup sugar
  • 1 tbsp mirin
  • 2 tsp crushed garlic (optional)
  • 1 tsp grated ginger (optional)
Cooking Directions
  1. Mix the first four ingredients in a saucepan. Bring to a boil, then simmer until thickened. Mix in the garlic and ginger, if using.

Sub to my YouTube channel to get notified whenever we have new videos!

Links in this post may be affiliate posts. If you buy an item through an affiliate link, I get a small fee, which helps support this blog!

Categories
YouTube

Cucumber Kimchi

We love kimchi!

Napa cabbage kimchi.

Dried radish kimchi.

Fresh radish kimchi.

Chive kimchi.

cucumber kimchi ingredients

But the kimchi we make the most often, because the ingredients are super readily available and it’s SO danged easy to make, is this cucumber kimchi.

You can use any sort of cucumbers for this. Lebanese cucumbers – the thin-skinned ones with fewer seeds – is preferable, but I almost always use normal english cucumbers because they’re much easier to find.

It’s super quick to make. Salt them for 20 minutes to just slightly pickle them, and in the meantime you can make the sauce.

cucumber kimchi

Gochugaru, which are the korean chili flakes, add spice.

Garlic and ginger for that punch of flavor.

Honey for sweetness.

Fish sauce for salty umami.

And then chives for that extra kick of flavor. If you can get them, absolutely go for chinese chives (aka garlic chives). I normally can’t, so the normal chives that most stores carry (aka onion chives) work just fine!

cucumber kimchi

If you’d like, you can also add carrots, apple, and salted shrimp. I usually don’t, for simplicity’s sake, but they’re all in the original recipe.

It’s the perfect summer kimchi. Spicy but refreshing. Cold and salty and so much umami. Excellent with rice, veggies, and especially grilled meat. (Methinks it’s time for some at-home KBBQ soon!)

Cucumber Kimchi

adapted from My Korean Kitchen

Ingredients
  • 1 lb (about 3) cucumbers, rinsed
  • 1 tbsp kosher salt
  • 20 g (1 bundle) chives, cut into 2″ pieces
Sauce
Cooking Directions
  1. Cut off both ends of the cucumbers and discard. Divide the cucumbers into 3 pieces, then quarter each piece lengthwise. Put the cucumber into a large bowl then gently mix in the salt so the cucumbers are evenly coated. Let rest for 20 minutes, then rinse and drain well.
  2. Combine all of the sauce ingredients, then gently mix into the cucumbers. Gently mix in the chives. Transfer into a glass container and cover.
  3. If desired, let sit at room temperature for about 12 to 18 hours before refrigerating. Serve chilled.

Sub to my YouTube channel to get notified whenever we have new videos!

Links in this post may be affiliate posts. If you buy an item through an affiliate link, I get a small fee, which helps support this blog!

Categories
YouTube

Tuna Burgers

Did you panic buy tuna?

I totally panic bought tuna.

Between COVID and realizing that our earthquake kits were WAY expired… we have a lot of tuna.

So if you’re anything like me, you now have a TON of tuna on hand, and you need ways to use it all up.

tuna burgers

These tuna burgers are SUCH a simple way to use a can or two of tuna. They’re easy to make, satisfying, and absolute comfort food for me.

My mom used to make these all the time when we were kids, and keep the foil-wrapped tuna burgers in the fridge for us to stick in the toaster oven.

(Don’t stick them in the microwave! It’s terribly embarassing to admit this, but it seems my parents never explicitly taught me not to put metal in the microwave? I quickly learned after a college roommate yelled at me when I absentmindedly went to heat one of these up.)

tuna burgers

Normally I’d use cubed cheddar for this, which will give you lovely little pockets of melted cheese.

Unfortunately all I have at the moment is shredded Mexican cheese, but that works well enough too.

These tuna burgers are what you’d get if you mixed the gooeyness of a grilled cheese sandwich with the simple satisfaction of a tuna sandwich, and wrap it all in the carby comfort of potato buns.

Tuna Burgers

Makes 4 burgers

Ingredients
  • 1 can tuna, drained
  • 4 oz cheddar cheese, cubed
  • 1/3 cup mayonnaise
  • 4 hamburger buns
Cooking Directions
  1. Combine tuna, cheese and mayonnaise in a medium bowl. Spoon onto bottom halves of buns, cover with tops. Wrap in foil. Bake at 350F for 20 min.

Sub to my YouTube channel to get notified whenever we have new videos!

Links in this post may be affiliate posts. If you buy an item through an affiliate link, I get a small fee, which helps support this blog!

Categories
YouTube

Guacamole

I was dancing around, singing “guacamole guacamole guacamole” while making this, and had a realization… guacamole… guaca-mole… mole! Like the sauce!

So I went and looked it up, and did you know that the word ‘guacamole’ comes from the Aztec word ‘ahuacamolli’, which translates to ‘avocado sauce’?! (There’s supposed to be a bar over that first ‘a’, but WP is being a brat and refuses to display it no matter what I do, so just know that I would have included the correct accents if I could have. *facepalm*)

Language is so cool.

me being a dork

So we’re making guacamole today! I’ve had all sorts of different versions in the past – restaurant guac, avocados mixed with jarred salsa at home, avocados mixed with mayo for grandma’s 7-layer dip, avocados mixed with cottage cheese (??) and other mixins at my grandpa’s. (I dunno. But it still tasted good!)

How do you like your guacamole?

And did anyone ever actually try that pea guacamole from the NY Times?

The guacamole I’m making today includes cherry tomatoes for sweetness, red onion for its bite, jalapeno for a floral touch of spice, herbacious cilantro (for those of us who love it), and the bright pop of lime juice.

Guacamole

Ingredients
  • 6 small avocados
  • 1 cup cherry tomatoes, diced
  • 1/4 red onion, diced
  • 1 jalapeno, seeded and diced
  • 1 tbsp cilantro
  • 1 tsp lime juice
  • salt and pepper
  • tortilla chips, to serve
Cooking Directions
  1. Carefully remove skin and pits from avocados. Scoop into a small bowl and mash to your preferred guacamole texture.
  2. Mix in diced tomatoes, red onion, jalapeno, and lime juice. Season with salt and pepper, to taste.
  3. Serve with tortilla chips for scooping, or on top of tacos. Enjoy!

Sub to my YouTube channel to get notified whenever we have new videos!

Links in this post may be affiliate posts. If you buy an item through an affiliate link, I get a small fee, which helps support this blog!

Categories
YouTube

Bacon Burgers

When you’re making bacon for your burger… gotta bacon fat all the things!!!

Bacon fat mushrooms.

Bacon fat onions.

Bacon fat burger!

So.
Much.
Bacon.

(…ignore the burnt bacon.)

Bacon Burger

Makes 4 burgers

Ingredients
  • 1/2 lb bacon
  • 1 lb mushrooms, sliced
  • 1/2 red onion, sliced into rings
  • 1 lb ground beef
  • 2 cloves garlic, minced
  • salt and pepper
  • 4 slices american cheese
  • 4 brioche or hamburger buns
  • 2 tbsp butter
  • mayonnaise
  • 1 tomato, sliced
  • 1 oz arugula, washed
Cooking Directions
  1. Cook bacon in a skillet over medium heat, to your desired level of crispiness. Try not to burn it. Set aside, reserving fat in pan.
  2. Cook mushrooms in bacon fat until dark brown and crispy. Set aside, reserving fat in pan.
  3. Cook onions in bacon fat until soft and golden. Set aside.
  4. Mix ground beef with garlic. Season with salt and pepper. Form into four thin patties.
  5. Cook burgers over medium-high heat in the bacon fat (or grill) until browned on both sides and to your desired level of doneness.
  6. When the burger patties are close to done, lay a slice of cheese on each patty and cover for a minute, or until cheese has melted and patty is cooked.
  7. Wipe out the skillet, melt the butter, and let brown slightly. Pan-fry the buns in the browned butter until golden-brown.
  8. Spread the buns with mayonnaise. Feel free to add ketchup if desired. Carefully layer tomato slices, arugula, the patty with cheese, bacon, red onion, and mushrooms on each bottom bun, and top with the top bun.
  9. Enjoy!

Sub to my YouTube channel to get notified whenever we have new videos!

Links in this post may be affiliate posts. If you buy an item through an affiliate link, I get a small fee, which helps support this blog!

Categories
YouTube

7-Layer Dip

It’s my grandma’s 7-layer dip recipe!

I make this every single year for family gatherings, and it’s my favorite not-so-healthy-but-totally-pretends-to-be-healthy snack.

Yes I know the mayo in guac is weird, but YOU DON’T MESS WITH GRANDMA’S RECIPES. Really, you should know better. ?

7-Layer Dip

Ingredients
  • 2 cans (9 oz each) Frito Lay bean dip
  • 3 large avocados
  • 2 tbsp mayonnaise
  • 1 tsp lemon juice
  • salt, pepper
  • 16 oz sour cream
  • 1 pkg (1 oz) Lawry’s taco seasoning mix
  • 1 can (4.25 oz) chopped olives, drained and patted dry
  • 2 large tomatoes, diced
  • 1 bunch green onions, chopped
  • 8 oz cheddar cheese, grated
Cooking Directions
  1. Spread the bean dip on the bottom of a large casserole dish.
  2. Mash the avocados, mayonnaise, lemon juice, and salt and pepper together to make guacamole. Spread on top of the bean dip.
  3. Mix the sour cream with the taco seasoning mix. Spread on top of the guacamole.
  4. Sprinkle the chopped olives evenly on top of the sour cream mix. Do the same with the diced tomatoes, then the green onions, and lastly the cheddar cheese.
  5. Chill until ready to eat. Serve with plenty of tortilla chips.

Sub to my YouTube channel to get notified whenever we have new videos!

Links in this post may be affiliate posts. If you buy an item through an affiliate link, I get a small fee, which helps support this blog!