Categories
Nigiri Recipes

Faux-Nagi


Congratulations to Katharine for her suggestion that Jell-O would NOT go well in wontons (can you imagine even trying? What an impossible mess that would be!) and to Cathy for her delicious-sounding suggestion of matcha pastry cream in a wonton, topped with a cherry sauce. They were the winners of our latest Sushi Day contest!

Thanks so much to everybody who entered!


If you’ve been reading Sushi Day for at least a year, or know anything about which seafood are sustainable and which aren’t, then you’re probably aware that unagi is on the list of very unsustainable seafood.

Which sucks. Because a lot of people really love unagi. Ourselves included.

So a year ago, I came up with my own version of a sustainable replacement for unagi, using catfish. Personally, I really love this, because the taste and texture are very similar to unagi.


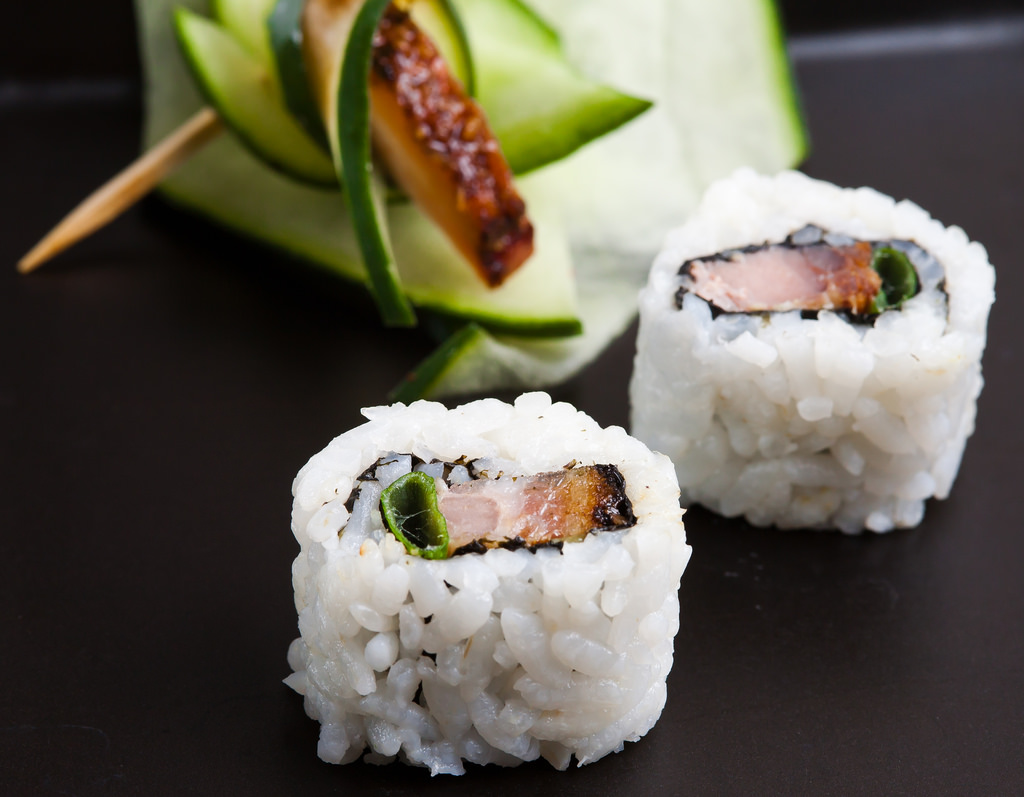
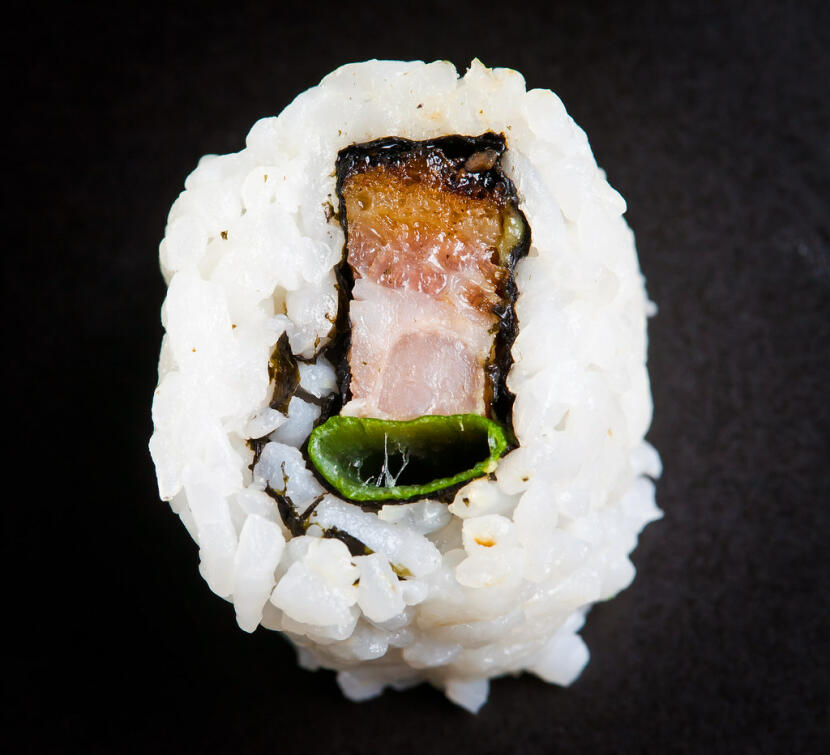
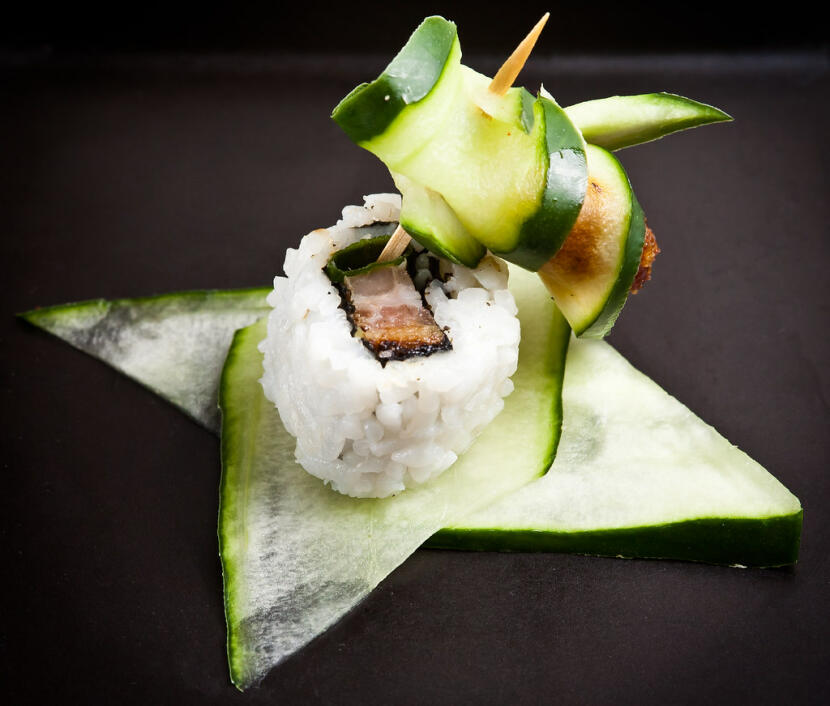
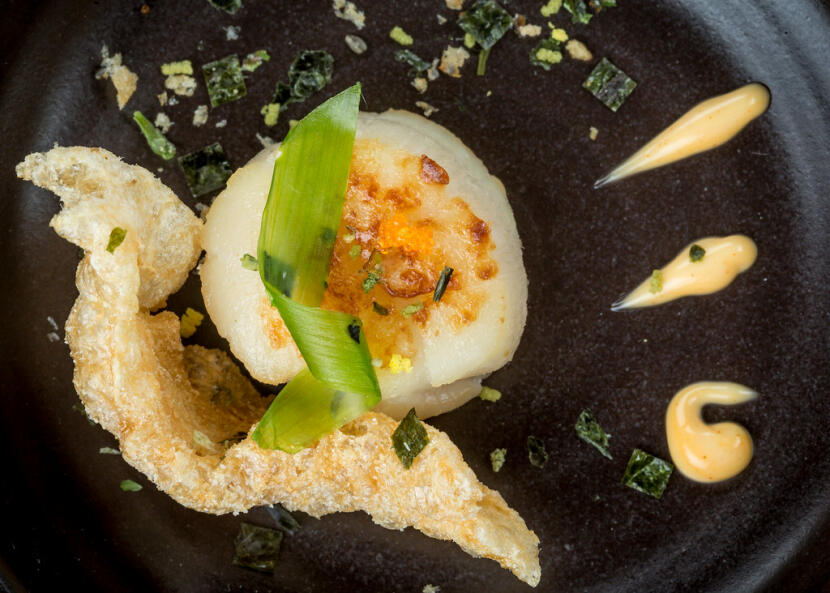
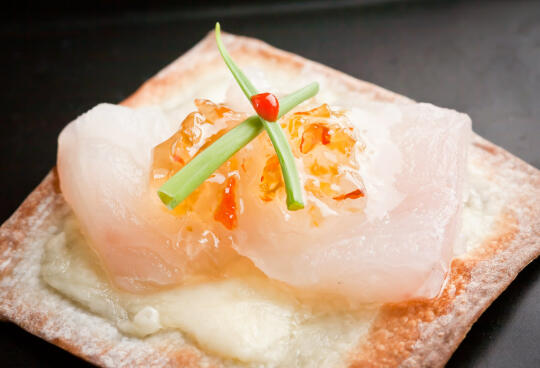
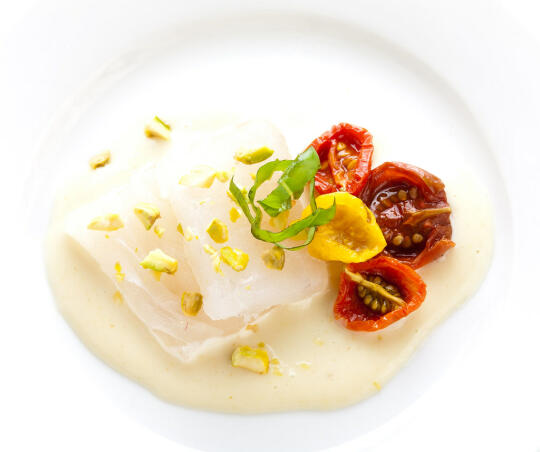
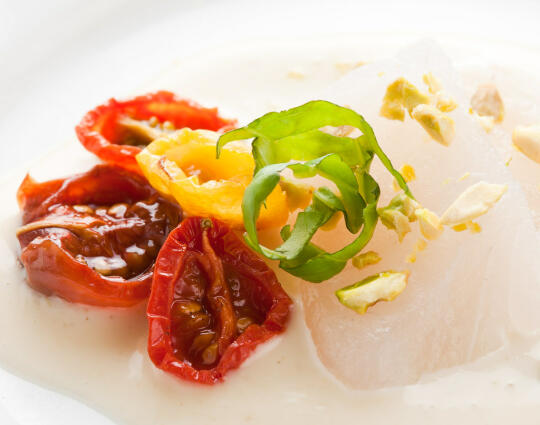
But there’s been another recipe that’s been out there for a while too – I was aware of it when I came up with my version, although I didn’t use it. But after dining at Tataki and receiving some absolutely beautiful black cod as a gift from the guys at I Love Blue Sea, I knew I had to finally try Tataki’s recipe for faux-nagi.

The verdict? Well, I knew it was going to be good. And if you have access to all the ingredients, it’s definitely worth it.

(But if you can’t find good black cod, or some of the more exotic ingredients… I still think my version is pretty darn good too.)


Recipe originally from here.

Ingredients
  • 1 1/2 lbs black cod fillet
  • 1 large sheet konbu (kelp)
  • 1/4 c water
  • 1/4 c shoyu
  • 1/4 c sugar
  • 1 1/2 tbsp mirin
  • 1 1/2 tbsp sake
  • handful katsuobushi (skipjack flakes)
  • 1 tbsp potato starch
  • sea salt
  • sesame seeds
  • extra sake
Cooking Directions
  1. Sprinkle both sides of the black cod fillets with salt. Cover the fillets with plastic wrap and refrigerate for 15–20 minutes.
  2. Rinse the fillets with very cold water. Blot dry with a paper towel.
  3. Tear the konbu into pieces the size of your fillets. Wet a new paper towel with sake and use it to moisten the konbu. Sandwich the black cod between pieces of sake-moistened konbu. Cover the fillet in plastic wrap and refrigerate for 30–40 minutes. Remove the konbu and return the fillet to the refrigerator.
  4. Mix the shoyu, sugar, mirin, and katsuobushi with 1 1/2 tbsp of sake and 1 1/2 tbsp of water in a saucepan. Bring to a boil, then lower the heat and simmer for about 10 minutes. Drain and remove the katsuobushi, then set the sauce aside.
  5. In a small bowl, combine 4 tbsp of cold water with 1 tablespoons of potato starch to create a thickener. Return the sauce to a boil then lower heat to a simmer. If desired, gradually add the potato starch thickener to the sauce, until the desired consistency is reached. (You may not use the entire batch of thickener.) Remove from heat and let cool.
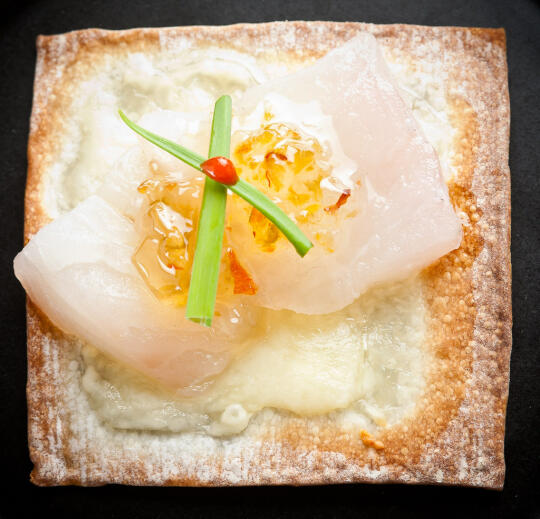
  6. Slice black cod into portions into pieces approximately 1″x2″. Lightly char one side of the fish with a small butane torch or sear it very briefly in a hot saucepan. Drizzle with the sauce and sprinkle with sesame seeds. Serve nigiri style, or with a bowl of rice.

Coming Soon!

Percent Daily Values are based on a 2000 calorie diet. These values are only estimates based on the individual ingredients, and not meant to replace the advice of a medical professional.

Categories
Other Recipes

Arctic Char and Cream Cheese Wontons (Psst… we’re having a contest!)


I have a challenge for you.

Come up with something – anything (though it has to be edible food) – that wouldn’t go well in a wonton.

I bet you can’t do it.

(Neener neener!)

I mean, really. You can fold anything in a wonton skin, fry it up, and it’ll be delicious.

An. Y. Thing.

And if you can’t come up with something that would do badly in wontons? Give me a cool, crazy, awesome, ridiculously creative combination that you would put in a wonton.

Like these, which my great aunt asks me to make every year at our family’s annual Christmas party.

Or like this recipe here – arctic char with dill cream cheese, drizzled with a maple ponzu sauce.

Heck yeah.

Good stuff.

And… you know what?

I think I’ll give away a Sushi Day shirt and a sushi kit to the person who comes up with the best (edible!) suggestion for what WOULD NOT go well in wontons.

And I’ll give away another Sushi Day shirt and a sushi kit to the person who comes up with the best GOOD combination that I can put in a wonton.

You have 1 week to enter. That’s until next Thursday, November 18, at 11:59PM PST.

Ready… go!


The maple ponzu sauce was adapted from this maple-soy sauce, which was recommended to me by my friend Mike Kelly. Yum, yummy, yum.

Ingredients
  • 1 fillet very fresh arctic char (about 1/3 lb)
  • 20 oz cream cheese, softened
  • 1 tbsp dill, chopped
  • 20 wonton skins
  • 1/4 cup maple syrup
  • 2 tsp shoyu
  • 2 tsp fresh-squeezed orange juice
  • canola oil for frying
Cooking Directions
  1. If the arctic char fillet has skin and bones, carefully pick out all the bones, and scrape the pink flesh off of the skin. Discard any bones and skin. By now the arctic char probably resembles a lumpy mush, but if not, chop it a few times until it does.
  2. Mix the cream cheese with the dill.
  3. Spread a layer of cream cheese on one triangular half of a wonton skin, then top with about a tablespoon of arctic char. Dampen the edges of the wonton with water, then fold over the other half of the wonton skin and press along the edges to seal it. Repeat until you have used up the arctic char.
  4. Heat the oil to 400°F.
  5. Fry the wontons, about 10 seconds on each side. They should be a very light golden brown, just barely starting to brown around the edges. We still want the arctic char to be mostly raw inside the wonton. Drain on a cooling rack.
  6. Mix the maple syrup, shoyu, and orange juice. Drizzle over the wontons.
  7. Enjoy!

Coming Soon!

Percent Daily Values are based on a 2000 calorie diet. These values are only estimates based on the individual ingredients, and not meant to replace the advice of a medical professional.

Categories
Other Recipes

Arctic Char Rosette Chirashi


Every time I get a new type of fish, I try to think of good flavor combinations that I can use as inspiration for my dishes. I look through my bookmarks for recipes using that fish. I ask people on twitter. I look back in my archives for older, similar recipes for inspiration.

For today’s recipe, for example, I found a salmon recipe that I had bookmarked a while ago and decided that the sauce looked fantastic, then deconstructed a salmon recipe I had made years ago for the dish itself.


This week, I ordered some arctic char from I Love Blue Sea. After trying arctic char when we visited Tataki while we were in San Francisco, I knew I wanted to make some of my own dishes using the salmon-like fish.

Now that I’ve finally ordered fish from I Love Blue Sea… I can finally officially recommend them. The fish arrived in a timely matter and was fresh, and ready to use for sashimi. The one tip I have for buyers, though, is if you want the fish for a certain day, make sure to take a look at their shipping schedule so you’ll know what your deadline for ordering is. (For example, if you want the fish by Saturday, then you have to order before 5AM Pacific Time on Thursday. Otherwise it won’t be shipped until the next Monday.)

And then once you’ve ordered the fish from them… you can make this arctic char chirashi. If you like Philadelphia Rolls, you’ll love this. ^_^


The mustard sauce is adapted from the sweet mustard sauce on Steamy Kitchen.

(You might argue that this can’t be chirashi because it doesn’t use sumeshi, but the marinade from the cucumbers is very similar to the mixture for sushi vinegar, so once you add the cucumbers to the rice it emulates the flavor of sumeshi.)

Ingredients
  • cooked white rice
  • 1 batch of marinated cucumbers (do not discard all of the marinade)
  • 1 lb very fresh arctic char
  • 2 oz cream cheese
  • wasabi (to taste; optional)
  • 2 tbsp dijon mustard
  • 1 tbsp honey
  • 2 tbsp olive oil
  • 1/2 tsp lemon juice
  • 1/4 tsp salt
  • 1 tsp garlic powder
Cooking Directions
  1. Mix the dijon mustard, honey, olive oil, lemon juice, salt, and garlic powder. Set aside.
  2. Fill a bowl two-thirds full with cooked white rice.
  3. Top with a layer of marinated cucumbers. Drizzle with some of the extra marinade from the cucumbers.
  4. Thinly slice the arctic char. Roll each slice into a rosette; place on top of the layer of cucumbers.
  5. Place a small ball of cream cheese in the center of each rosette. If you like spice and wasabi, you can fill the center of one of the rosettes with wasabi.
  6. Drizzle with the mustard sauce.
  7. Enjoy!

Coming Soon!

Percent Daily Values are based on a 2000 calorie diet. These values are only estimates based on the individual ingredients, and not meant to replace the advice of a medical professional.

Categories
Maki Recipes

Porki Maki

Pork belly.

It’s kind of like bacon, right? Except… better. If that’s even possible.

Pork belly roll

And we all know how I feel about bacon in sushi.

So pork belly in sushi? It’s the natural progression. Obviously.

Pork belly roll

Porki Maki

Ingredients
Cooking Directions
  1. Cook pork belly. (This needs at least 6 hours of marination and 2 hours of cooking, so prepare ahead.)
  2. Cook sumeshi.
  3. Thinly slice the pork belly, then cut each slice in half lengthwise.
  4. Roll the sushi, using the pork belly, green onion, and wasabi (to taste) as the fillings.
  5. Enjoy!

Categories
Other Recipes

Seared Scallop with Chicharrones

After my interview with the men of I Love Blue Sea, they sent us home with a gift of some beautiful black cod and scallops, which we cooked for my relatives that we were staying with that evening. With the black cod we made sashimi (very good!), faux-nagi, and miso black cod (recipe to come soon!). With the scallops we made Hajime’s Hotate, sashimi, and these delicious seared scallops.

Since I had wanted to stop by Boccalone in the Ferry Building to get prosciutto for the Hajime’s Hotate, I also stopped by the 4505 Meats booth at the farmer’s market (they’re there Thursdays and Saturdays) to pick up a few bags of their chicharrones, because I heard they’re to die for. (They are! Consider me addicted, now.)

After lunch at Tataki, Son and I got to thinking on the way back.

“You know what would be really good?” He paused for a long moment, keeping me in an impatient suspense while he thought about it. “What if… you know how they have bacon-wrapped scallops?”

I nodded, not sure where he was going with that.

“Well, what if we did chicharrones instead?”

“Yeah…” A slow smile grew on my face, as I saw what he was getting at. “That might be good…”

“With lemon juice,” he insisted.

“And something else…” I thought for a moment. “What if we put spicy mayonnaise on it, too? Add a little spice, to go with the spice in the chicharrones, a little creaminess…”

“Yes!” Son exclaimed. “This is going on the menu at my restaurant.”

(He has a hypothetical “someday” restaurant… anytime we come up with a particularly delicious recipe, it goes on the list of random things that will be on the menu if he ever opens a restaurant. Do any of you do that too? ;))

When we made this later that day, it was a hit. Delicious.

It’s definitely going on the menu.

Seared Scallop with Chicharrones

Ingredients
  • scallops
  • clarified butter
  • mayonnaise
  • sriracha sauce
  • lemon juice
  • chicharrones (preferably from 4505 Meats)
Cooking Directions
  1. Pat the scallops dry between two paper towels.
  2. Heat the butter in a pan until it is almost smoking.
  3. Sear the scallops on one side without moving around for a couple of minutes, until caramelized on the bottom. Flip and cook for a minute longer, before removing to a plate.
  4. Mix the mayonnaise and sriracha sauce.
  5. Top each scallop with a drizzle of spicy mayonnaise, a squirt of lemon juice, and a chicharron.
  6. Enjoy!

Categories
Other Recipes

Halibut on Mozzarella Wonton Chips with Jalapeño Jam


Jalapeño jam.

To the uninitiated, it sounds weird. “Jalapeño jam? Ew. Isn’t that… gross?”

I was one of the skeptical ones, before I tried it. Heck, I’m not a huge fan of spicy anyways, so I had a feeling I wasn’t going to like it all that much.

Wrong, wrong, wrong. I was so wrong. Jalapeño jam is sweet (I know it’s hard to imagine if you’ve never had it) and has only the faintest hint of spice. It’s ridiculously good… especially on nachos. And I hear it’s awesome on crackers with cream cheese, though I haven’t tried it yet.

So when I was looking through my fridge to see what ingredients I had that might go well with halibut, the jalapeño jam caught my eye. I’ve used jalapeños with yellowtail… halibut tastes similar to yellowtail… so therefore surely jalapeño will go awesomely with halibut! (Don’t you love my logic?)


Unfortunately I don’t have the recipe for jalapeño jam, as it was a gift to me from a friend whose mother makes it. But if you can find some, or a recipe for it, or happen to get it as a gift from someone? I highly recommend it with halibut. And if you have a good recipe for it… I would love it if you’d share it with us.

Ingredients
  • 4 oz halibut
  • 6 wonton skins
  • 1 oz mozzarella cheese
  • 2 tbsp jalapeño jam
  • 6 chives, cut into halves
  • 1/2 tsp sriracha sauce
Cooking Directions
  1. Bake the wonton skins on a baking sheet at 350°F for 3 minutes. Then top with the slices of mozzarella, and bake for another 2 minutes, or until the cheese starts to melt and bubble.
  2. Slice the halibut thinly.
  3. Top each wonton skin with a couple of slices of halibut, a dollop of jalapeño jam, two chive halves, and a dot of sriracha sauce.
  4. Enjoy!

Coming Soon!

Percent Daily Values are based on a 2000 calorie diet. These values are only estimates based on the individual ingredients, and not meant to replace the advice of a medical professional.

Categories
Maki Recipes

Honey-Lemon Green Tea Tilapia Roll


Lately we’ve been trying to get a little more creative with the things we make here. After I mixed the honey-rice vinegar marinade (inspired by the ingredients list from a package of gari), I tasted it and thought it tasted just like lemon tea with honey.

So what goes better with those flavors than… green tea! But once we tried it, the roll was good, but… missing something. What to add, to give it the oomph it needed?

A few days before I had tried the combination of cucumber slices dipped in shoyu. It’s a fantastic combination. Kind of like salt with cucumbers (I’ve eaten that as a snack… do you too?), except better. Turns out, that was exactly what this roll needed to make it just right.


Ingredients
  • 6 sheets nori
  • 1.5 cups sumeshi
  • 1/2 lb sushi-grade tilapia
  • 1 cup rice vinegar
  • 1 cup honey
  • 1/4 cup sour cream
  • 1 tbsp powdered green tea
  • 1/2 cucumber, peeled, seeded, and cut into small sticks
  • 1/2 cup shoyu/soy sauce
Cooking Directions
  1. Mix the rice vinegar and honey until the honey is mostly integrated into the vinegar. Marinate the tilapia in this mixture for at least 30 minutes.
  2. Make the sumeshi.
  3. Mix the sour cream and powdered green tea.
  4. Marinate the cucumber sticks in the shoyu for a few minutes.
  5. Roll the sushi inside-out, using the marinated tilapia as the filling.
  6. After slicing the sushi, top each with a dollop of the green tea sour cream and a shoyu-cucumber stick.
  7. Enjoy!

Coming Soon!

Percent Daily Values are based on a 2000 calorie diet. These values are only estimates based on the individual ingredients, and not meant to replace the advice of a medical professional.

Categories
Other Recipes

Tilapia Poke


I am not perfect.

In case you were wondering. 😉

I make mistakes, sometimes. Okay, lots of the time.

I was at Mitsuwa the other day, looking for sustainable seafood. (I would have ordered something from I Love Blue Sea, except it was Saturday, and I wanted to make sushi the next day, so there’s no way I would have gotten it in time.)

So I pull up the Monterey Bay Aquarium Seafood Watch iPhone App. Standing in front of the refrigerated shelves of sashimi, I went to the “Sushi” section of the application, and sorted it by rating. Because I figured, I only want to buy seafood with the best rating, right?

So matching up the recommendations from the list to the options on the shelves, I saw izumidai – tilapia. It appeared to have a good rating, so I went ahead and bought it.

What I didn’t realize until I got home, was that the good rating was only for tilapia farmed in the US. The tilapia I got was from Taiwan. Shoot. That’s the worst type.

Cringe.

(Dear Monterey Bay Aquarium Seafood Watch… it would be really great if you could always keep the different ratings for each type of fish grouped, even when we sort it by best rating – so that when I look and see that a type of fish from one region is great, I’ll also see that that same type of fish from other regions aren’t so great, and can therefore make better informed decisions. Thanks, Allison)


Okay, so that was a big mistake on my part. (And I’m owning up to it so hopefully you won’t make the same mistake!) But even though I screwed up, it seems like it would be even worse to waste the fish when I’ve already bought it… right?

So we came up with a few different ways to use the tilapia, the first of which is a poke inspired by the poke we ate two years ago when we visited Hawaii. And if you can find tilapia farmed in the US, I really recommend this!


Ingredients
  • 1 lb sashimi-grade tilapia, diced
  • 1 cucumber, peeled, seeds removed, and diced
  • 4 tsp fish sauce
  • 4 tsp rice vinegar
  • 4 stalks green onion, chopped
  • a few drops of chili oil, to taste
  • 1 large red chili pepper, seeds removed, and chopped
  • 10 wonton skins
  • sesame oil
Cooking Directions
  1. Mix the diced tilapia, cucumber, fish sauce, rice vinegar, green onion, chili oil, and chili pepper in a bowl. Refrigerate for at least 20 minutes, or up to two hours.
  2. Paint both sides of the wonton skins with sesame oil.
  3. Bake or toast at 400°F for 2-3 minutes. Watch carefully, because it can go from perfect to burnt within seconds.
  4. Top the wonton chips with the tilapia poke. Enjoy!

Coming Soon!

Percent Daily Values are based on a 2000 calorie diet. These values are only estimates based on the individual ingredients, and not meant to replace the advice of a medical professional.

Categories
Other Recipes

Halibut with Deconstructed Cocktail Sauce


I’m no chef. Certainly not. But I wanted to raise the standards for my sushi, make it something that you look at and really crave.

Oh, and Son complains I make too many rolls.

So I was looking through my kitchen, trying to figure out what the heck we had that could possibly be used to make a really awesome dish with the halibut I got.

Then I saw these tomatoes in the fridge, which had been used as a side for a really amazing sake-steamed black cod dish I made the day before. Hm. Tomatoes… seafood… cocktail sauce! Why don’t I make a sort of cocktail sauce, except without the tomatoes mixed in?

(Yes, my mind works in weird ways sometimes.)

So I looked up a recipe for cocktail sauce, then made up my own version, except without the tomatoes blended into it. Just because it looks cooler that way. And… well, this is what I came up with.

It actually turned out very well. Son has fallen in love with the sauce… it goes amazingly well with seafood.


Ingredients
  • small fillet of sashimi-grade halibut
  • 1/2 cup mayonnaise
  • 1 tbsp rice vinegar
  • 1 tsp wasabi
  • dash salt
  • 1 tbsp brown sugar
  • 1/4 tsp garlic powder
  • 8 cherry tomatoes, roasted
  • a few leaves of basil
  • crushed pistachios
Cooking Directions
  1. Slice the halibut into thin slices.
  2. Mix the mayonnaise, rice vinegar, wasabi, salt, brown sugar, and garlic powder.
  3. Roast the cherry tomatoes.
  4. Roll the basil leaves tightly, and slice thinly in a chiffonade.
  5. Place a pool of the mayonnaise sauce on a plate. Top with two slices of halibut, and a few roasted tomatoes. Garnish with the basil and crushed pistachios.

Coming Soon!

Percent Daily Values are based on a 2000 calorie diet. These values are only estimates based on the individual ingredients, and not meant to replace the advice of a medical professional.