Categories
YouTube

Cucumber Kimchi

We love kimchi!

Napa cabbage kimchi.

Dried radish kimchi.

Fresh radish kimchi.

Chive kimchi.

cucumber kimchi ingredients

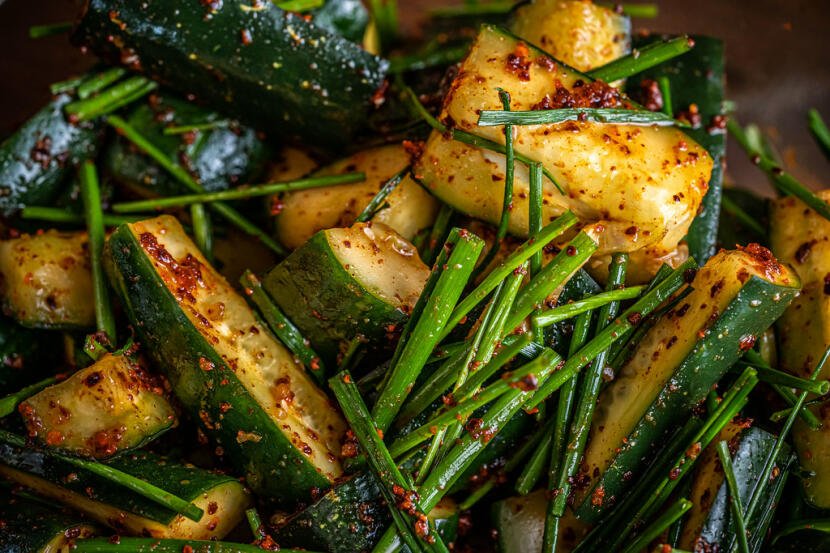
But the kimchi we make the most often, because the ingredients are super readily available and it’s SO danged easy to make, is this cucumber kimchi.

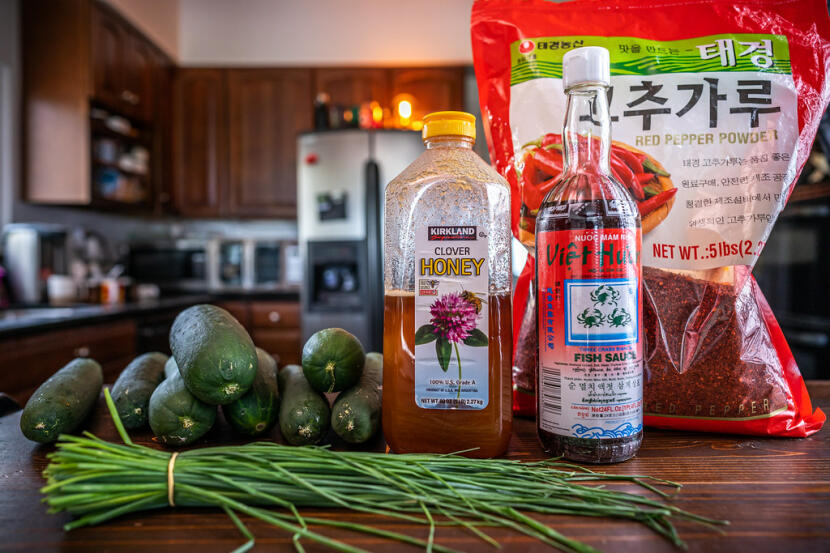
You can use any sort of cucumbers for this. Lebanese cucumbers – the thin-skinned ones with fewer seeds – is preferable, but I almost always use normal english cucumbers because they’re much easier to find.

It’s super quick to make. Salt them for 20 minutes to just slightly pickle them, and in the meantime you can make the sauce.

cucumber kimchi

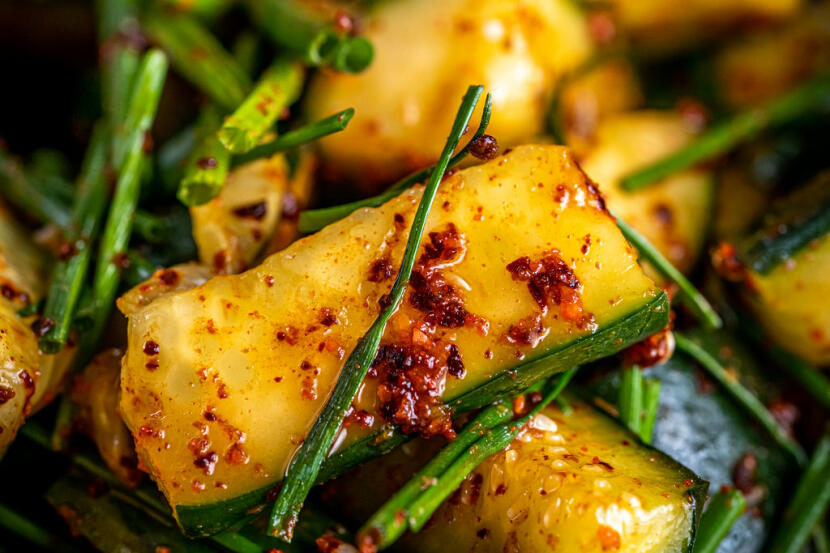
Gochugaru, which are the korean chili flakes, add spice.

Garlic and ginger for that punch of flavor.

Honey for sweetness.

Fish sauce for salty umami.

And then chives for that extra kick of flavor. If you can get them, absolutely go for chinese chives (aka garlic chives). I normally can’t, so the normal chives that most stores carry (aka onion chives) work just fine!

cucumber kimchi

If you’d like, you can also add carrots, apple, and salted shrimp. I usually don’t, for simplicity’s sake, but they’re all in the original recipe.

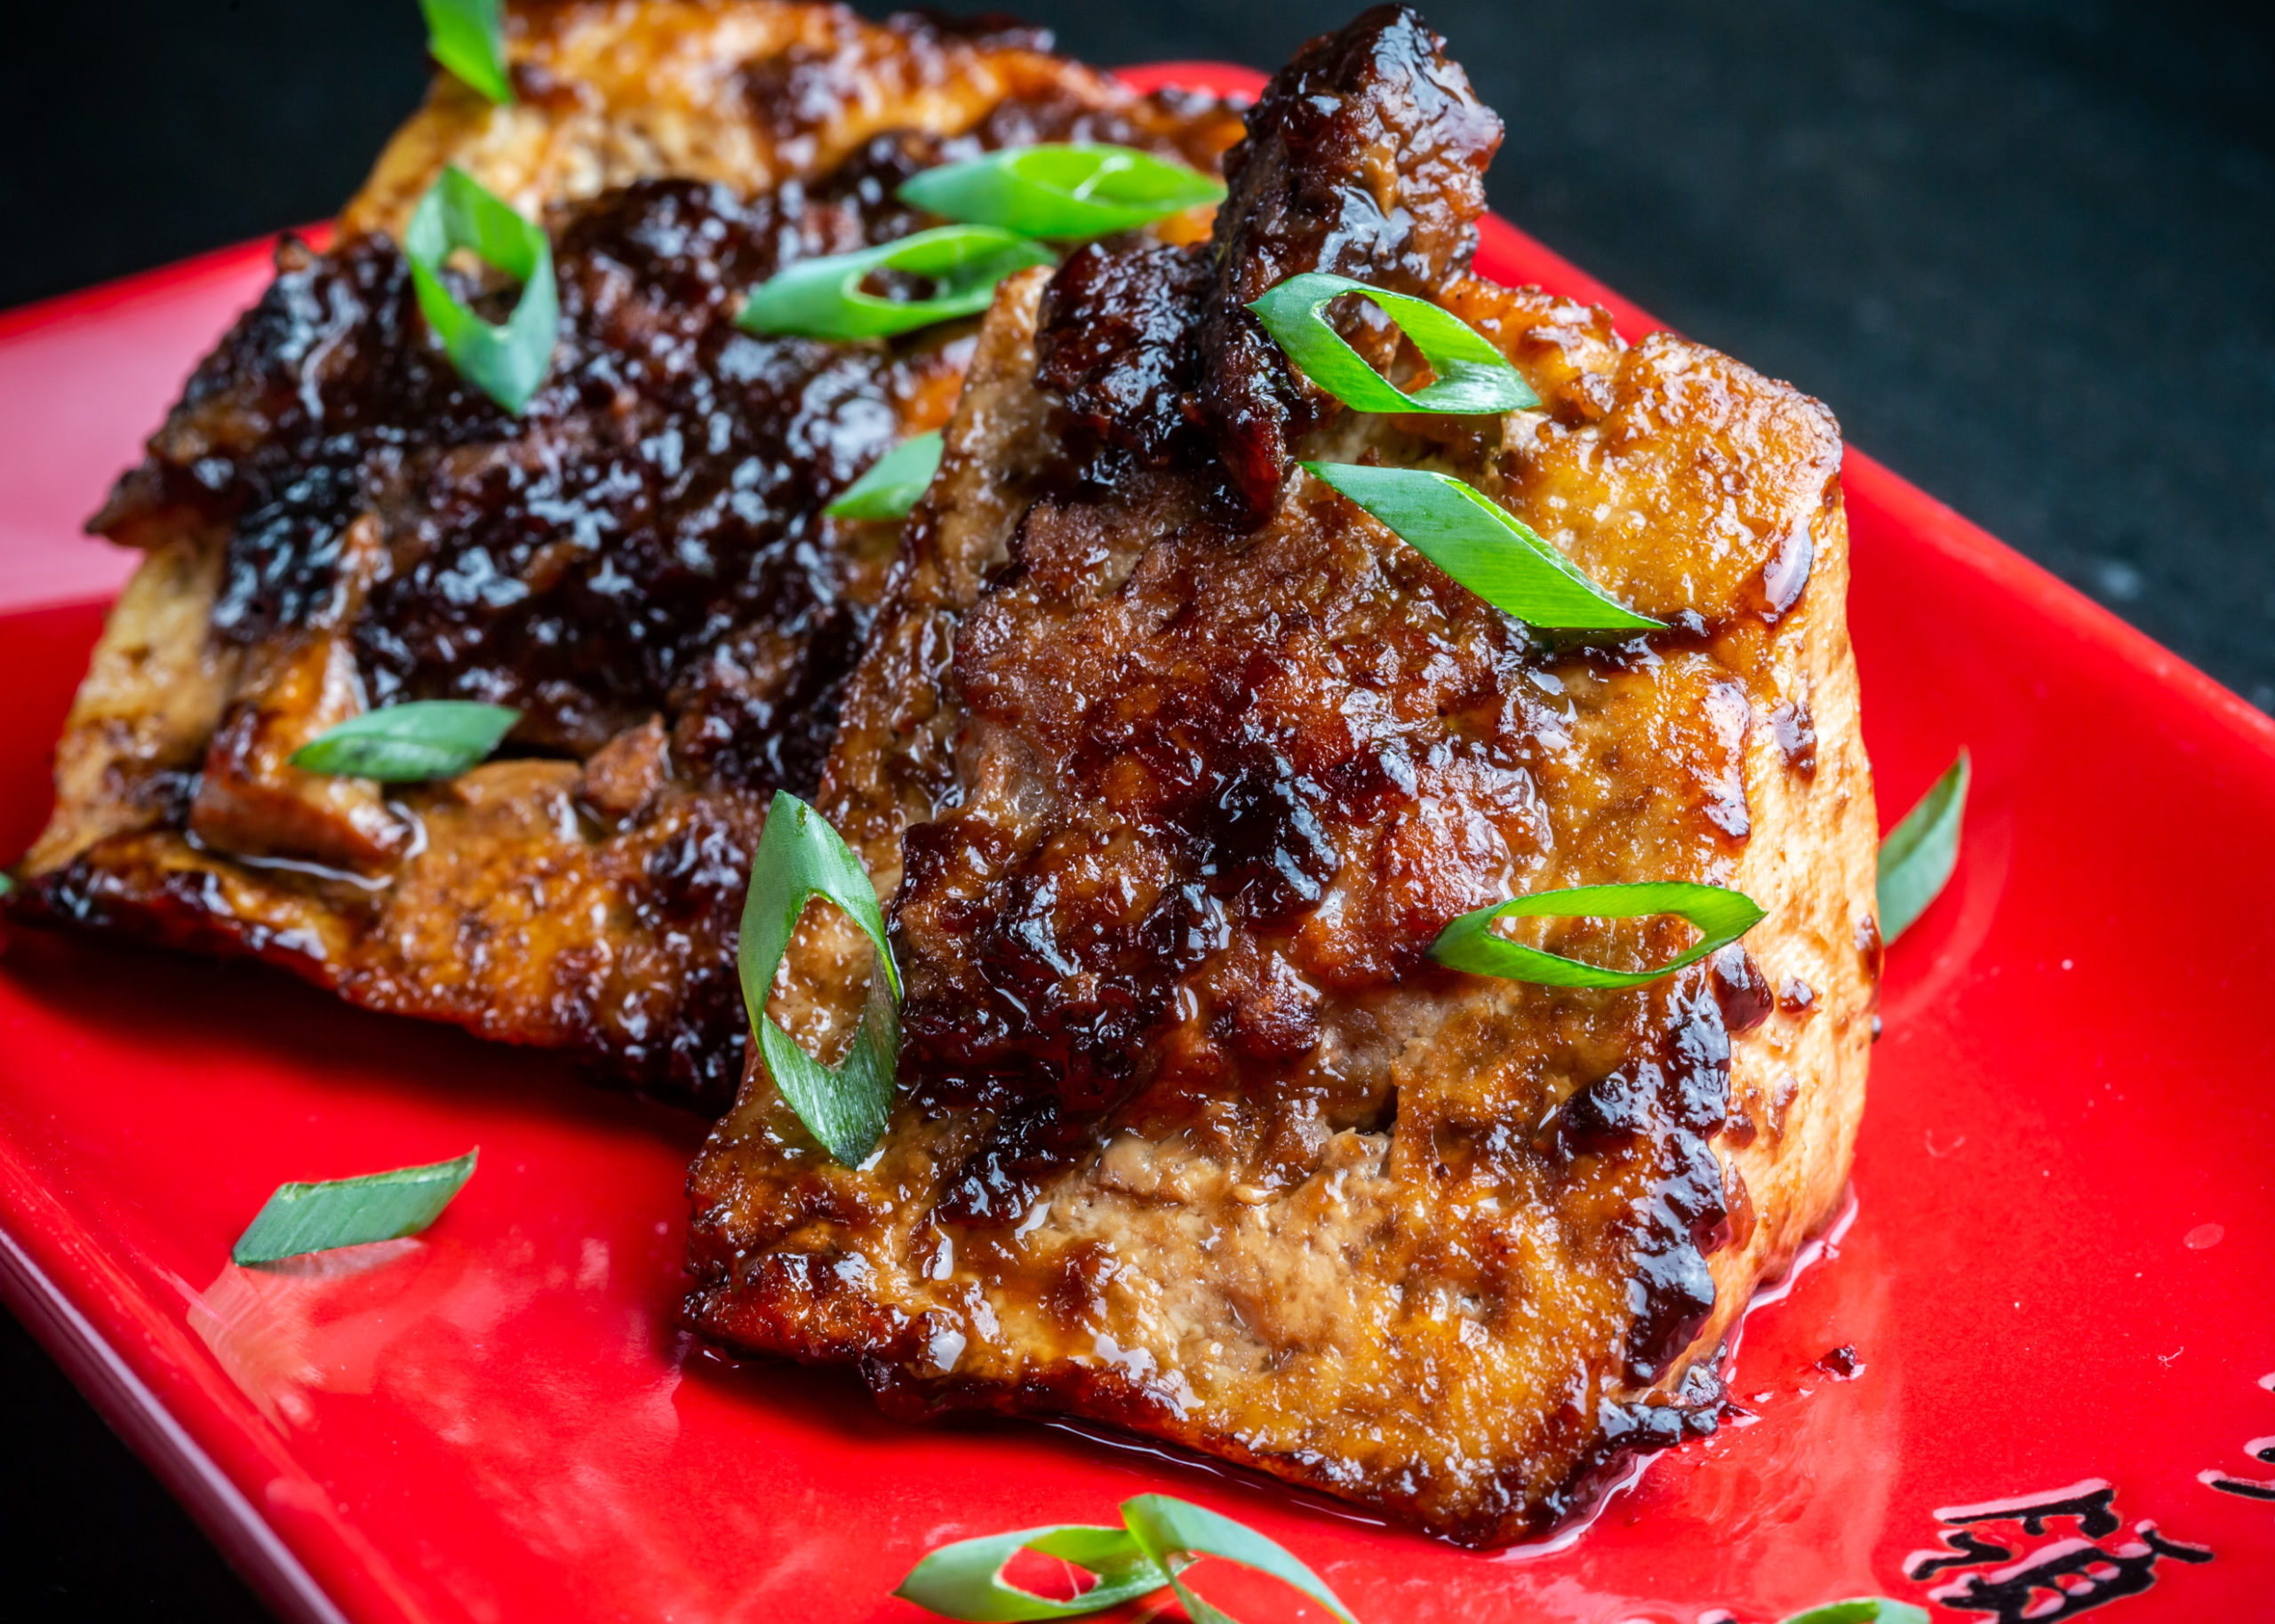
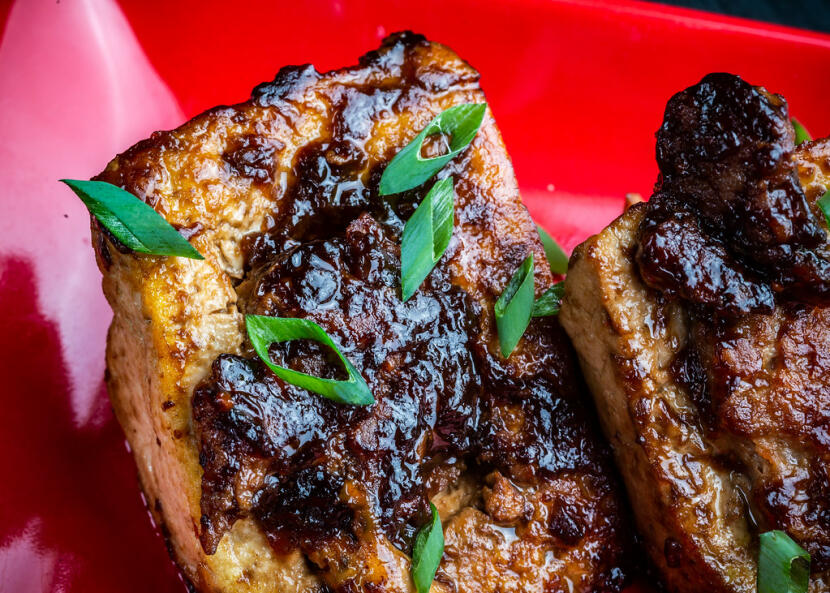
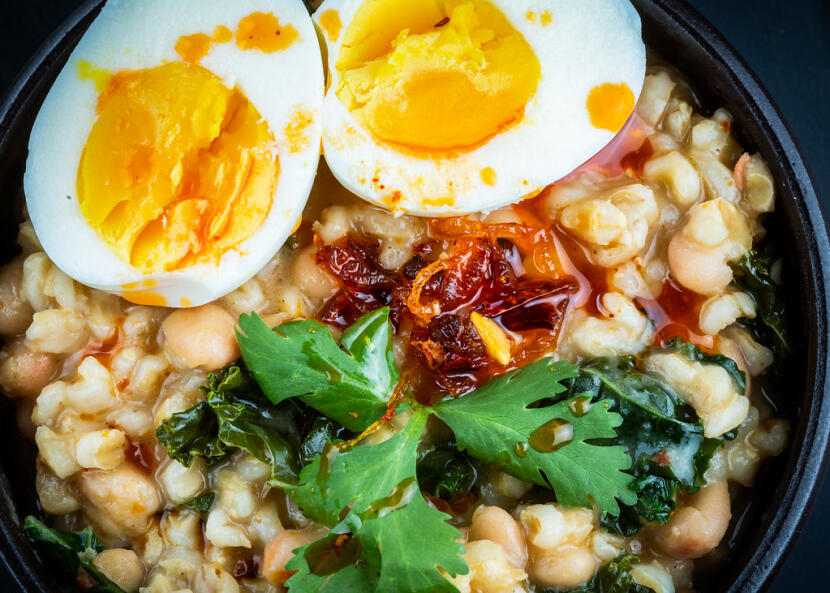
It’s the perfect summer kimchi. Spicy but refreshing. Cold and salty and so much umami. Excellent with rice, veggies, and especially grilled meat. (Methinks it’s time for some at-home KBBQ soon!)

Cucumber Kimchi

adapted from My Korean Kitchen

Ingredients
  • 1 lb (about 3) cucumbers, rinsed
  • 1 tbsp kosher salt
  • 20 g (1 bundle) chives, cut into 2″ pieces
Sauce
Cooking Directions
  1. Cut off both ends of the cucumbers and discard. Divide the cucumbers into 3 pieces, then quarter each piece lengthwise. Put the cucumber into a large bowl then gently mix in the salt so the cucumbers are evenly coated. Let rest for 20 minutes, then rinse and drain well.
  2. Combine all of the sauce ingredients, then gently mix into the cucumbers. Gently mix in the chives. Transfer into a glass container and cover.
  3. If desired, let sit at room temperature for about 12 to 18 hours before refrigerating. Serve chilled.

Sub to my YouTube channel to get notified whenever we have new videos!

Links in this post may be affiliate posts. If you buy an item through an affiliate link, I get a small fee, which helps support this blog!

Categories
YouTube

Tuna Burgers

Did you panic buy tuna?

I totally panic bought tuna.

Between COVID and realizing that our earthquake kits were WAY expired… we have a lot of tuna.

So if you’re anything like me, you now have a TON of tuna on hand, and you need ways to use it all up.

tuna burgers

These tuna burgers are SUCH a simple way to use a can or two of tuna. They’re easy to make, satisfying, and absolute comfort food for me.

My mom used to make these all the time when we were kids, and keep the foil-wrapped tuna burgers in the fridge for us to stick in the toaster oven.

(Don’t stick them in the microwave! It’s terribly embarassing to admit this, but it seems my parents never explicitly taught me not to put metal in the microwave? I quickly learned after a college roommate yelled at me when I absentmindedly went to heat one of these up.)

tuna burgers

Normally I’d use cubed cheddar for this, which will give you lovely little pockets of melted cheese.

Unfortunately all I have at the moment is shredded Mexican cheese, but that works well enough too.

These tuna burgers are what you’d get if you mixed the gooeyness of a grilled cheese sandwich with the simple satisfaction of a tuna sandwich, and wrap it all in the carby comfort of potato buns.

Tuna Burgers

Makes 4 burgers

Ingredients
  • 1 can tuna, drained
  • 4 oz cheddar cheese, cubed
  • 1/3 cup mayonnaise
  • 4 hamburger buns
Cooking Directions
  1. Combine tuna, cheese and mayonnaise in a medium bowl. Spoon onto bottom halves of buns, cover with tops. Wrap in foil. Bake at 350F for 20 min.

Sub to my YouTube channel to get notified whenever we have new videos!

Links in this post may be affiliate posts. If you buy an item through an affiliate link, I get a small fee, which helps support this blog!

Categories
YouTube

Guacamole

I was dancing around, singing “guacamole guacamole guacamole” while making this, and had a realization… guacamole… guaca-mole… mole! Like the sauce!

So I went and looked it up, and did you know that the word ‘guacamole’ comes from the Aztec word ‘ahuacamolli’, which translates to ‘avocado sauce’?! (There’s supposed to be a bar over that first ‘a’, but WP is being a brat and refuses to display it no matter what I do, so just know that I would have included the correct accents if I could have. *facepalm*)

Language is so cool.

me being a dork

So we’re making guacamole today! I’ve had all sorts of different versions in the past – restaurant guac, avocados mixed with jarred salsa at home, avocados mixed with mayo for grandma’s 7-layer dip, avocados mixed with cottage cheese (??) and other mixins at my grandpa’s. (I dunno. But it still tasted good!)

How do you like your guacamole?

And did anyone ever actually try that pea guacamole from the NY Times?

The guacamole I’m making today includes cherry tomatoes for sweetness, red onion for its bite, jalapeno for a floral touch of spice, herbacious cilantro (for those of us who love it), and the bright pop of lime juice.

Guacamole

Ingredients
  • 6 small avocados
  • 1 cup cherry tomatoes, diced
  • 1/4 red onion, diced
  • 1 jalapeno, seeded and diced
  • 1 tbsp cilantro
  • 1 tsp lime juice
  • salt and pepper
  • tortilla chips, to serve
Cooking Directions
  1. Carefully remove skin and pits from avocados. Scoop into a small bowl and mash to your preferred guacamole texture.
  2. Mix in diced tomatoes, red onion, jalapeno, and lime juice. Season with salt and pepper, to taste.
  3. Serve with tortilla chips for scooping, or on top of tacos. Enjoy!

Sub to my YouTube channel to get notified whenever we have new videos!

Links in this post may be affiliate posts. If you buy an item through an affiliate link, I get a small fee, which helps support this blog!

Categories
YouTube

Bacon Burgers

When you’re making bacon for your burger… gotta bacon fat all the things!!!

Bacon fat mushrooms.

Bacon fat onions.

Bacon fat burger!

So.
Much.
Bacon.

(…ignore the burnt bacon.)

Bacon Burger

Makes 4 burgers

Ingredients
  • 1/2 lb bacon
  • 1 lb mushrooms, sliced
  • 1/2 red onion, sliced into rings
  • 1 lb ground beef
  • 2 cloves garlic, minced
  • salt and pepper
  • 4 slices american cheese
  • 4 brioche or hamburger buns
  • 2 tbsp butter
  • mayonnaise
  • 1 tomato, sliced
  • 1 oz arugula, washed
Cooking Directions
  1. Cook bacon in a skillet over medium heat, to your desired level of crispiness. Try not to burn it. Set aside, reserving fat in pan.
  2. Cook mushrooms in bacon fat until dark brown and crispy. Set aside, reserving fat in pan.
  3. Cook onions in bacon fat until soft and golden. Set aside.
  4. Mix ground beef with garlic. Season with salt and pepper. Form into four thin patties.
  5. Cook burgers over medium-high heat in the bacon fat (or grill) until browned on both sides and to your desired level of doneness.
  6. When the burger patties are close to done, lay a slice of cheese on each patty and cover for a minute, or until cheese has melted and patty is cooked.
  7. Wipe out the skillet, melt the butter, and let brown slightly. Pan-fry the buns in the browned butter until golden-brown.
  8. Spread the buns with mayonnaise. Feel free to add ketchup if desired. Carefully layer tomato slices, arugula, the patty with cheese, bacon, red onion, and mushrooms on each bottom bun, and top with the top bun.
  9. Enjoy!

Sub to my YouTube channel to get notified whenever we have new videos!

Links in this post may be affiliate posts. If you buy an item through an affiliate link, I get a small fee, which helps support this blog!

Categories
YouTube

7-Layer Dip

It’s my grandma’s 7-layer dip recipe!

I make this every single year for family gatherings, and it’s my favorite not-so-healthy-but-totally-pretends-to-be-healthy snack.

Yes I know the mayo in guac is weird, but YOU DON’T MESS WITH GRANDMA’S RECIPES. Really, you should know better. ?

7-Layer Dip

Ingredients
  • 2 cans (9 oz each) Frito Lay bean dip
  • 3 large avocados
  • 2 tbsp mayonnaise
  • 1 tsp lemon juice
  • salt, pepper
  • 16 oz sour cream
  • 1 pkg (1 oz) Lawry’s taco seasoning mix
  • 1 can (4.25 oz) chopped olives, drained and patted dry
  • 2 large tomatoes, diced
  • 1 bunch green onions, chopped
  • 8 oz cheddar cheese, grated
Cooking Directions
  1. Spread the bean dip on the bottom of a large casserole dish.
  2. Mash the avocados, mayonnaise, lemon juice, and salt and pepper together to make guacamole. Spread on top of the bean dip.
  3. Mix the sour cream with the taco seasoning mix. Spread on top of the guacamole.
  4. Sprinkle the chopped olives evenly on top of the sour cream mix. Do the same with the diced tomatoes, then the green onions, and lastly the cheddar cheese.
  5. Chill until ready to eat. Serve with plenty of tortilla chips.

Sub to my YouTube channel to get notified whenever we have new videos!

Links in this post may be affiliate posts. If you buy an item through an affiliate link, I get a small fee, which helps support this blog!

Categories
Twitch Streaming YouTube

Stuffed Tofu

This recipe came as a result of a cookbook redemption on our Twitch stream – LelioTaru chose The Breath of a Wok, so we had to cook something from it!

We wanted to do something a little different, since we’ve done stir-fries many times before. This stuffed tofu looked interesting, and holy cow was it a good choice.

stuffed tofu

Flavorful, filling, satisfying deliciousness! The sauce is that same sticky-sweet sauce that you see in many stir-fries, the pork is super flavorful, and the tofu ends up firm, meaty, and oh so tasty thanks to the frying. I don’t think I’d ever had stuffed tofu before, so I wasn’t quite sure what to expect – but I absolutely loved it!

See the full video on Twitch, and follow our SushiDay Twitch channel to get notified when we’re live!

Today’s Question of the Day: What is your favorite planet, and why?

Cantonese Stuffed Tofu

from The Breath of a Wok

Ingredients
  • 1 tbsp dried shrimp
  • 4 squares firm tofu (about 14 oz), rinsed
  • 3/4 tsp salt
  • 4 oz ground pork
  • 2 tsp cornstarch
  • 1/4 tsp sugar
  • 1/8 tsp ground white pepper
  • 1 tsp sesame oil
  • 1/4 cup minced scallions
  • 2 tbsp canola oil
  • 1 garlic clove, thinly sliced
  • 3/4 cup chicken broth
  • 2 tsp soy sauce
  • 1 tsp black soy sauce
  • 1 tbsp oyster sauce
  • cilantro sprigs, optional
Cooking Directions
  1. In a small saucepan, bring 1/2 cup water to a boil over high heat. Add the shrimp, reduce the heat to low, and simmer 1 minute. Drain, reserving the water. Finely mince the shrimp. Set aside.
  2. Put the tofu squares on several sheets of paper towels. Sprinkle 1/2 tsp of the salt evenly over the tofu and set aside. In a medium bowl, combine the pork, 1 tsp of the cornstarch, the sugar, pepper, remaining 1/4 tsp salt, and minced shrimp. Stir in 1/2 tsp of the sesame oil, the scallions, and 1 tbsp of the reserved shrimp liquid with 1 tbsp cold water.
  3. Cut each tofu square diagonally into 2 triangles. Using a paring knife, cut a shallow pocket laterally along the cut edge, removing some of the bean curd. The pocket should be about 2 1/2 inches long and 1/2 inch deep. Discard the excess tofu. Stuff each triangle with about 1 tbsp of the filling, packing it to extend beyond the pocket.
  4. Heat a 14″ flat-bottomed wok over high heat until a bead of water vaporizes within 1 to 2 seconds of contact. Swirl in the canola oil and add each tofu triangle pork side down. Reduce the heat to medium and pan-fry about 2 minutes. Scatter the garlic in the pan and cook 1 minute. Swirl in the broth with 1/4 cup cold water and bring to a boil over high heat. Cover, reduce the heat to medium-low, and simmer about 3 minutes. Then, using a metal spatula, carefully loosen each triangle and turn onto its side. Swirl in the soy sauce, cover, and continue simmering about 4 minutes, turning midway. Stir in the black soy sauce, oyster sauce, and remaining 1/2 tsp sesame oil.
  5. In a small bowl, combine the remaining 1 tsp cornstarch with 1 tbsp cold water. Increase the heat to high, swirl the cornstarch mixture into the wok, and cook, gently stirring, 30 seconds or until the sauce is slightly thickened and the pork is cooked through. Garnish with cilantro if desired.

Sub to my YouTube channel to get notified whenever we have new videos!

Links in this post may be affiliate posts. If you buy an item through an affiliate link, I get a small fee, which helps support this blog!

Categories
Twitch Streaming YouTube

Cake flour biscuits

What better to go with stew than freshly-baked biscuits?

In the spirit of using things up, I have a ton of cake flour that needs to be used… so this cake flour biscuit recipe seemed like the perfect choice!

biscuits

The biscuits were super easy to make, and turned out light and flaky and wonderful. And they make for excellent breakfast sandwiches if you have any leftovers!

A note: The recipe called for half butter, half lard, but all I had was butter. It turned out great using all butter, but if you have access to lard, then by all means use that!

See the full video on Twitch, and follow our SushiDay Twitch channel to get notified when we’re live!

Today’s Question of the Day: If you could be an astronaut, would you?

Cake-Flour Biscuits

recipe adapted from Sam Sifton’s recipe in the NY Times

Ingredients
  • 2 1/4 cups cake flour, plus more for dusting
  • 1 tbsp baking powder
  • 1 tbsp sugar
  • 1 tsp salt
  • 6 tbsp cold unsalted butter
  • 3/4 cup whole milk
Cooking Directions
  1. Preheat oven to 425F. Sift flour, baking powder, sugar, and salt into a food processor. Cut butter into pats and add to flour, then pulse 5 or 6 times until the mixture resembles rough crumbs. Transfer dough to bowl, add milk, and stir with a fork until it forms a rough ball.
  2. Turn the dough out onto a well-floured surface and pat it down into a rough rectangle, about an inch thick. Fold it over and pat it down again, as gently as you can. Repeat. Now gently pat out the dough some more, so that the rectangle is roughly 10 inches by 6 inches. Gently cut dough into squares.
  3. Place biscuits on a parchment-lined cookie sheet and bake until golden brown, approximately 10 to 15 minutes.

Sub to my YouTube channel to get notified whenever we have new videos!

Links in this post may be affiliate posts. If you buy an item through an affiliate link, I get a small fee, which helps support this blog!

Categories
Twitch Streaming YouTube

Chili Crisp Bean Stew

I’m always looking for recipes that are:
– tasty
– satisfying
– and use up ingredients we already have.

I made this chili crisp recipe on stream a while ago, but it’s SO SPICY that we hardly use it. This chili crisp bean stew recipe looked like the perfect way to use it up that wouldn’t be overwhelmingly spicy!

chili crisp bean stew

Son went into this thinking that this was going to be SUCH a boring meal, but we both loved it. The beans, barley, and kale make it hearty enough to be satisfying, and the chili crisp adds plenty of excitement for your taste buds! It still burns… but in the best possible way. Yum.

See the full video on Twitch, and follow our SushiDay Twitch channel to get notified when we’re live!

Today’s Question of the Day: If you could be an astronaut, would you?

Chili Crisp Bean Stew

from I Am A Food Blog

Ingredients
  • 1 tbsp canola oil
  • 2 cloves garlic minced
  • 1/2 onion, diced
  • 2 tbsp chili crisp or chili oil
  • 1 (15 oz) can white beans
  • 2 cups vegetable or chicken broth
  • 1 cup cooked pearl barley
  • 2-3 kale leaves, stemmed and ripped into bite sized pieces
  • 1 cup cilantro, roughly chopped
  • salt and fresh-ground black pepper
  • soft-boiled eggs
Cooking Directions
  1. In a pot over medium-high heat, heat the oil until it shimmers. Add the garlic and onion and cook, stirring occasionally, until soft and lightly golden, 3-4 minutes.
  2. Stir in the chili crisp and beans. Cook until the beans start to break down and are coated with the chili oil. Lightly mash some of the beans to help thicken the stew.
  3. Add the broth and cooked barley, and bring to a simmer. Cook, stirring occasionally, until desired thickness is reached, 15-20 minutes.
  4. Stir in the kale and cook until just wilted. Taste and season with salt and pepper.
  5. Serve with chopped cilantro and eggs. Garnish with additional chili crisp, if desired.

Sub to my YouTube channel to get notified whenever we have new videos!

Links in this post may be affiliate posts. If you buy an item through an affiliate link, I get a small fee, which helps support this blog!

Categories
Twitch Streaming YouTube

Cà ri gà (Vietnamese Chicken Curry)

We’ve started creating short recipe videos for YouTube! However, if you want to see the full video, you can always check out our full VoDs on Twitch: https://www.twitch.tv/videos/630918787

Today’s recipe is cà ri gà (Vietnamese chicken curry)! This is a recipe from Son’s mom – we made it a couple of years ago on stream, and it’s a family favorite.

vietnamese curry

Today’s Question of the Day: What is your favorite type of rice?

Cà ri gà (Vietnamese Chicken Curry)

Ingredients
  • 1 chicken (chopped into pieces) or chicken legs & thighs
  • 2 tsp sugar
  • 1 tsp salt
  • 1 tbsp fish sauce
  • 1 stem lemongrass, ground
  • 1 tbsp curry powder
  • black pepper
  • 2 big carrots
  • 2 sweet potatoes
  • 2 potatoes
  • 1 taro
  • cooking oil
  • 2 lemongrass stems, smashed
  • 5 shallots, thinly sliced
  • 1 or 2 white onions, chopped
  • 1 tbsp curry powder
  • 1 tsp paprika
  • 2 cans Coco Rico (coconut soda)
  • 1 can chicken broth
  • 2 cans coconut milk
Cooking Directions
  1. Cut the chicken into pieces. Add sugar, salt, fish sauce, 1 lemongrass stem (ground), 1 tablespoon of curry powder, black pepper. Then mix them all and marinate overnight or 1 hour before cooking.
  2. Cut the carrots, sweet potatoes, potatoes, and taro into 1″ pieces. Heat a pot of oil over medium-high heat. Fry the vegetables first so they won’t break up in the curry. Set aside.
  3. In a large pot, sauté the 2 lemongrass stems (smashed), shallots, and white onion over medium heat. When they’re all caramelized, lower the heat and add 1 tablespoon curry powder and the paprika, cook for 1 minute.
  4. Add all the marinated chicken to the pot, raise the heat to medium-high, and cook, stirring, until the chicken starts to cook. Add the Coco Rico and chicken broth; bring to a boil then let it cook at medium heat for 15 minutes.
  5. Add the carrots, and cook for 10 minutes. Then add the potatoes, sweet potato, and taro, then cook until everything becomes tender. Pour in the coconut milk, stir to combine, and taste for flavor. If needed, add more sugar, salt, or white onion. Bring to a boil, then turn off the heat. Serve with French bread or rice.

Sub to my YouTube channel to get notified whenever we have new videos!

Links in this post may be affiliate posts. If you buy an item through an affiliate link, I get a small fee, which helps support this blog!