When I make this kazari sushi, I tend to make a bunch of rolls all at once.
So I’ll color a bunch of rice, cut up all my ingredients, and then attempt as many different kazari sushi rolls as I can think of that day.
Inevitably, I’ll have a little of this, a little of that left over, but I would hate for it to go to waste!
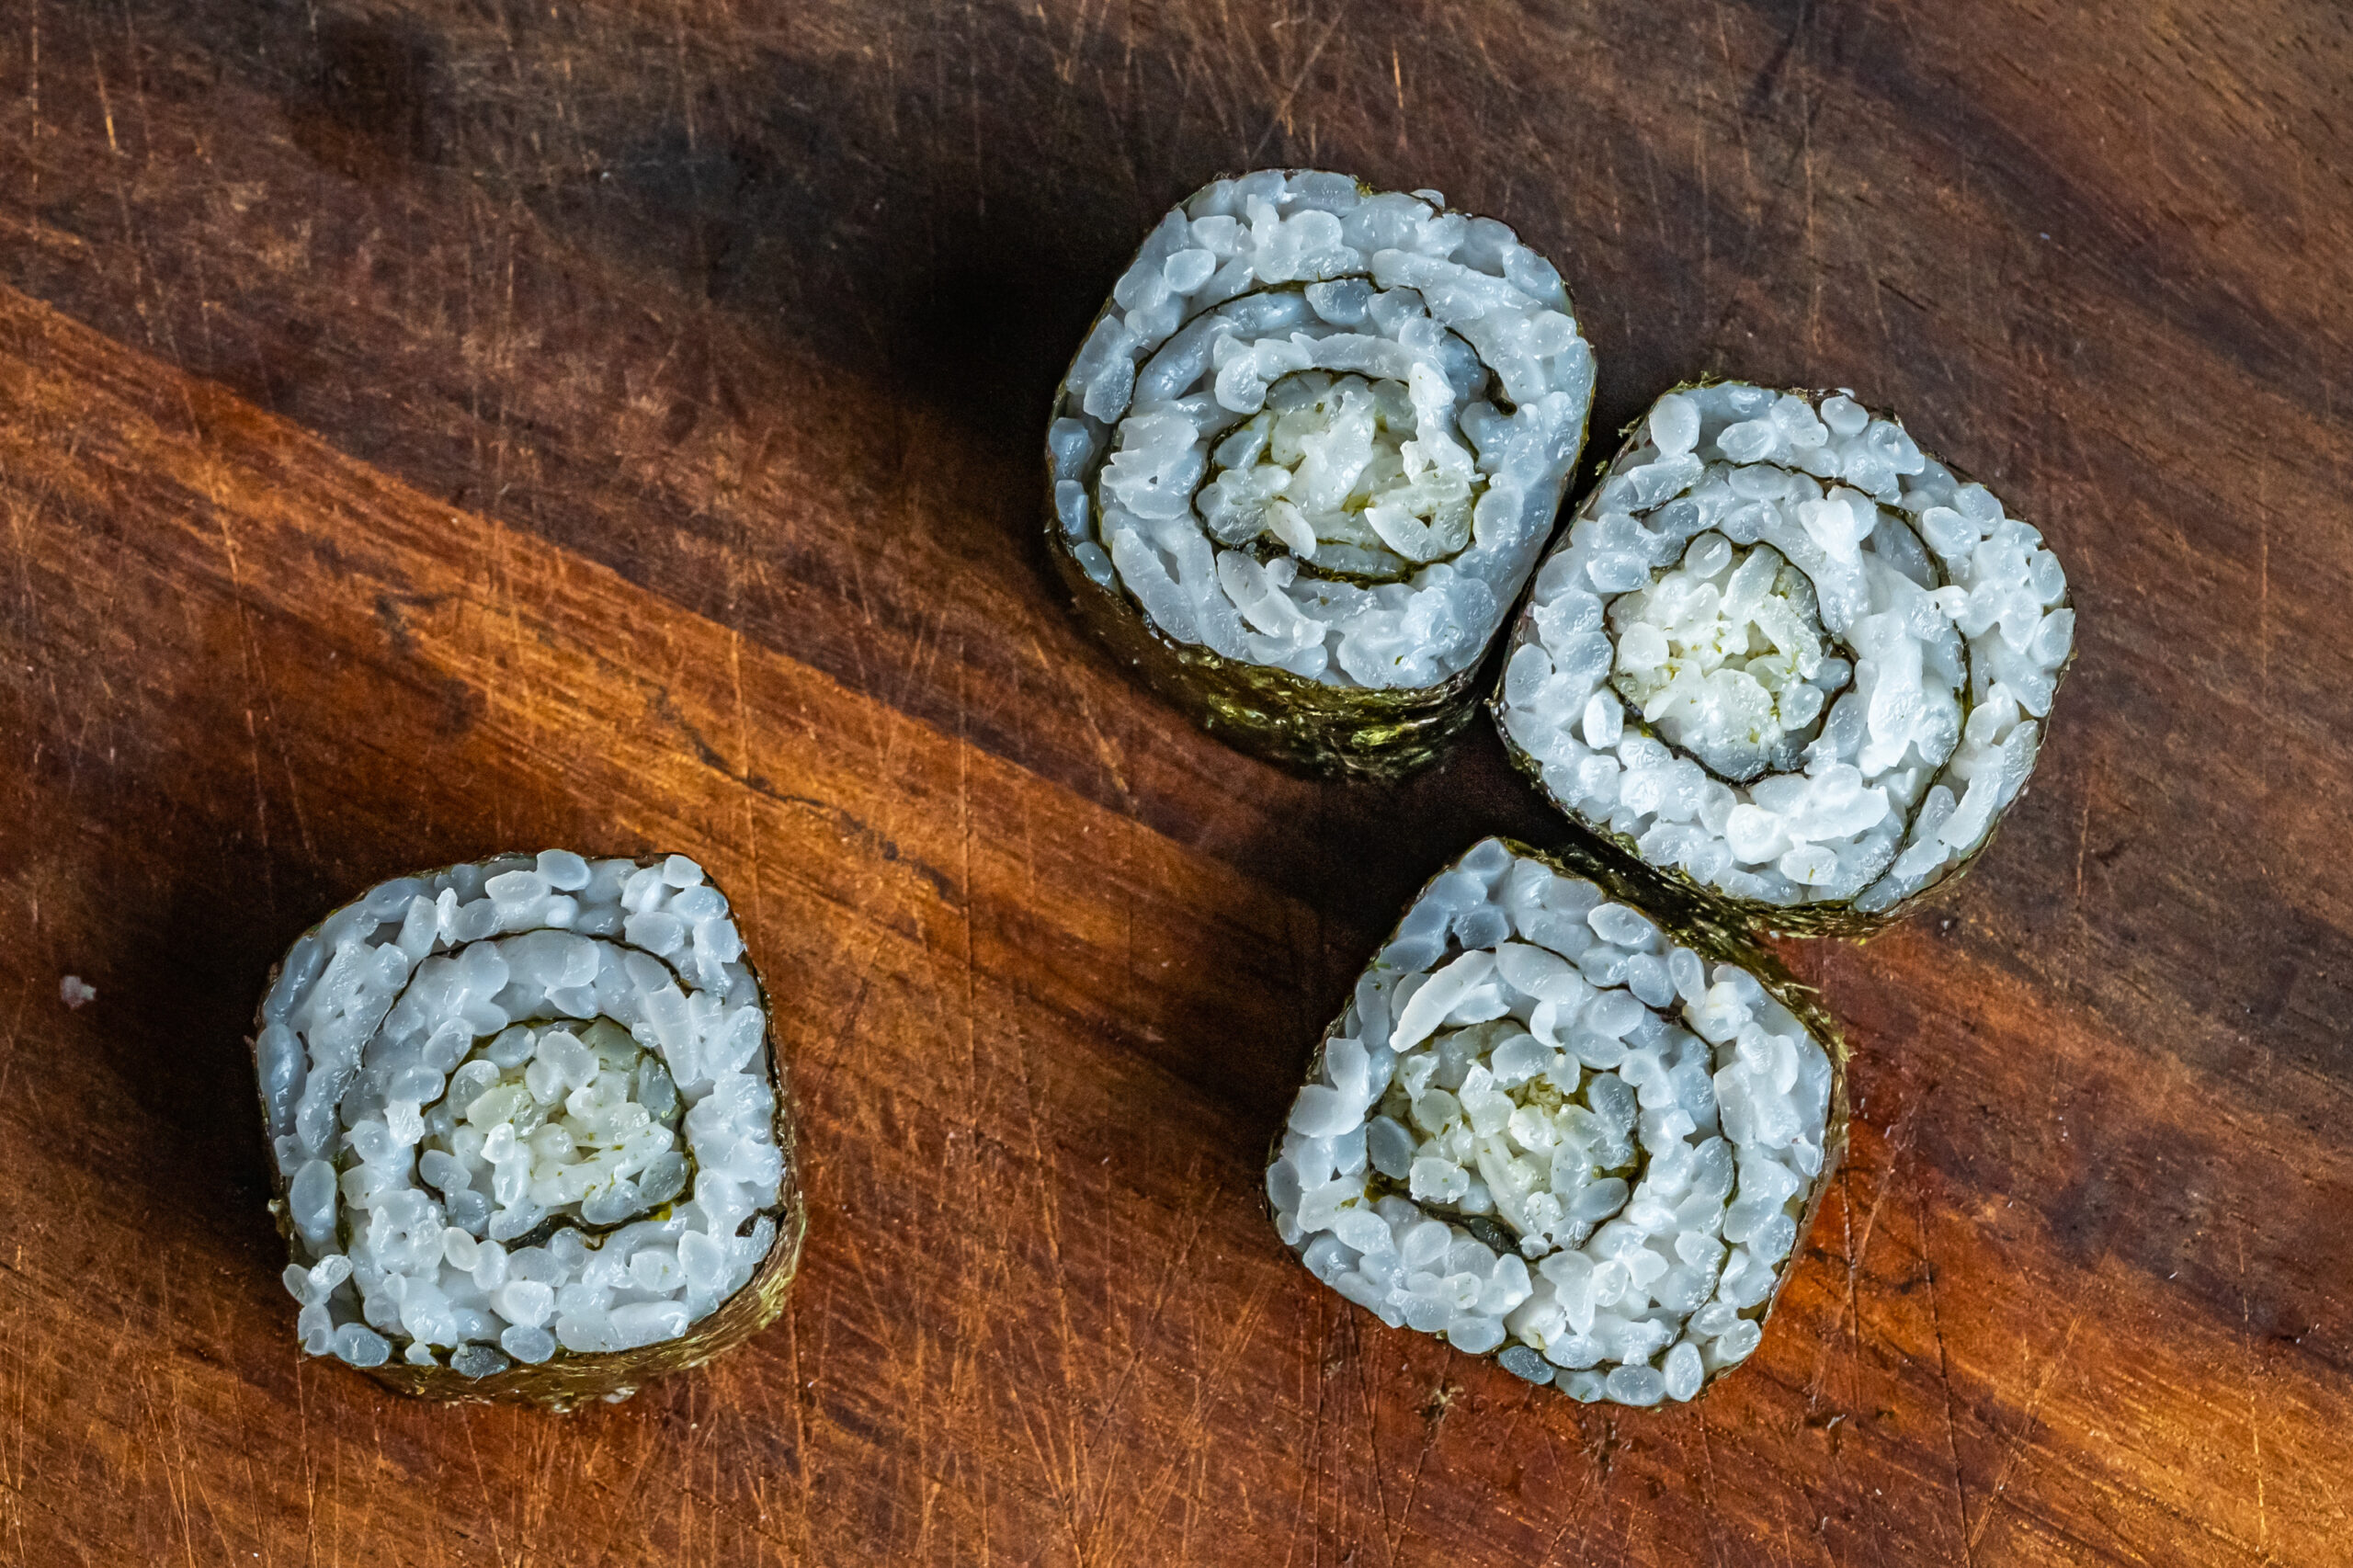
So with every batch of videos, we end up with one or two like this. I had a little green-colored rice left, and a bit more uncolored sushi rice, so let’s play and see what fun designs we can make with it!
Today I ended up with this cute little spiral, starting with green in the center and spiraling out into white.
It may have been leftovers, but I think we ended up with my most elegant kazari sushi yet!
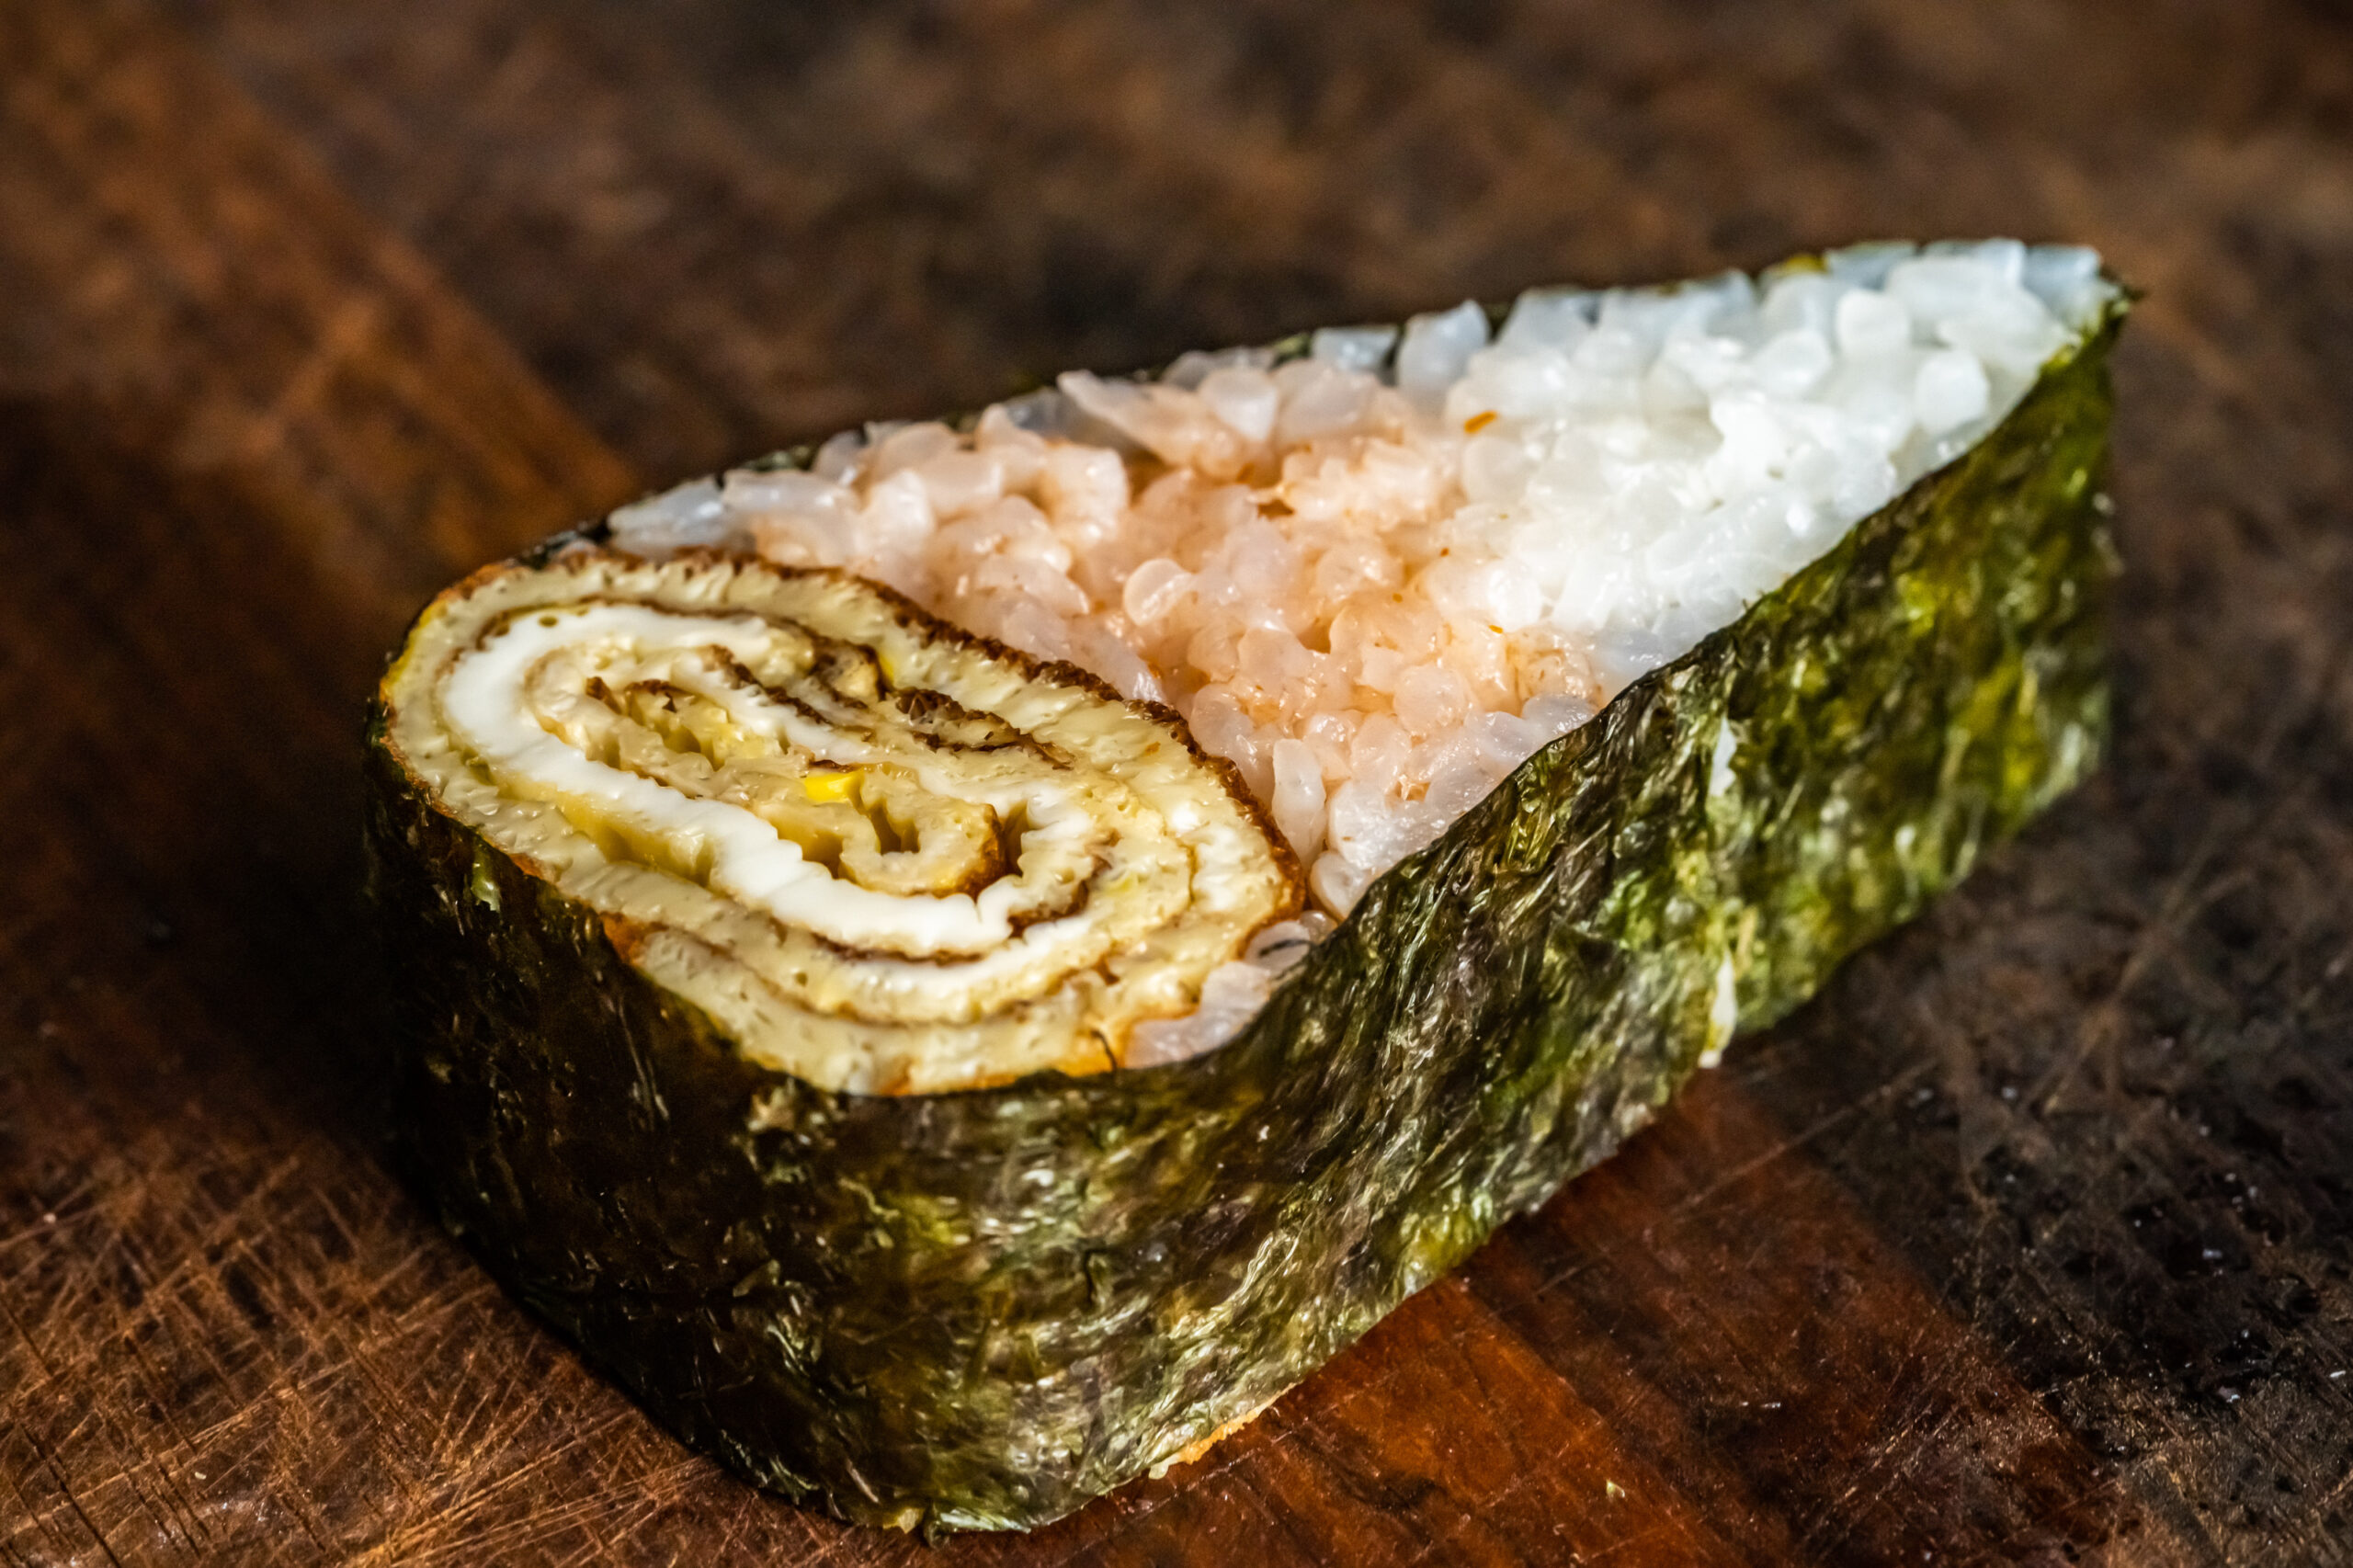
I know I missed Halloween, but I don’t care, because it’s my first original kazari sushi idea and I just had to see if the idea in my head would actually work in real life!
It’s a little lopsided, because I’m definitely still working on my shaping skills, but look! It’s a candy corn!!!
We’ve got rolled tamago for the yellow bit, sushi rice colored with ketchup for the orange layer, and then plain sushi rice for the white bit up top.
I know not all of y’all are particularly fond of candy corn, but I think this is a version we can all get behind.
And this candy corn lover? Is absolutely in LOVE with how this candy corn sushi turned out. I’m so happy with it!
I decided to get back to my sushi roots, and start posting sushi every day! My first few were total trash, BUT I’m finally trying to learn how to do kazari sushi – the sushi with the cool shapes and designs.
This is such a quick and dirty tamago recipe. One of these days I’ll develop/film a real, more precise recipe… but this is just showing how I make tamago at home when I’m making it for filming.
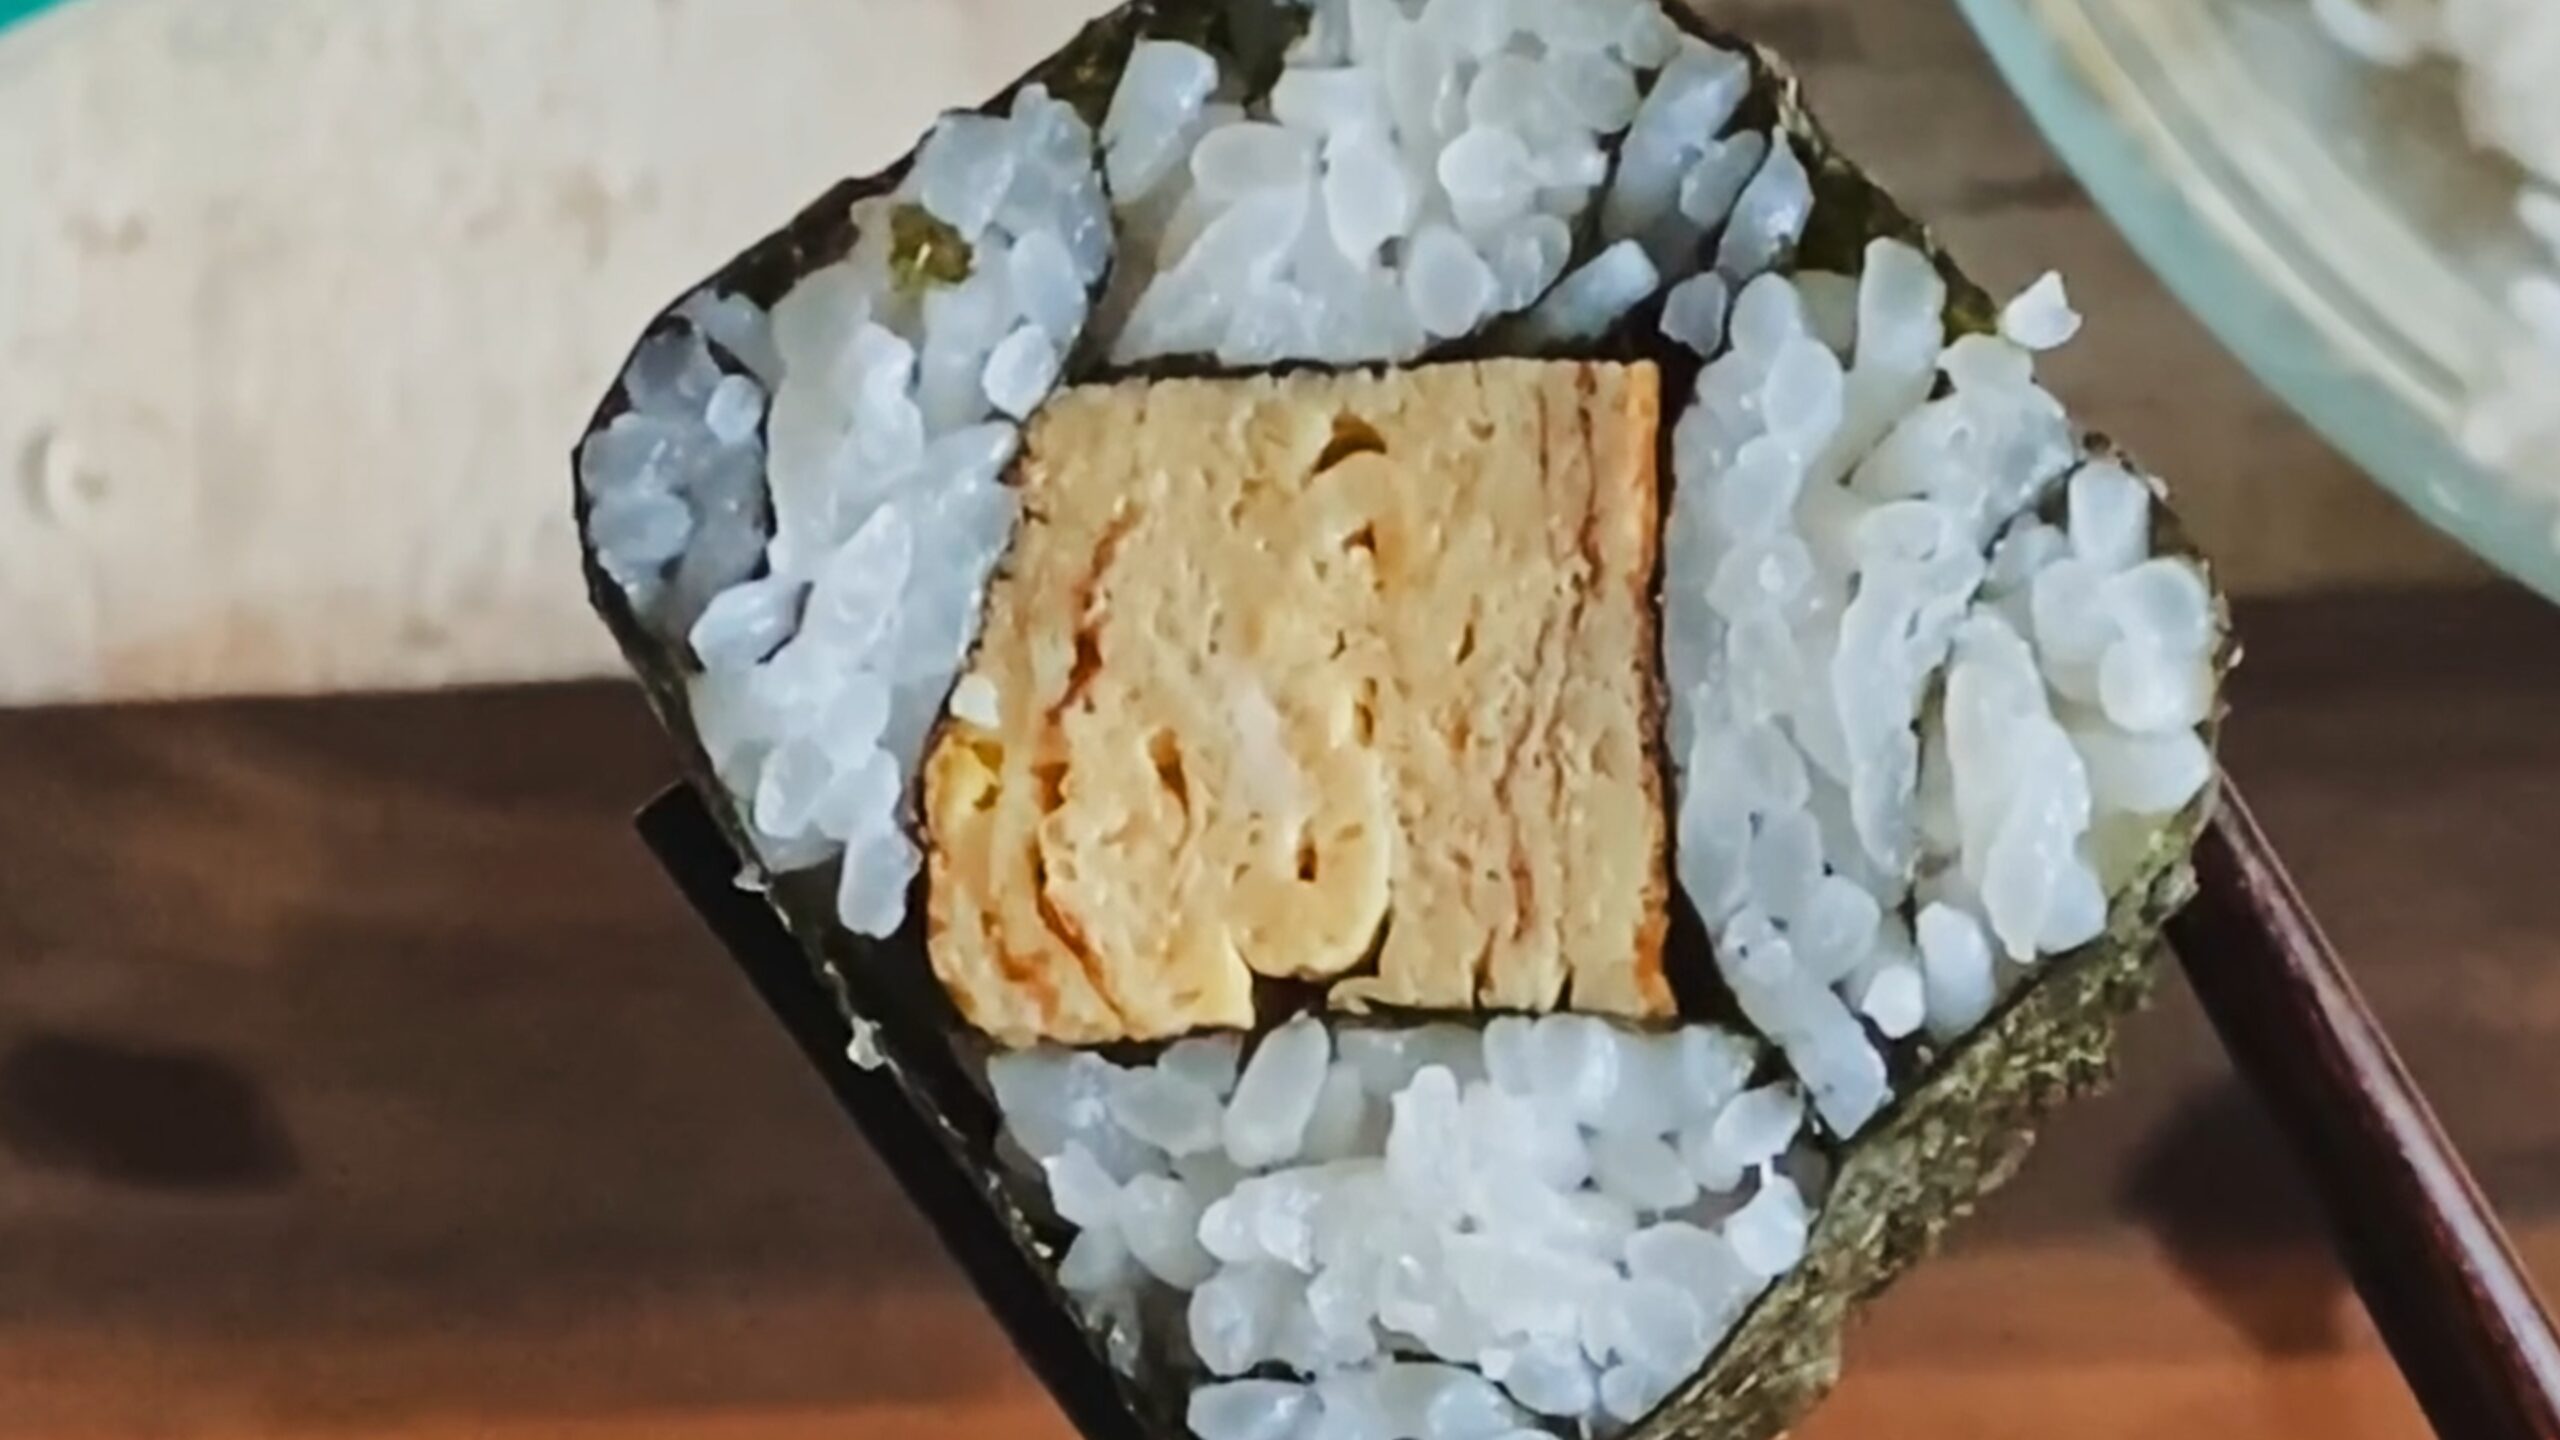
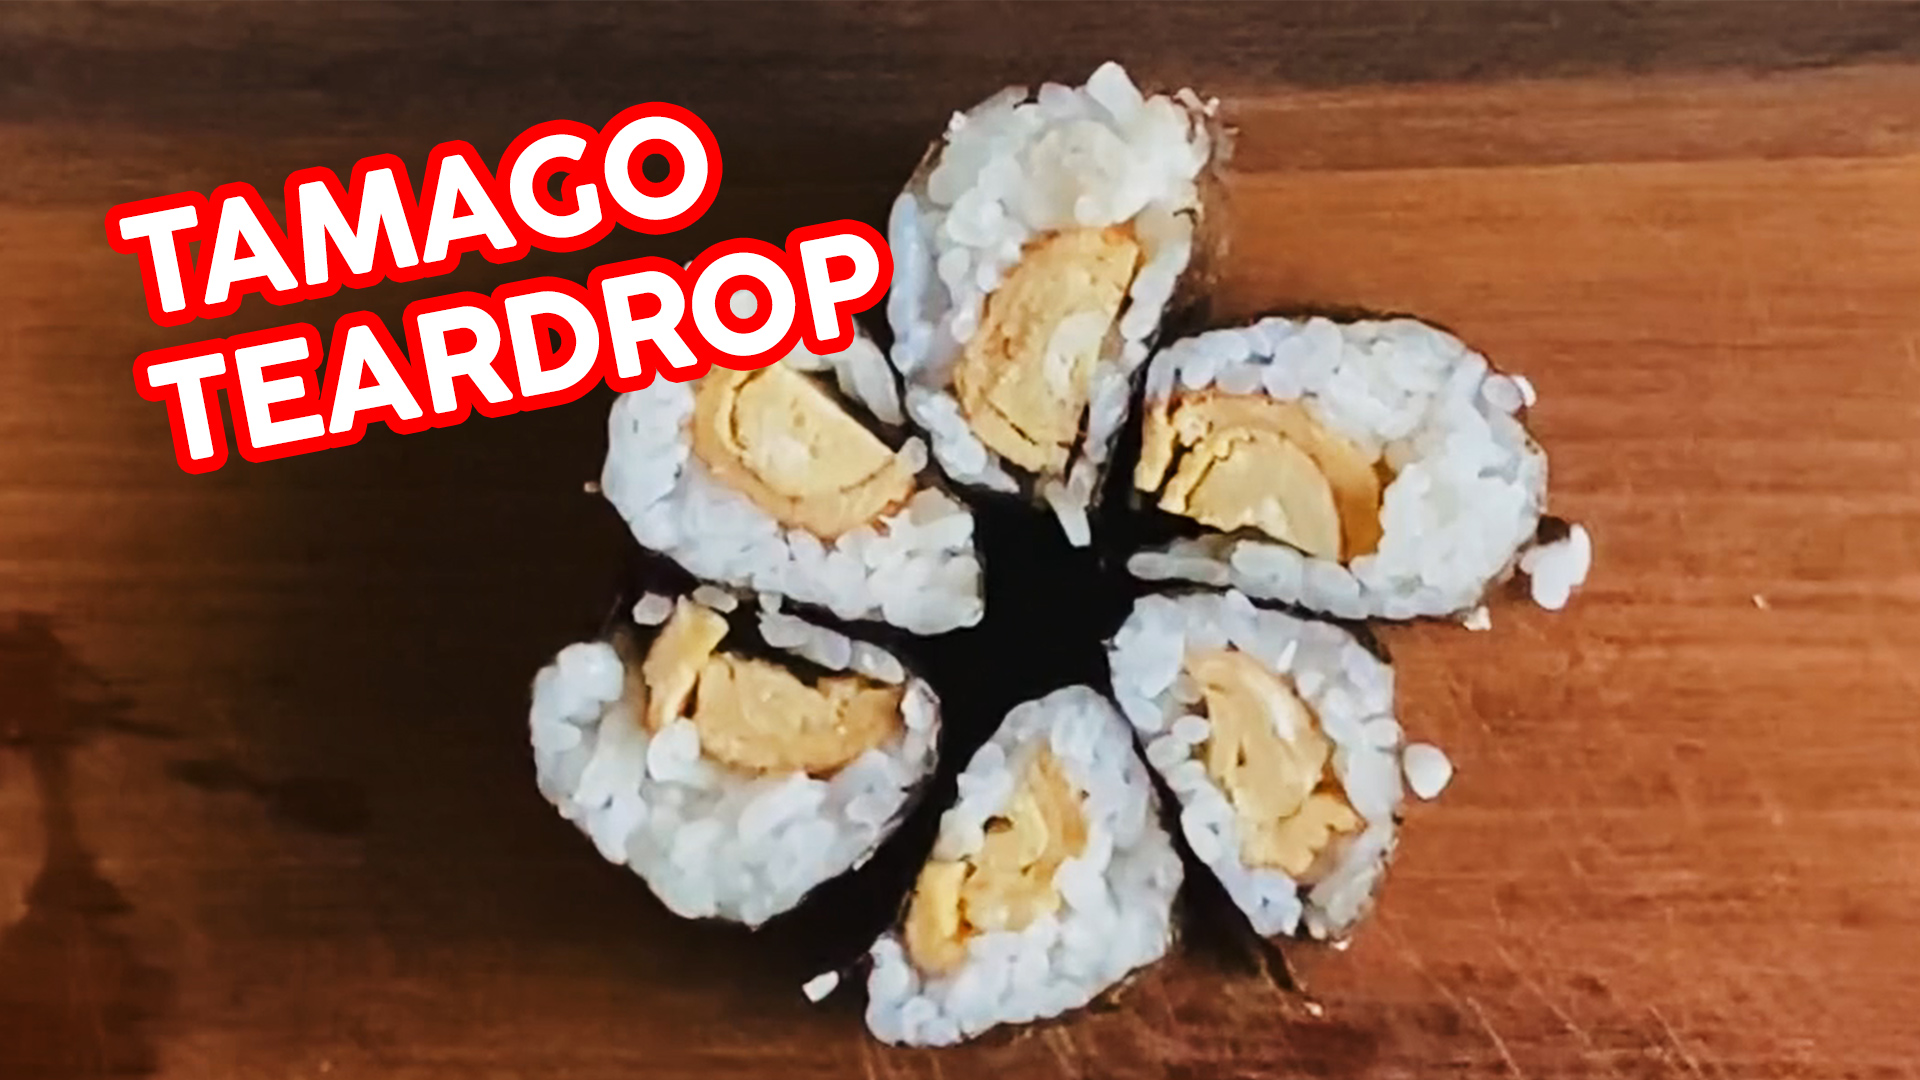
We have graduated from simple shapes, and now we’re making the kind of kazari sushi where you’re actually cutting rolls, rearranging them, and making things just a tad bit more complicated!
I used some tamago for the center, because that’s really easy to cut into a long square that will fit nicely in between the cut rolls.
Still working on shaping skills because this is a heck of a lopsided roll, but even with the unevenness, look how cool this turned out!
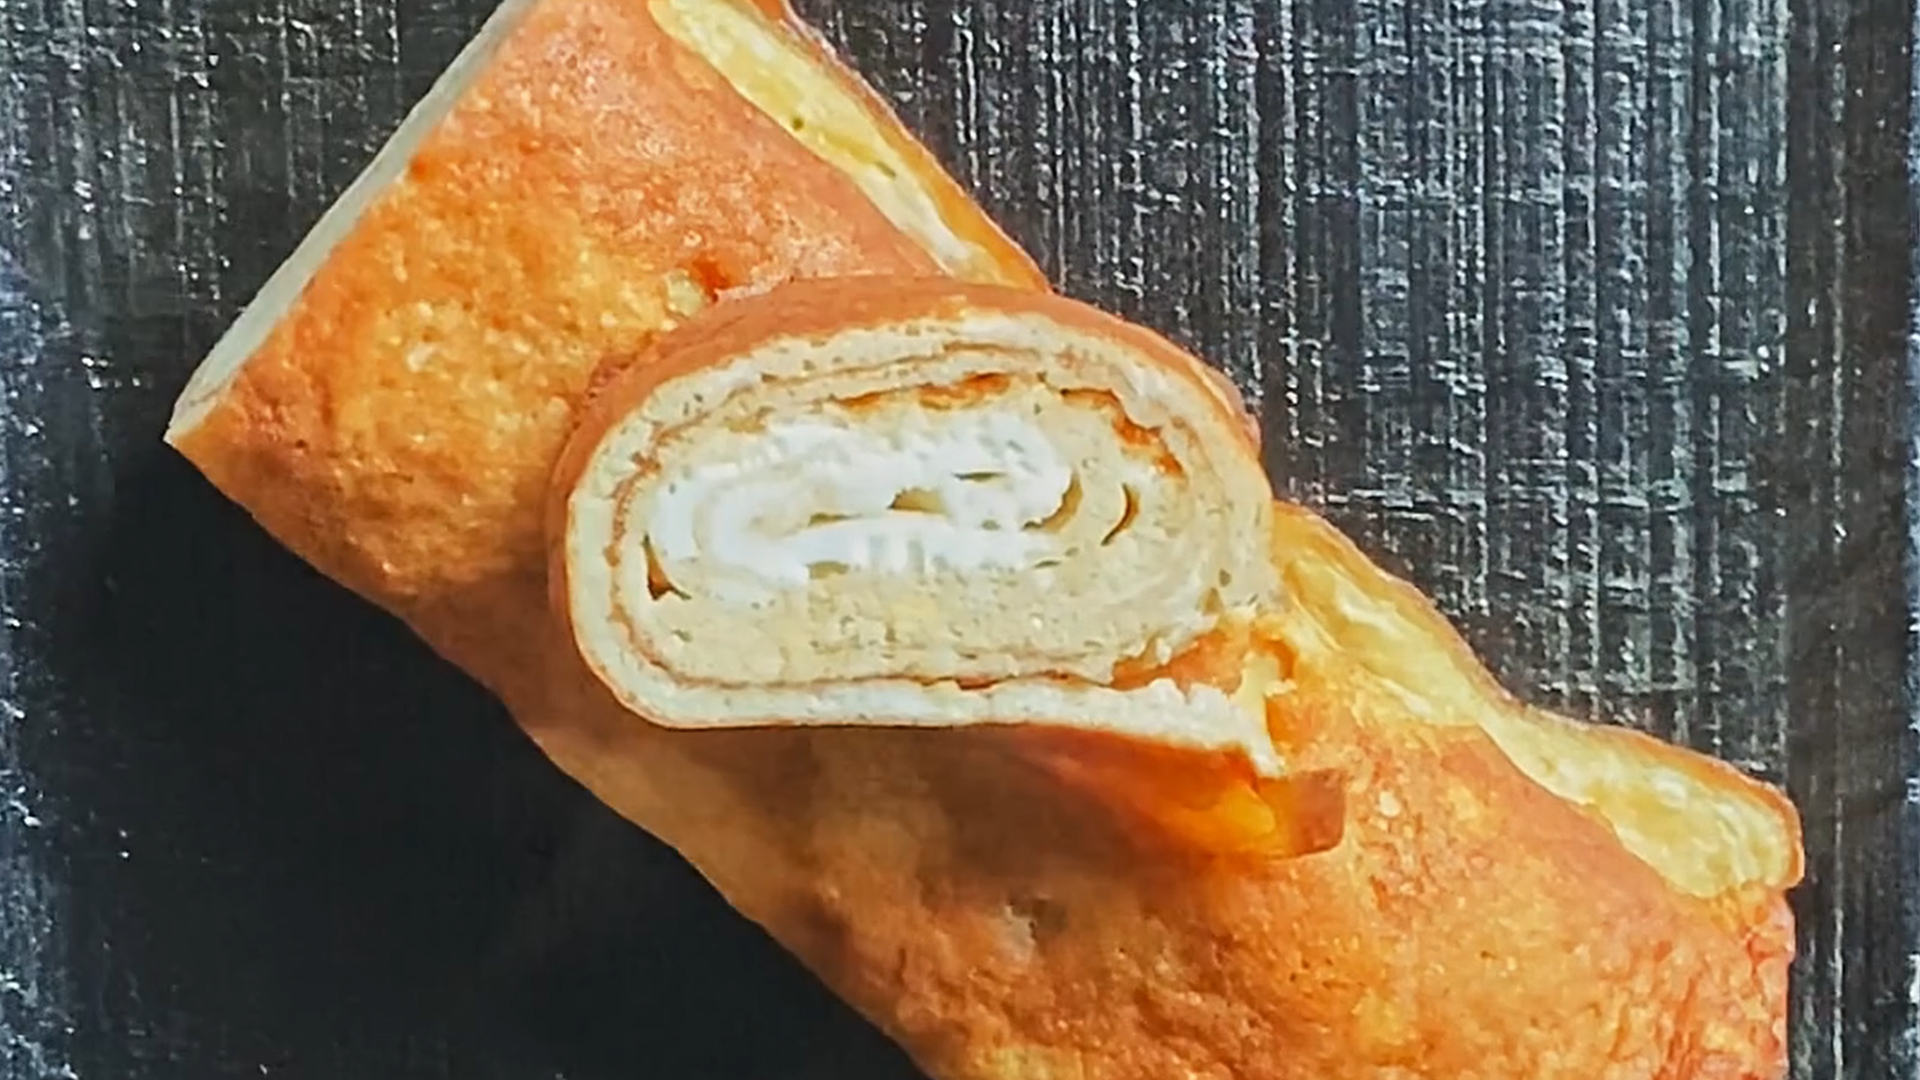
Since I have started doing sushi videos every single day, I figured I should do a quick video to show you how I make tamago, which is that Japanese egg omelette.
Start with a couple of eggs. I like to mix in some mirin and some shoyu (which is soy sauce).
Mix that all until it’s completely combined, and then take out your tamago pan, although you can use a normal pan if that’s all you got.
Coat your pan with just a very very thin layer of oil – you don’t want a lot of oil in here – and then pour in a very very thin layer of the egg that you whisked. Make sure you completely coat the bottom, and let it set. And then once it’s set, roll it up.
I’m using cooking chopsticks for this but you can use a spatula, that’ll work perfectly fine.
Once you’ve rolled it, carefully pour in more of that whisked egg. Coat the bottom again, tipping up the rolled bit so that it gets underneath that too.
Let it set, roll it up, keep doing that until you’ve used up all of the egg.
Once it’s all cooked and all rolled, you can remove it from the pan and slice it up, and you’ve got tamago!
Tamago
Ingredients
2 large eggs
1 tsp mirin
1 tsp shoyu
neutral oil for coating
Cooking Directions
Whisk the eggs, mirin, and shoyu together.
Heat a tamago pan or small nonstick skillet over medium-low heat. Lightly coat bottom and sides with a neutral oil.
Pour 1/3 of the whisked egg into the pan, tipping the pan so it covers the entire bottom.
When egg has set, use chopsticks or a spatula to roll it up. Scoot it to the other side of the pan, then pour in another 1/3 of the egg mixture to coat the bottom, this time lifting the rolled egg up so some of the uncooked egg mixture gets underneath.
Repeat until you have used up the egg mixture.
Remove from pan, and slice if desired. Serve hot, room temperature, or chilled!
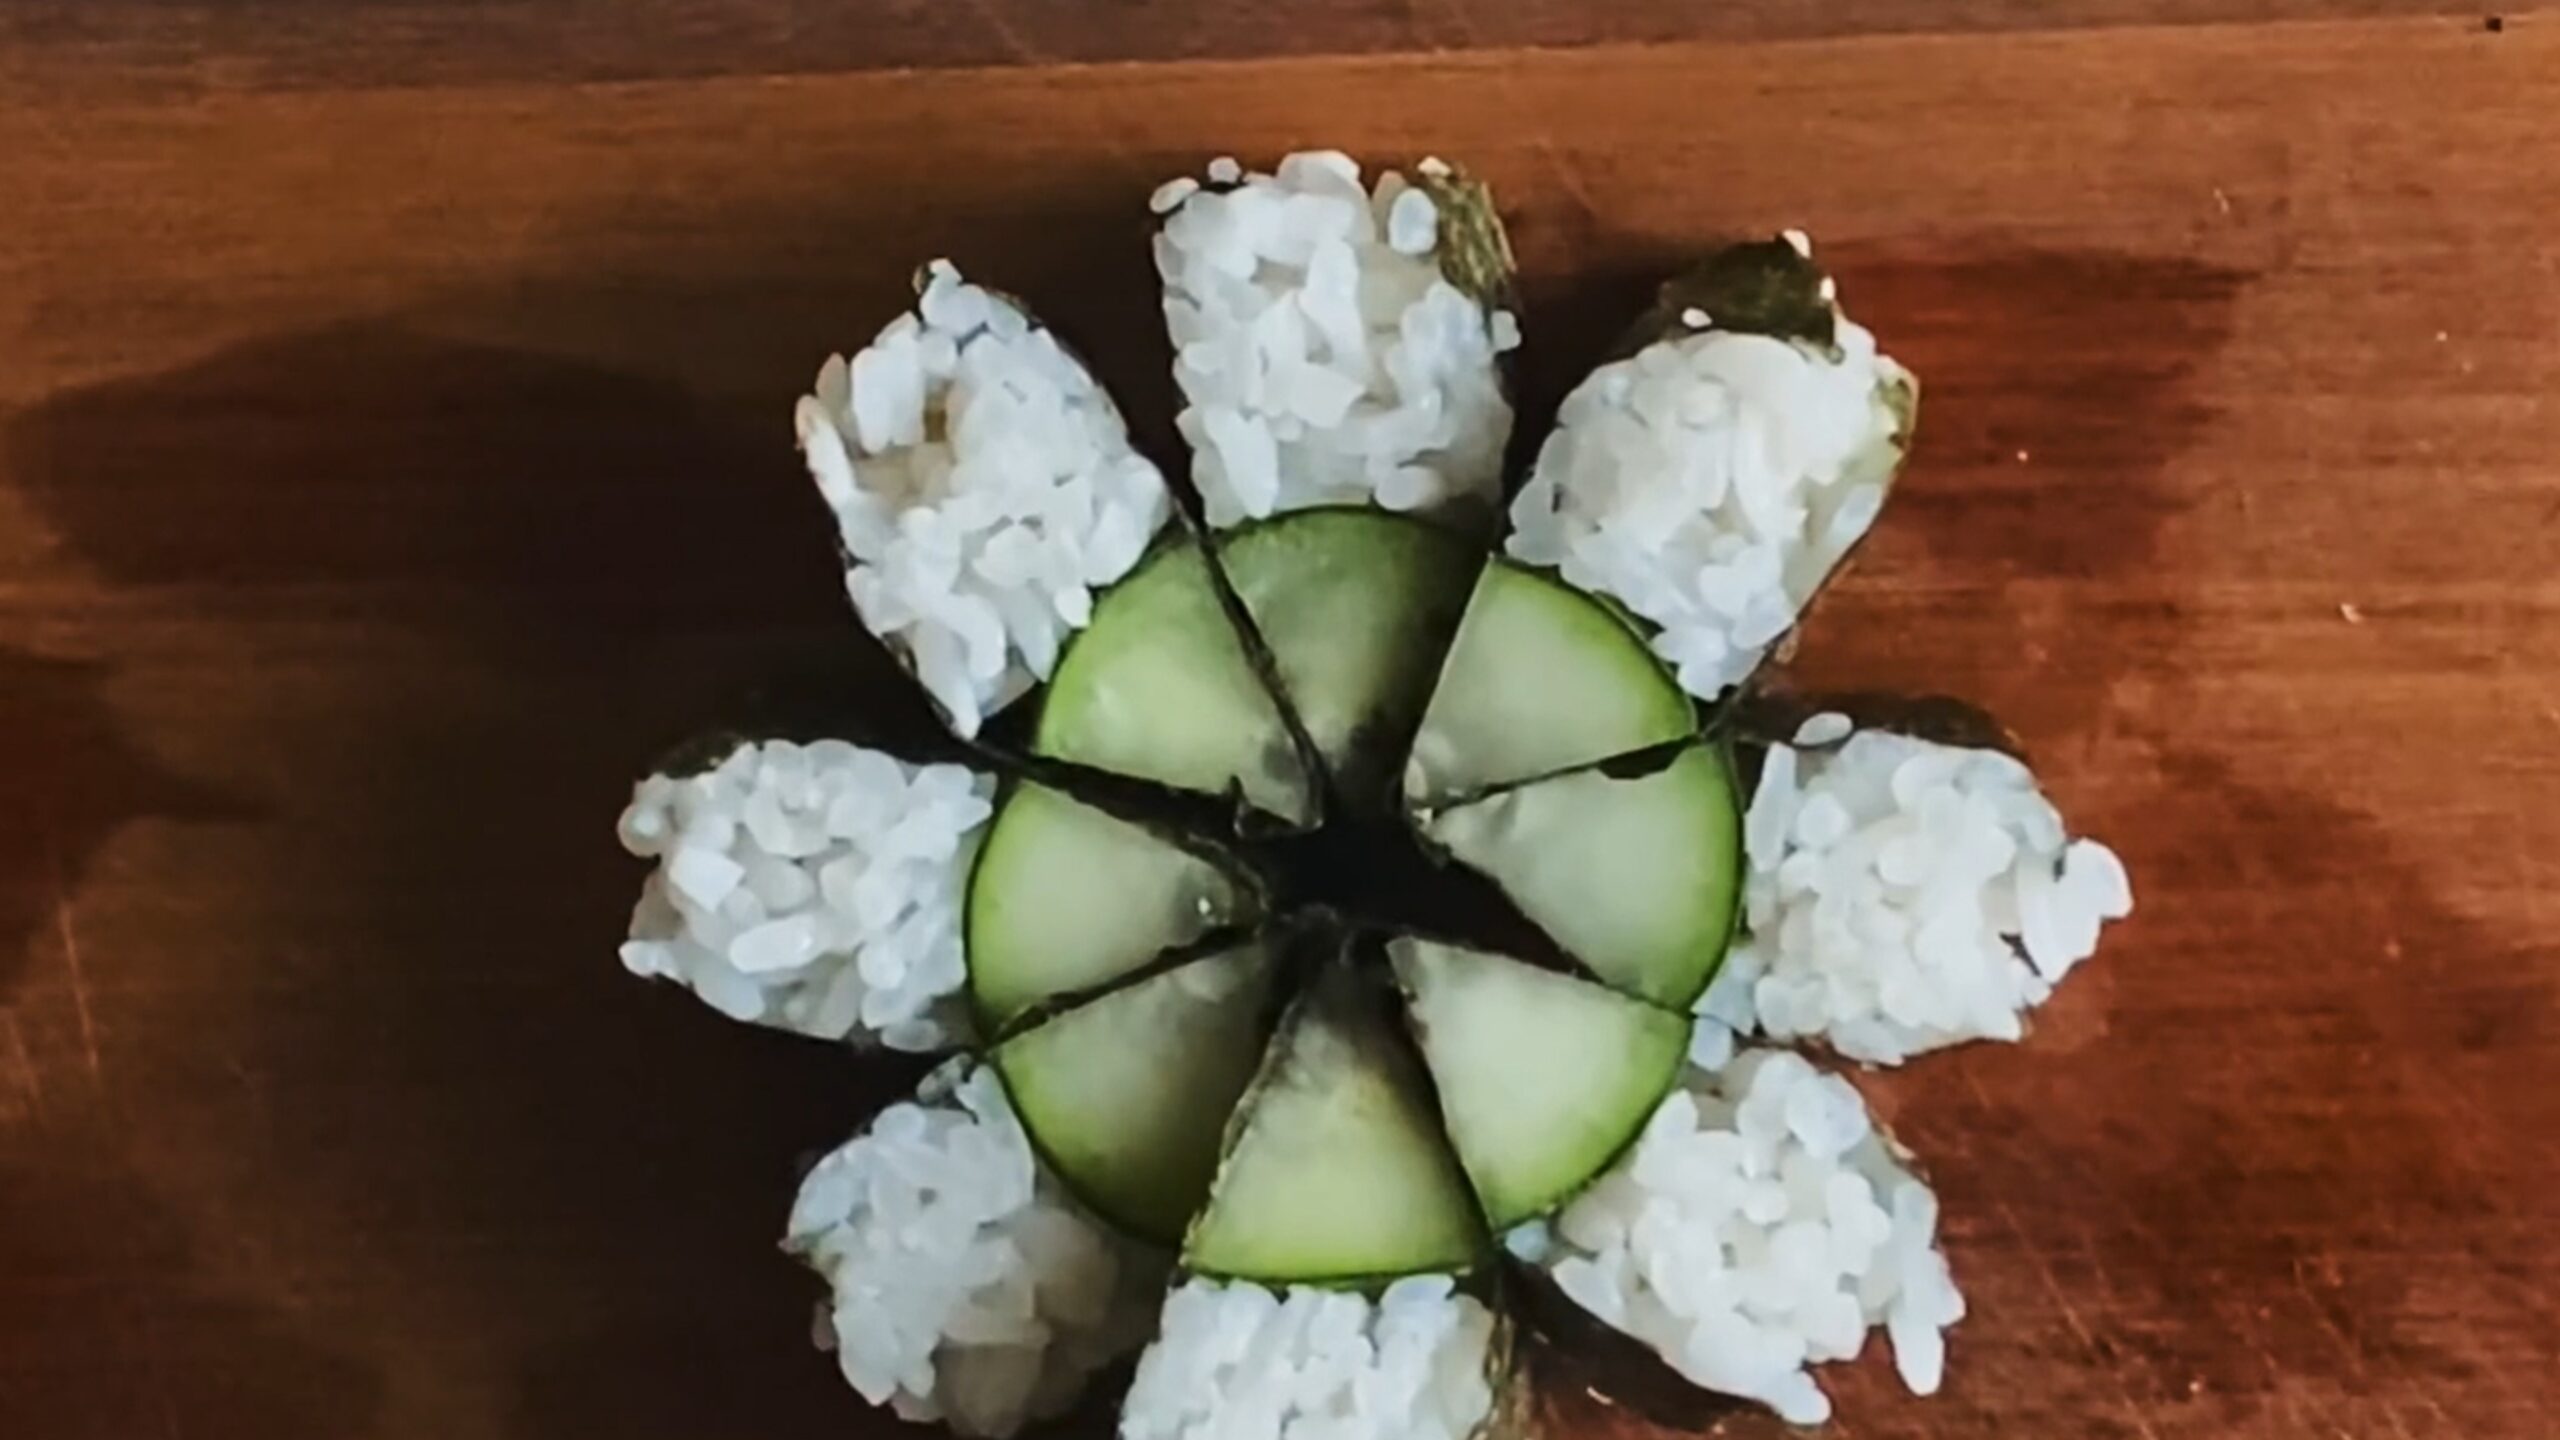
We’ve graduated from cucumber and it is time for tamago!
I’m always a little self-conscious when people ask me for recipes for things like tamago or sushi rice, because honestly? Most of the time I don’t use measurements, I just kind of estimate.
Sushi rice is too sour? Add a little more sugar.
And bloop of mirin in the tamago is a perfectly valid measurement, right?
Someday, maybe, I will get my act together and actually figure out consistent measurements for these things. But… ah… we’re not quite there yet.
Preheat the oven to 350 degrees F. Line an 8×8″ baking dish with parchment paper.
In a large mixing bowl, mix the oats, flour, brown sugar, granulated sugar, baking soda, salt, canola oil, egg, and vanilla. Mix until the dough is moist and all the ingredients are combined. The dough will be crumbly. Mix in the chocolate chips, peanut butter chips, and candy corn.
Press the dough into the prepared baking dish and press extra candy corn in the top. Transfer to the oven and bake 18-20 minutes or until the edges are set and the bars are golden. Let cool and then cut into bars.
Sub to my YouTube channel to get notified whenever we have new videos!
Links in this post may be affiliate posts. If you buy an item through an affiliate link, I get a small fee, which helps support this blog!