[HDR-IMG]
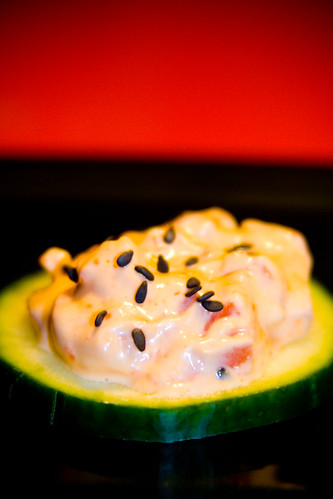
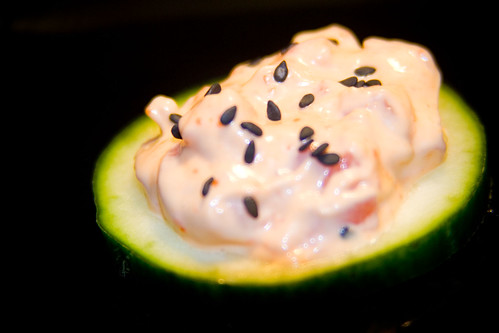
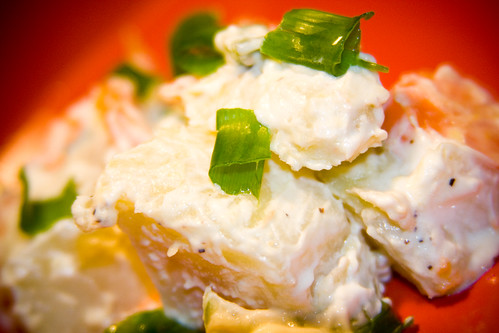
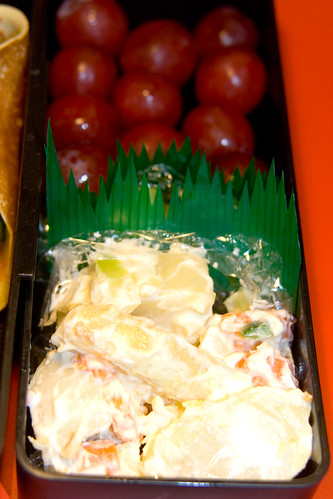
A couple of months ago, I was offered a cookbook called Harumi’s Japanese Home Cooking, by Harumi Kurihara, to review and try recipes from. Of course, I have been so swamped lately, I have barely had time to make sushi, let alone review a cookbook. Finally, I had some time to look through it and flag a few recipes I wanted to try. This coincided perfectly with Yvo’s Bento Contest, so I figured that Japanese Potato Salad would be a perfect addition to a bento box. The way it turned out for me, it was just so-so, but I have a feeling this recipe would have turned out considerably better if I had more kitchen experience (have I ever steamed/boiled potatoes? No. I just make sushi. You get my point…).
First off, the potatoes would have done much better if they were steamed longer or boiled instead. The time given in the recipe was perfect for the carrots, but the potatoes, while they seemed softish coming out of the steamer, ended up harder than I would have liked and while edible, not the most pleasant of things. The carrots, on the other hand, were steamed perfectly, and were a fantastic addition to potato salad.
As for the onions, I would have used less, or even scrapped them altogether and replaced them with green onions (now that would have been good!). The onions had a bit too much bite to them, and detracted from the overall smoothness of the potato salad.
I think I used possibly twice as much mayonnaise as the recipe called for, because believe me… the batch is huge! It could probably feed a whole picnic. Plus I like mayonnaise, so it’s really up to your tastes.
I think one more change I would make, if I were to make this again, would be to add hard boiled eggs to the potato salad. She mentioned using them, as a side note, but they weren’t included in the main recipe so I didn’t use them. I love hard boiled eggs however, and I think they would be a fantastic addition to the potato salad.
I would make this again, with the changes I mentioned above, although I will probably halve the recipe unless I am bringing it to a big party… there’s no way Son and I can eat this all up in a timely manner!
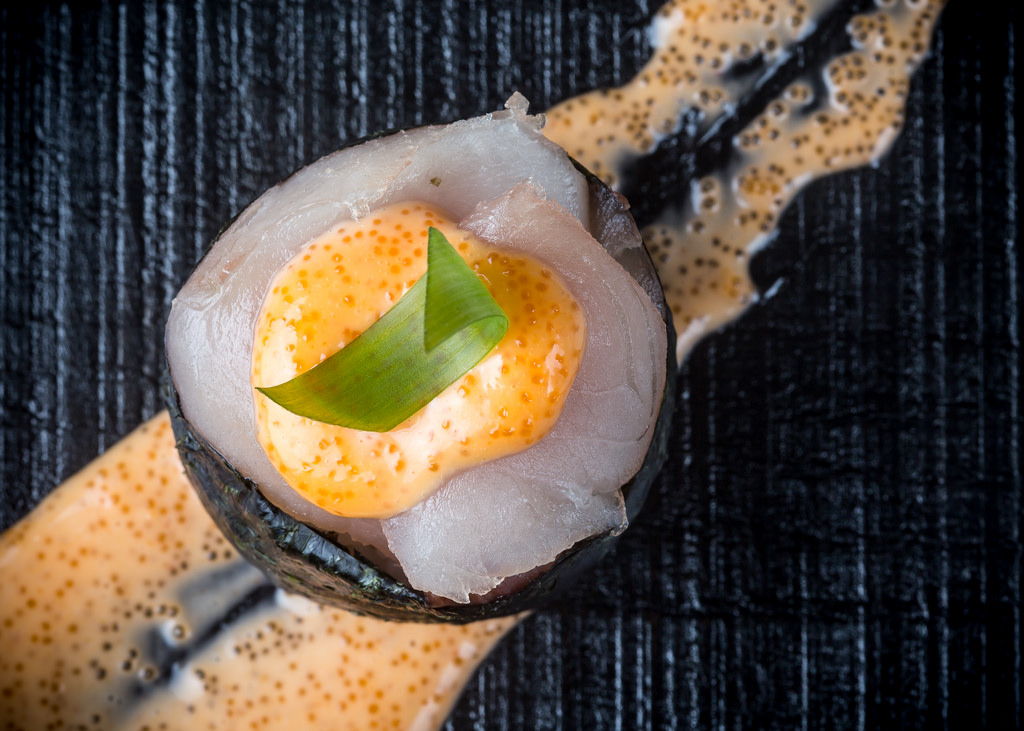
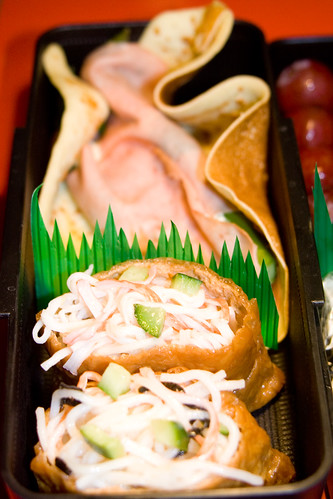
There are a bunch more recipes I want to try from this cookbook. She has a ton of recipes, ranging from the most traditional (miso soup, tamago), to more modern recipes that still use Japanese ingredients such as sashimi and shiso. (Speaking of sashimi, tuna recipes are coming! I had the fortune to get a huge piece of tuna sashimi recently, so I made a ton of sushi with it! Yummmm….) Anyways, if you love Japanese food and want the traditional recipes but also want to mix things up a bit, you should definitely buy this book! 😀
Ingredients
- 1.5 lbs large potatoes
- .5 lb large carrots
- 1 tsp granulated chicken stock powder
- 2/3 cup cucumber
- 1/2 tsp salt
- 1/3 cup onion
- 1 cup mayonnaise
- salt and coarsely ground pepper
Cooking Directions
- Wash the potatoes and carrots but do not peel.
- Place in a hot steamer and cook for about 25 minutes over medium heat, taking care to top the water from time to time as needed. Prick the vegetables with a toothpick or skewer to see if cooked and remove when done.
- Peel the potatoes and carrots while hot, and then transfer the potatoes to a bowl and roughly break up. Mix in the chicken stock powder and leave to cool. Chop the carrots in half lengthways and slice into 1/5-inch-thick semicircular pieces. You can make quarter-button shapes by chopping the halved carrot again lengthways before slicing.
- Cut the cucumber in half lengthways and, using a spoon, remove the seeds. Cut each half again lengthways and then slice into 1/5-inch-thick pieces. In a separate bowl, sprinkle salt over the cucumber and leave for about 2-3 minutes to soften, then squeeze to remove excess liquid. Cut the onion in half, slice and soak in water to remove any bitterness, then drain and pat dry.
- When the potato is cool, add the carrots, cucumber and onions and lightly mix. Stir in the mayonnaise, salt and pepper, and serve.
Serving Size: 1 cup Japanese Potato Salad
- Calories: 171
- Fat: 10g, 16% DV
- Saturated Fat: 2g, 8% DV
- Cholesterol: 5g, 2% DV
- Sodium: 358g, 15% DV
- Total Carbohydrates: 18g, 6% DV
- Dietary Fiber: 2g, 9% DV
- Sugars: 2g
- Protein: 2g, 4% DV
- Vitamin A: 61%
- Vitamin C: 15%
- Calcium: 2%
- Iron: 5%
- Magnesium: 6%
- Potassium: 14%
Percent Daily Values are based on a 2000 calorie diet. These values are only estimates based on the individual ingredients, and not meant to replace the advice of a medical professional.
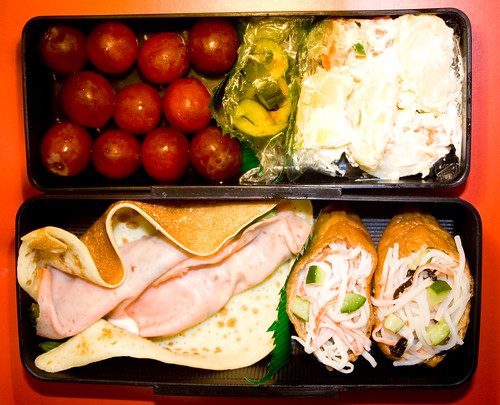
More Pictures