[HDR-IMG]
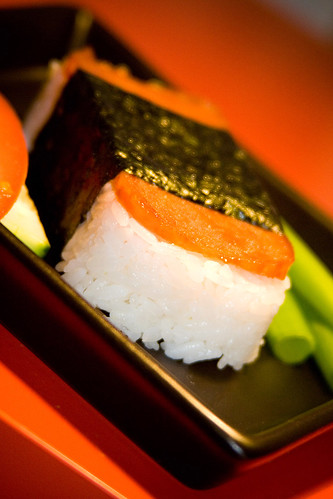
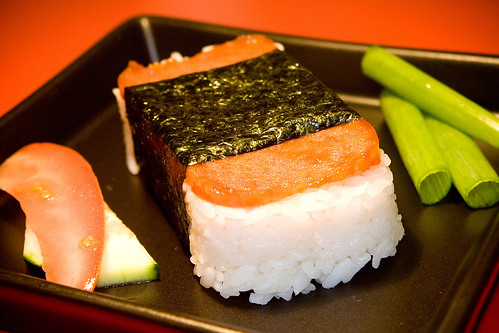
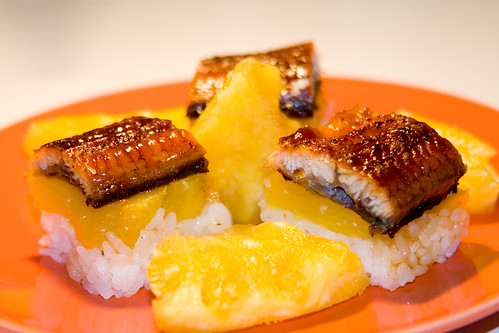
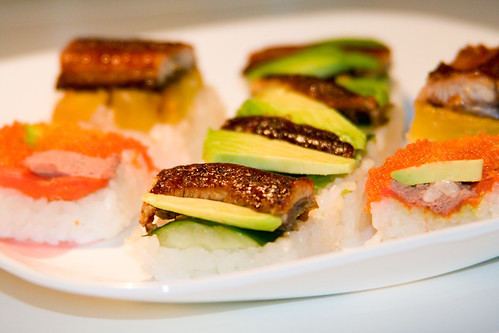
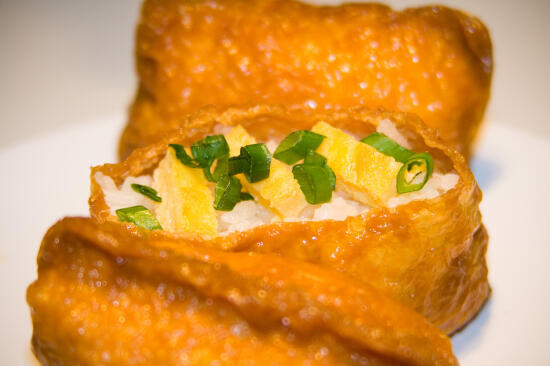
Spam musubi isn’t exactly sushi, although it is very similar. It is a popular Hawaiian snack using spam, regular rice (not sumeshi), and nori. I find it to be really yummy and not too hard to make. The marinated/fried spam tastes almost like unagi, in an odd roundabout way, but trust me, it’s good! (Hehe that’s to all of you who turn your noses up at the idea of spam (the food) – it’s actually pretty good! Try it scrambled in eggs too 🙂 )
If I haven’t seemed quite here this past week, it’s because I’m in the middle of finals. Yeah, I know, my university finishes the year quite a bit later than most others, but that’s okay, because we get to start a lot later too! We don’t start until the end of September! 😛 Wish me luck – one more final this quarter, and then only a year left in school! I can’t wait to be out of here!
Makes 10 pieces.
Ingredients
- 2-3 sheets nori
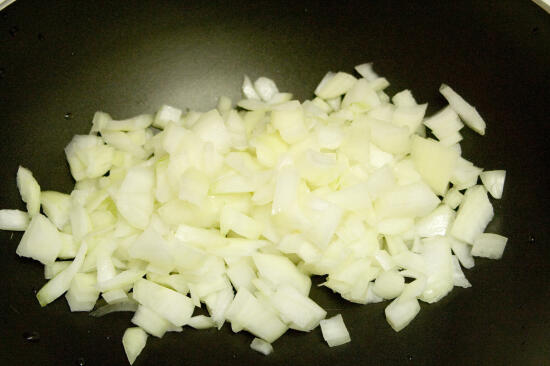
- 2 cups rice
- 2 cups water
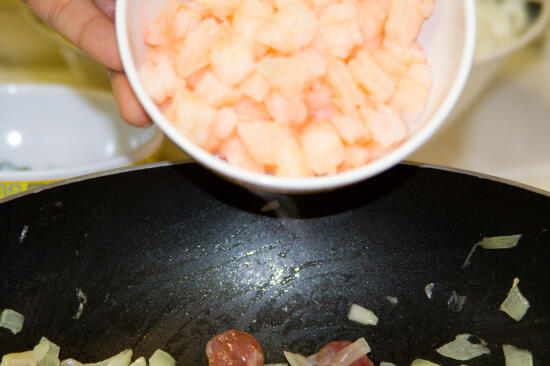
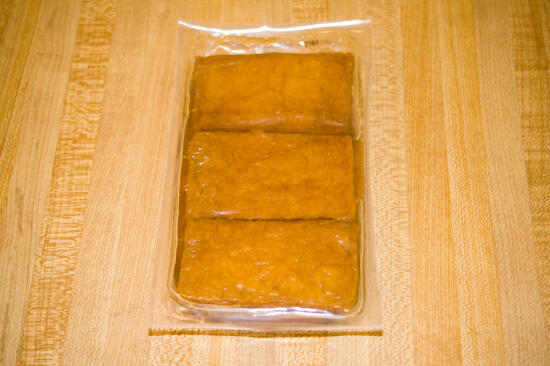
- 1 can spam
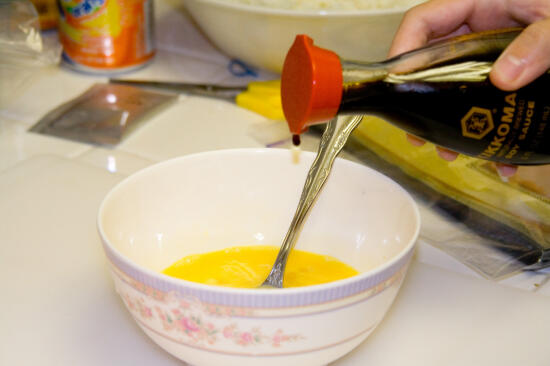
- 1/4 cup shoyu
- 1/4 cup oyster sauce
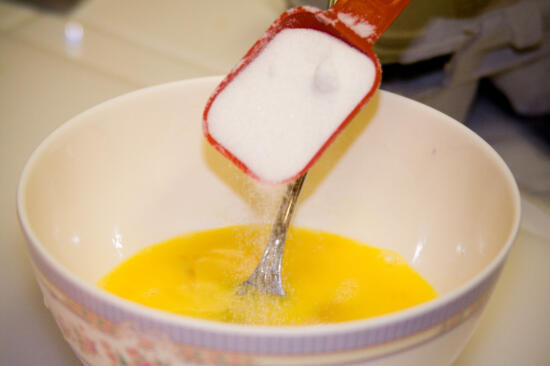
- 1/2 cup sugar
- 2 tbsp vegetable oil
Cooking Directions
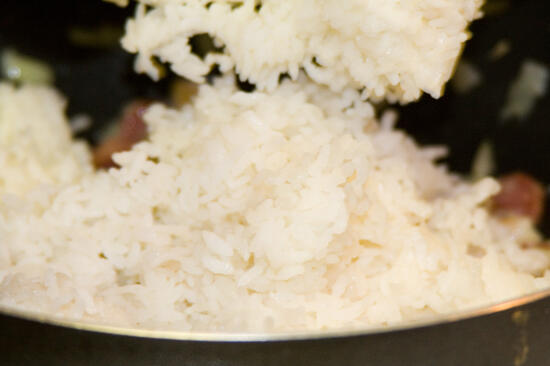
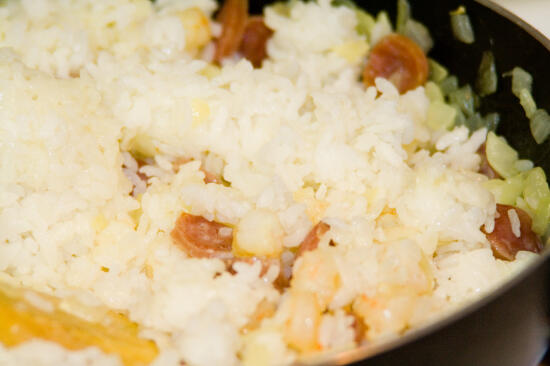
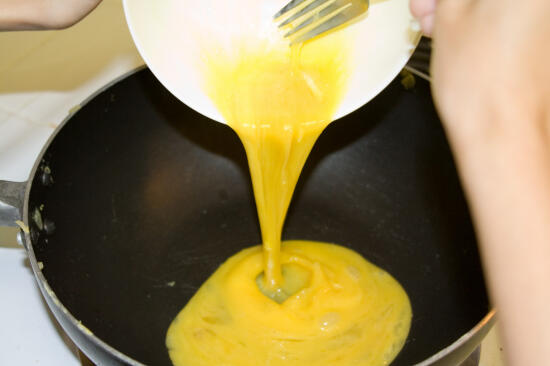
- Cook the rice, using equal parts rice and water. I use a rice cooker, but you can also cook it on the stove if you don’t have a rice cooker.
- Mix the shoyu, oyster sauce, and sugar in a bowl until the sugar is completely dissolved.
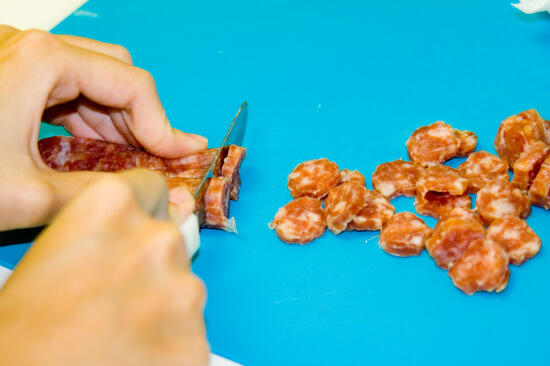
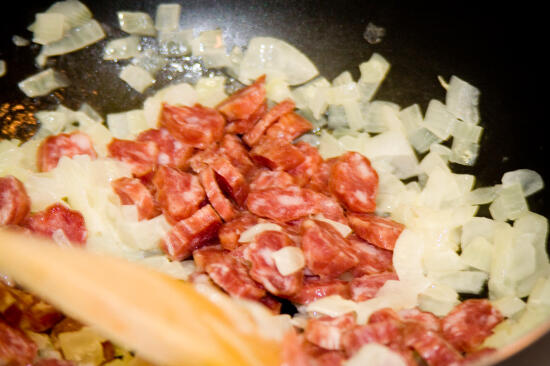
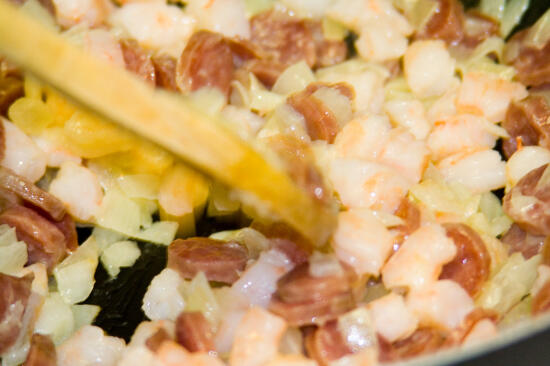
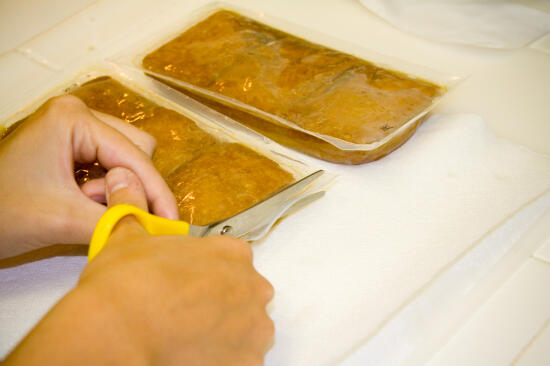
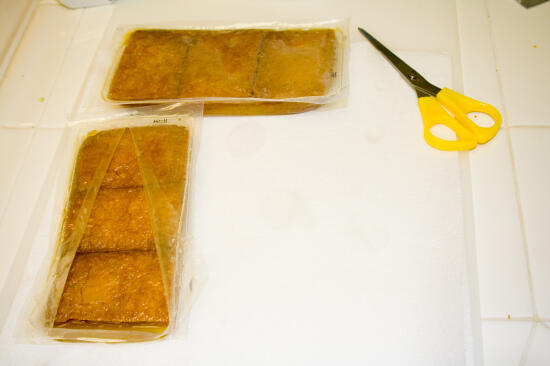
- Cut the spam into about 10 pieces, horizontally (like you are slicing the top off each time). Keep the can!
- Place the span in the shoyu mix, marinate for about 5 minutes.
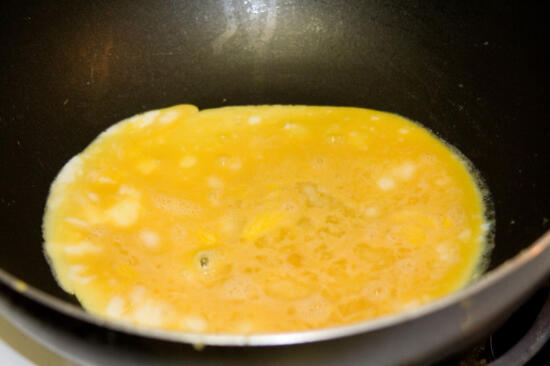
- Put the oil in a frying pan, heat over medium heat.
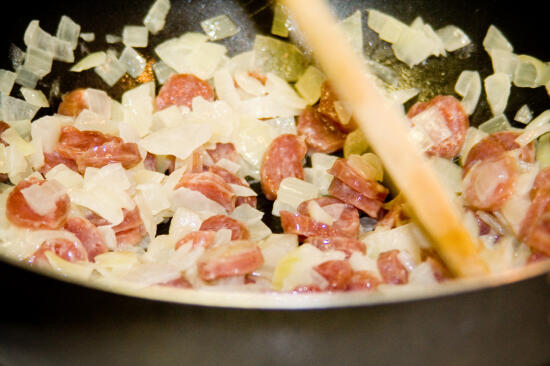
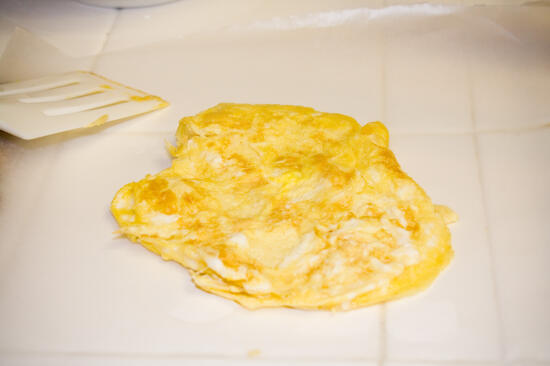
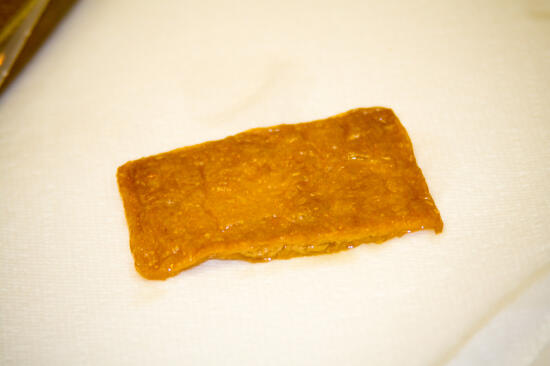
- Fry the marinated spam until brown, about 2 minutes on each side.
- Cut the nori into strips about 2.5 inches wide.
- Wash the can that the spam was in very well.
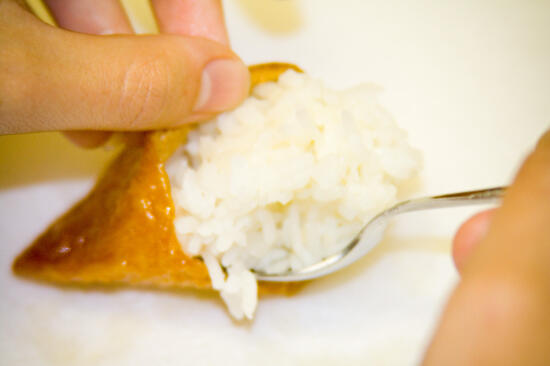
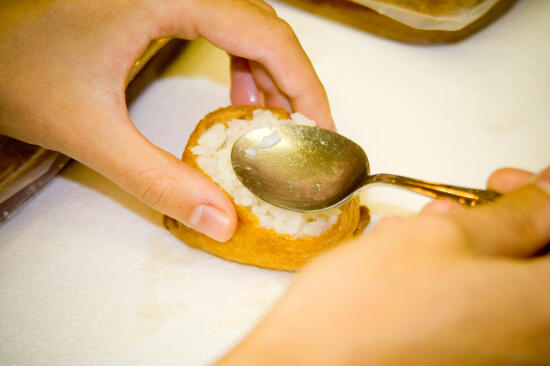
- Fill the can loosely with rice, then pack the rice into the can very tightly. It should end up about an inch or so thick. Update: To get the rice out of the can, I slammed the can upside down on the cutting board until the rice came out. You might also try to line the can with plastic wrap before you pack the rice, so it’s easy to pull it out.
- Place the rice on one end of the nori, so that they are perpendicular.
- Place a slice of spam on the rice.
- Wrap the nori around the spam/rice stack. Hold closed for a few seconds, it should stick. If it doesn’t stay closed, use a drop of water to close it.
Serving Size: 1 piece
- Calories: 186
- Fat: 8g, 12% DV
- Saturated Fat: 3g, 14% DV
- Cholesterol: 20mg, 7% DV
- Sodium: 1444mg 60% DV
- Total Carbohydrates: 24g, 8% DV
- Dietary Fiber: 0g, 1% DV
- Sugars: 18g
- Protein: 5g, 11% DV
- Vitamin A: 1%
- Vitamin C: 1%
- Calcium: 1%
- Iron: 3%
- Magnesium: 2%
- Potassium: 3%
Percent Daily Values are based on a 2000 calorie diet. These values are only estimates based on the individual ingredients, and not meant to replace the advice of a medical professional.
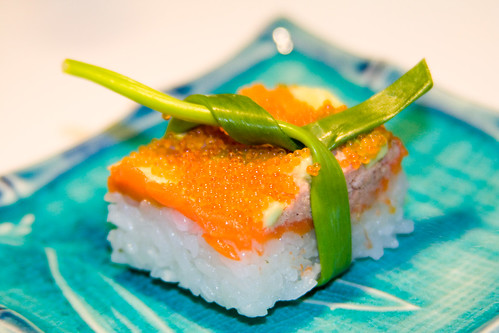
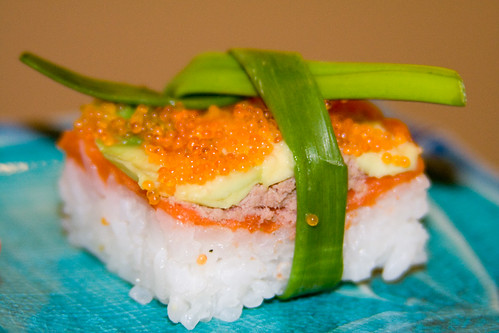
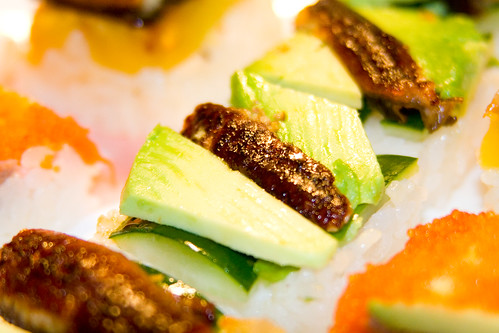
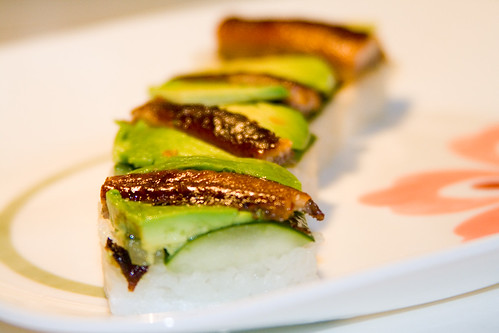
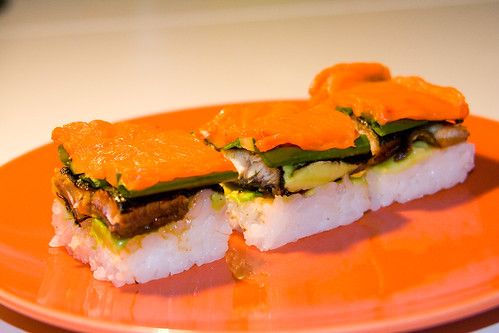
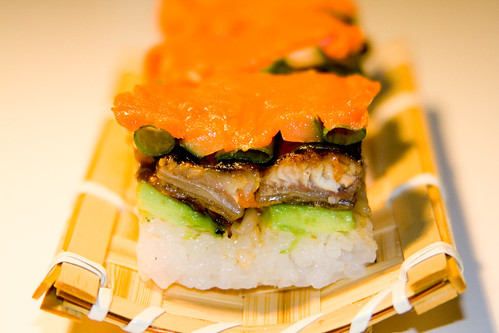
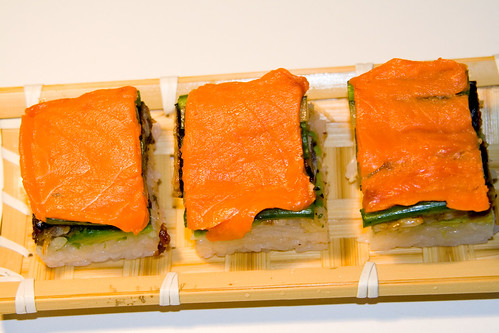
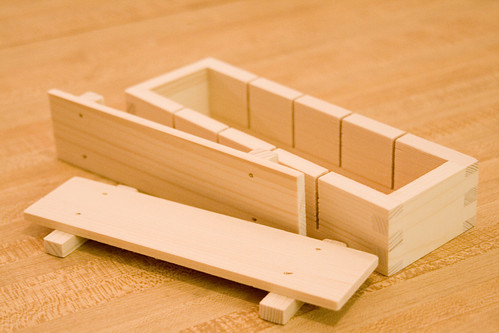
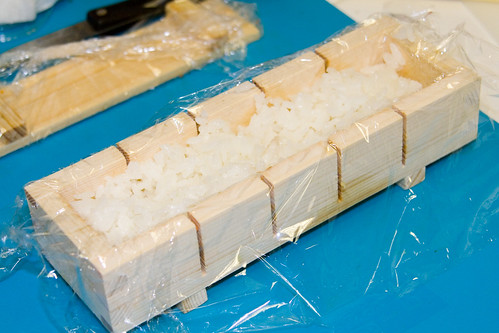
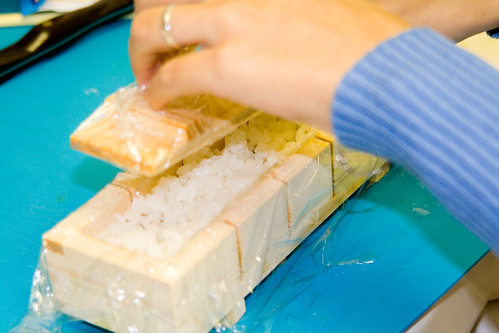
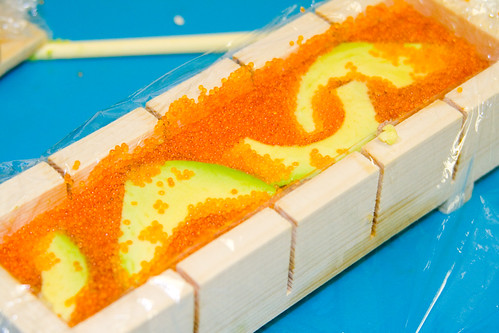
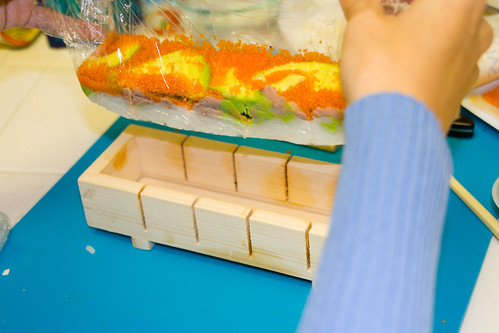
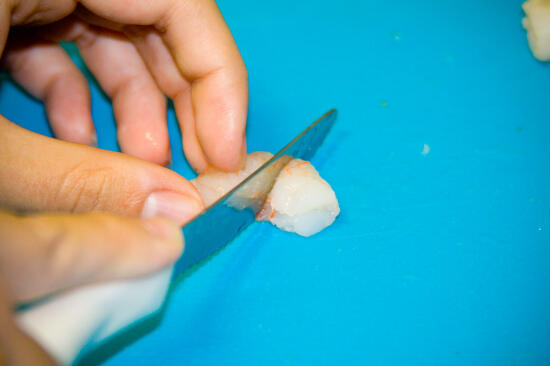
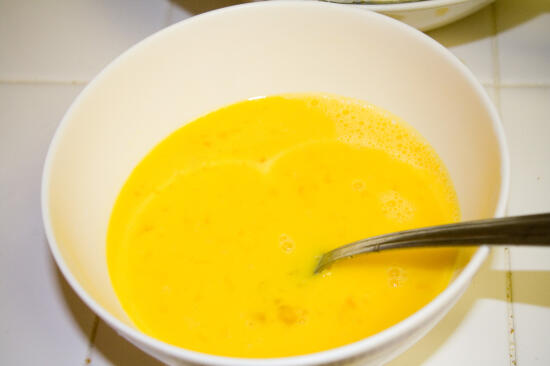
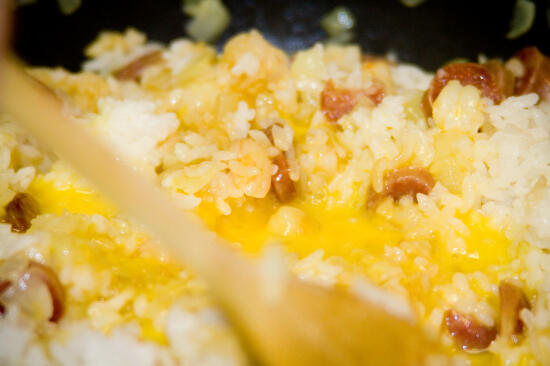
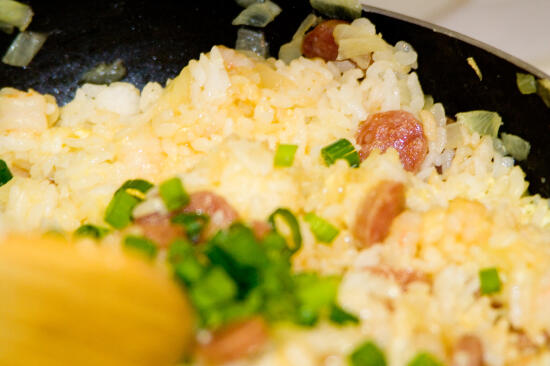
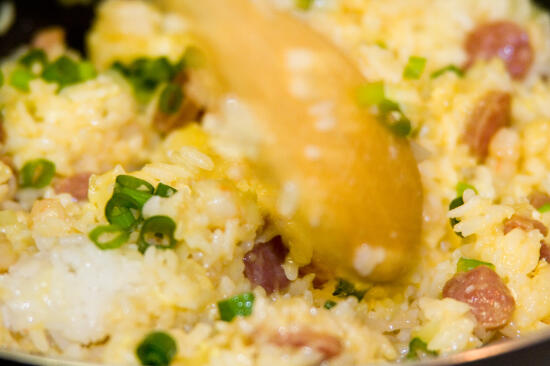
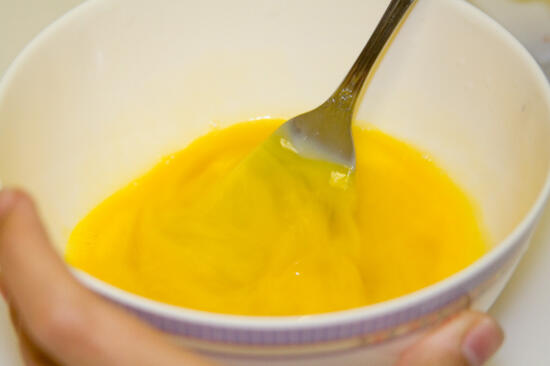
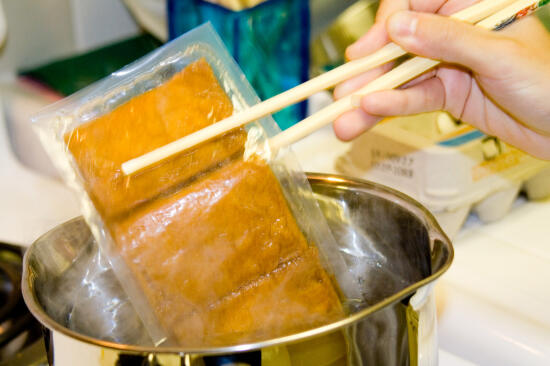
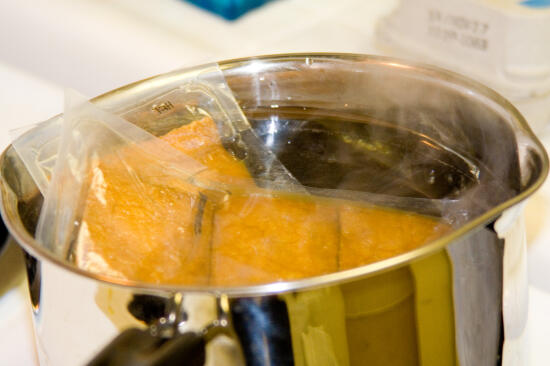
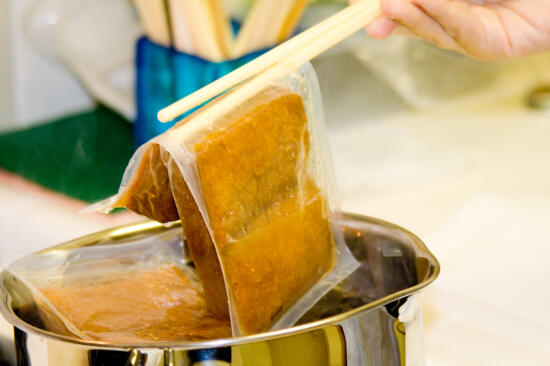
More Pictures