I think, being known as the “sushi girl”, a lot of people might assume that I practically started eating sashimi in the womb. But I grew up in a family that almost never ate fish.
Both of my parents loved fish! But my mom is allergic, and so aside from fish sticks and tuna salad and the occasional snack of sardines on saltines with my dad, we pretty much never ate fish at home.
So I can really empathize with anyone who doesn’t like fish, because for the longest time I didn’t. It took many years of trying a little bit here, a little bit there, mostly not loving it but also gradually not hating it. Learning to like sashimi was a journey.
And now? Now I’m glad I never stopped trying to like it, because now I LOVE fish.
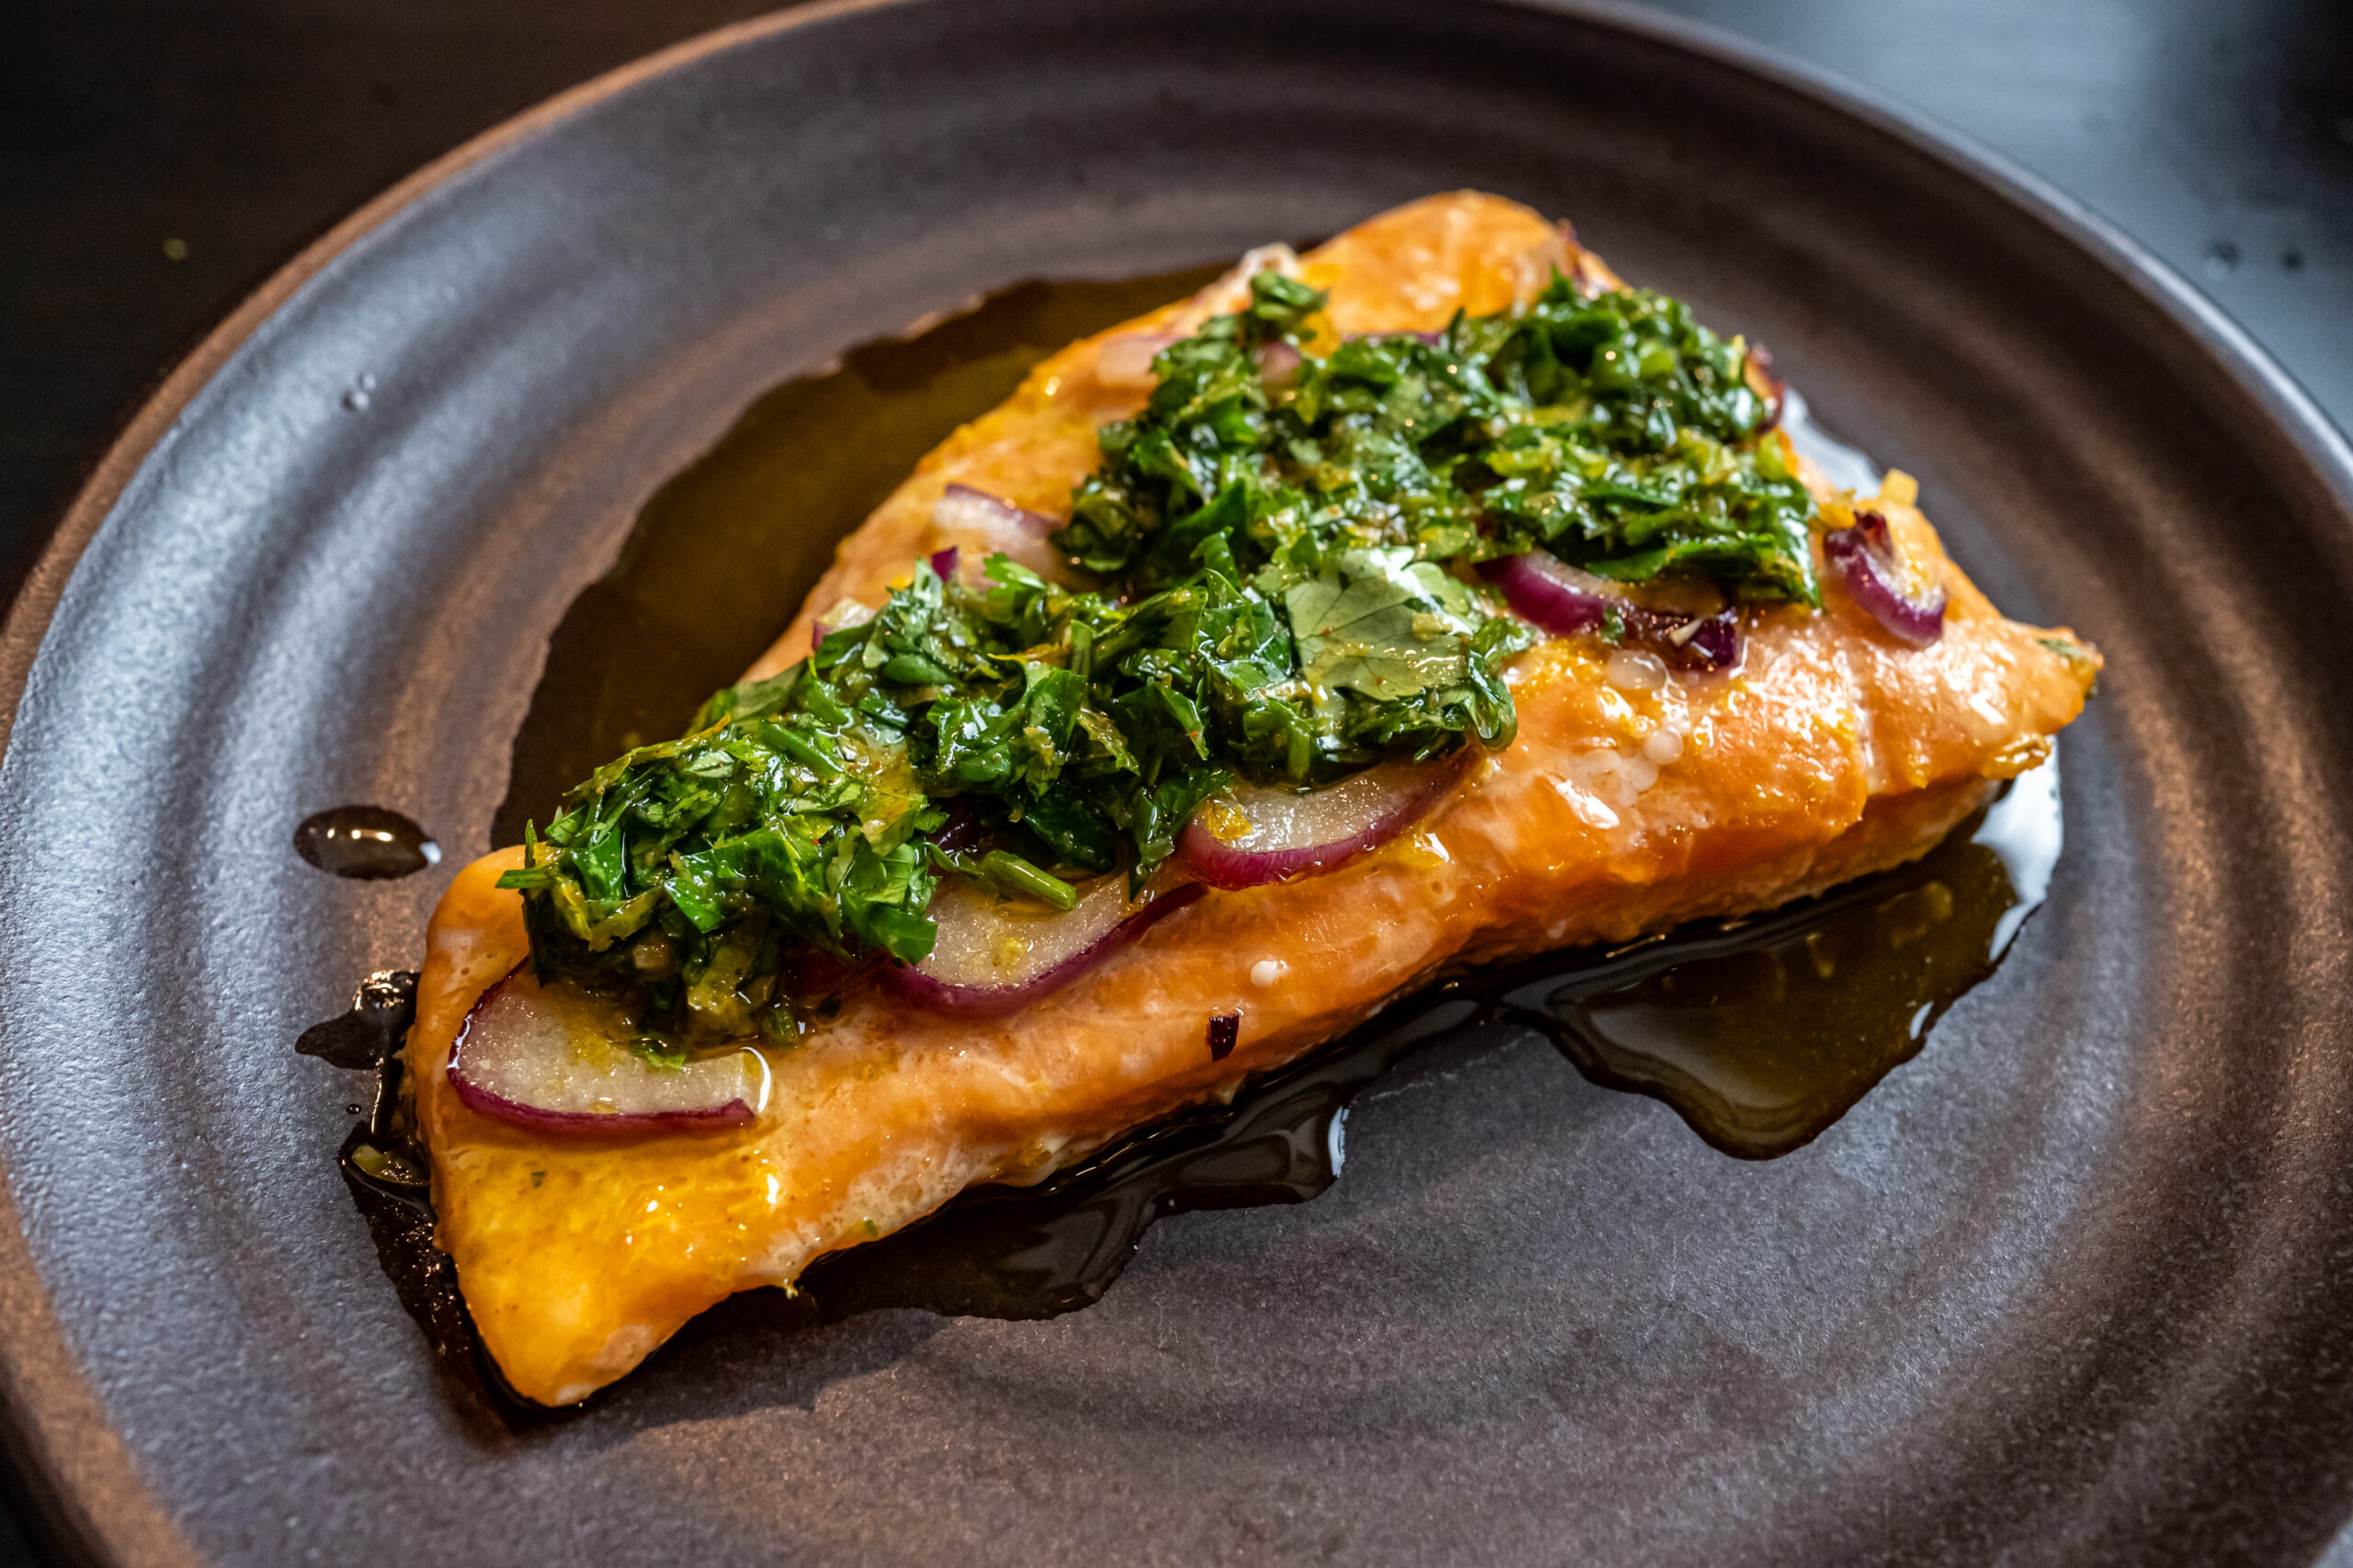
I’m always on the lookout for healthy, tasty, easy salmon recipes, and this did not disappoint!
I love the herbacious salsa, that and the citrus zests added a ton of flavor to the salmon.
Preheat oven to 250°F. Combine shallot, half of orange zest, half of lemon zest, and 1 tbsp oil in a small baking dish just large enough to fit salmon. Season salmon with salt and coat with zest mixture. Bake fish until fillet is just opaque in the center and flakes with a fork, 30–35 minutes.
Meanwhile, mix cilantro, parsley, garlic, paprika, remaining zests, and 1/2 cup oil in a medium bowl. Stir in orange and lemon juice and season citrus salsa verde with salt just before spooning over fish.
My family was not really a go-out-to-eat kind of family. In retrospect we were lucky that my mom always cooked a homemade meal every day, but as kids of course we were always begging for burgers or pizza. To our delight fast food did happen every once in a while, but we almost never went to a sit-down restaurant – usually only when family was visiting from out of town.
Since we rarely ever frequented sit-down chains, and for us it was almost always Coco’s, or Sizzler, or Souplantation – so places like Red Lobster or Olive Garden always seemed so exotic and wonderful on TV! You could say their commercials absolutely worked on childhood me.
And while I’ve still only been to either a handful of times in my life, I gotta say… those breadsticks, cheddar bay biscuits… if there’s one thing chain restaurants do right, it’s the breadbasket.
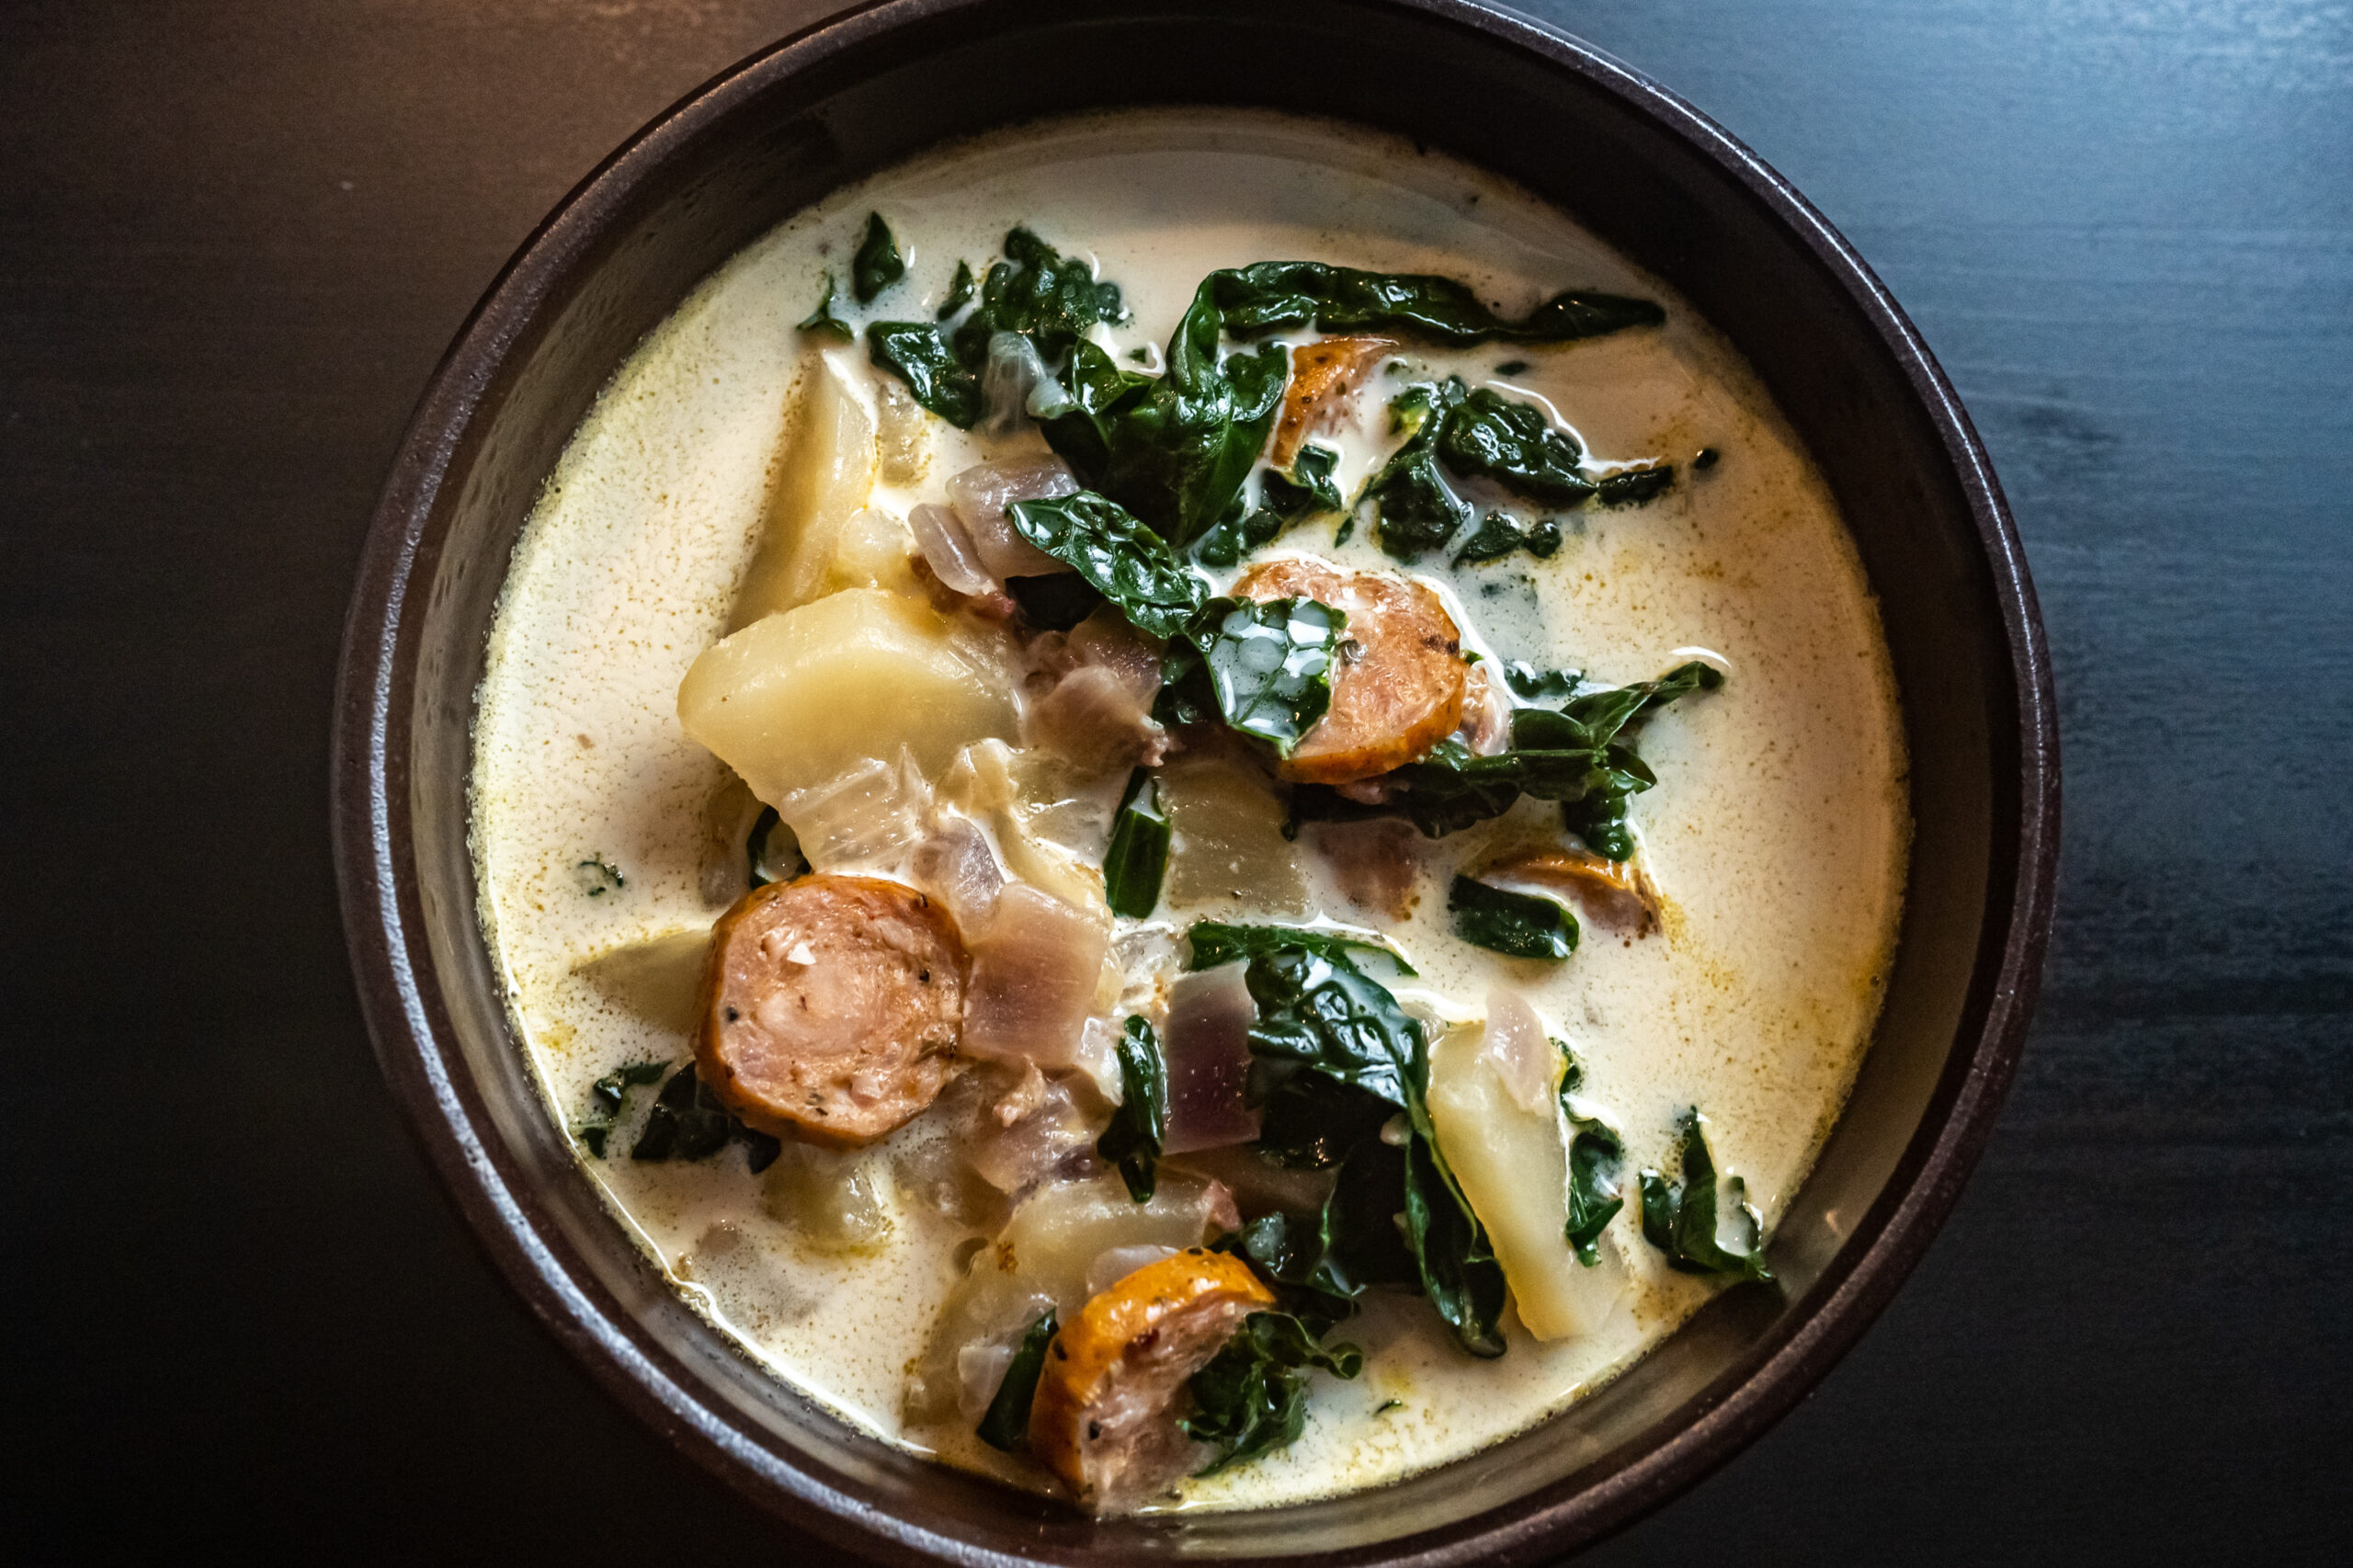
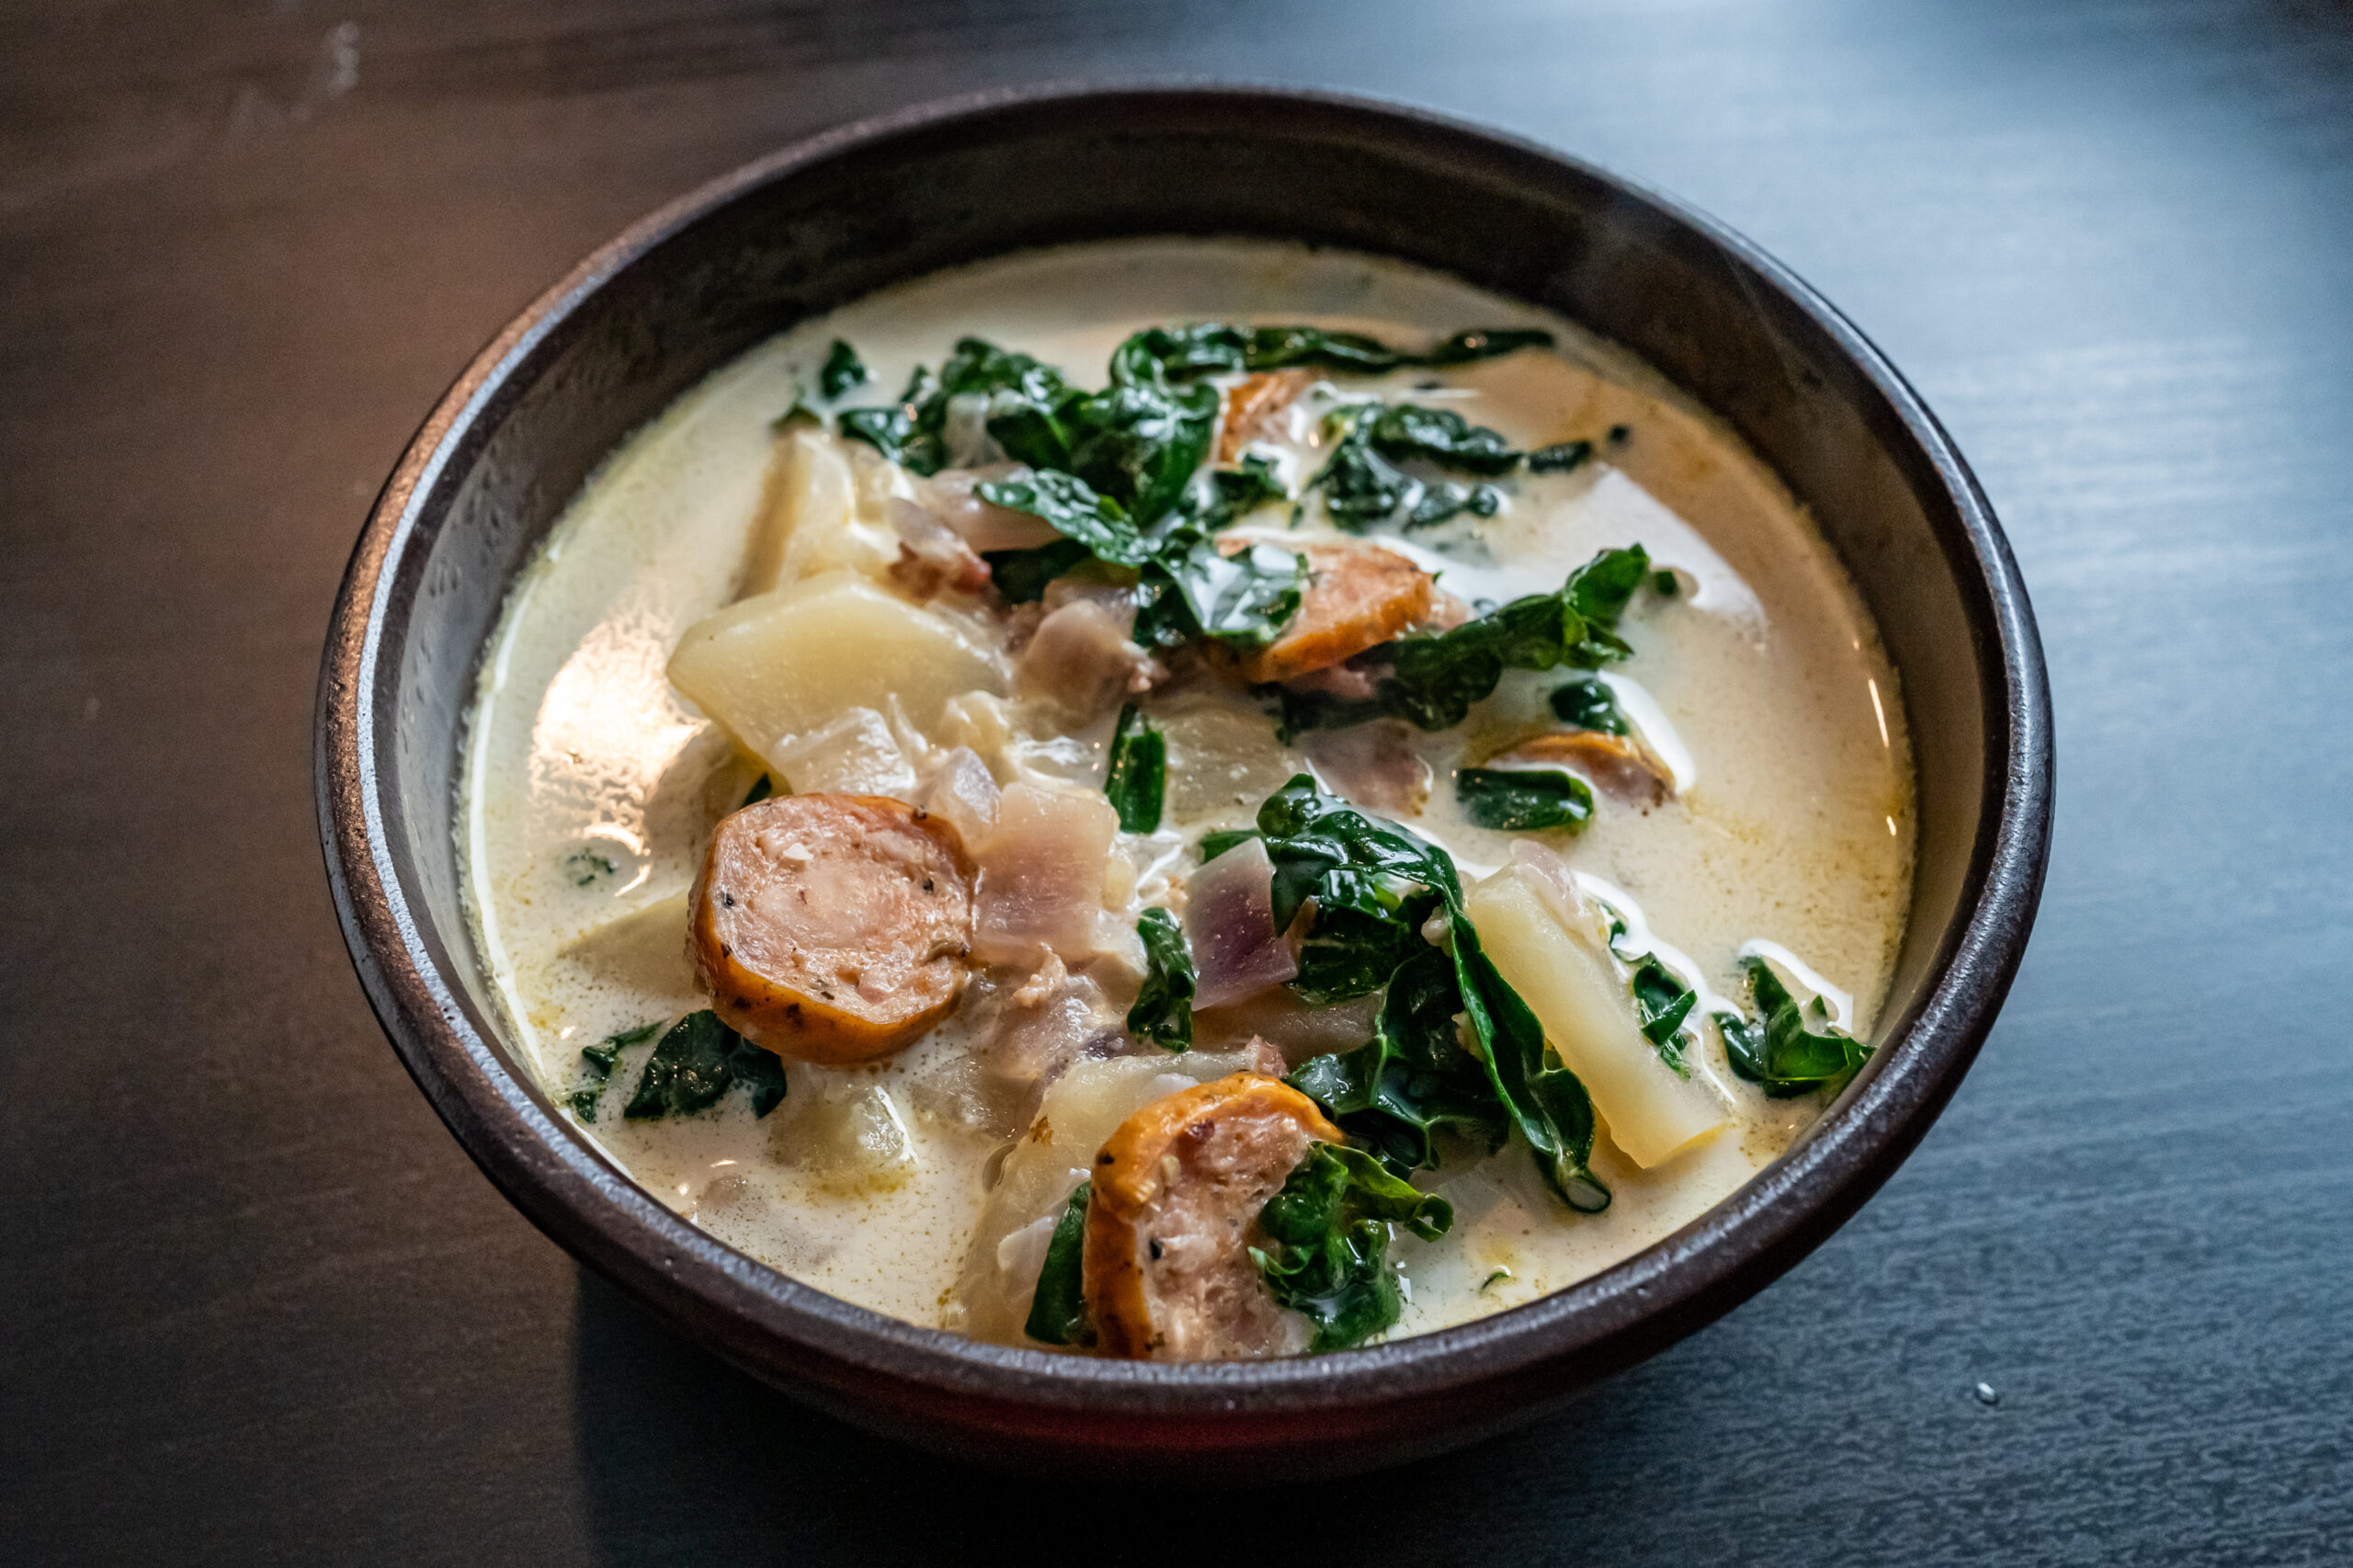
I may not have grown up with Olive Garden, but the first time I ever had it I fell hard for their Zuppa Toscana.
I’ve still only visited Olive Garden a handful of times in my life, but my love of Zuppa Toscana refuses to die. Every few years I’ll come across a Zuppa Toscana recipe and remember how much I loved it – and this recipe absolutely fulfilled that craving!
Preheat a large soup pot. Drizzle with olive oil. Add sausage and chopped onion. Brown sausage while breaking it up with a spoon.
When sausage is done, add garlic and saute for 2-3 minutes. Then add chicken stock and water. Add potatoes and bring to a boil. Boil for about 10-15 minutes, or until potatoes are tender.
Add kale and let it wilt in the soup. Bring soup to a simmer and add cream. Heat through, but don’t bring to a boil again.
A couple of months after Son and I met, I got in a really, really bad car accident. Car totalled, a week in the hospital, surgery a few weeks later to put me back together… it was bad.
And while I obviously wouldn’t choose go through the accident again had I a choice in the matter, there was a silver lining… it gave Son an excuse to call me.
To “check up on me,” he said. To make sure I was alright. To update me on rehearsals and keep me in the loop.
Mind you, this was ancient history – before things like tiktok and twitter and most social media even existed.
So we got to talking – on my parents’ cordless landline no less. And bit by bit… I started to get a little crush on this cute guy who for some reason kept wanting to chat with me.
What happens if you take the flavors of duck ramen, and turn it into a sandwich?
That wasn’t what we set out to do, but that’s where we ended up, AND WE REGRET NOTHING.
I decided to make this roast pork butt sandwich from Lady and Pups because I ended up with some broccoli rabe, and needed a way to use it up.
It sounded like a tasty sandwich! And then we made it. And OH MY GOD IT’S SUCH A GOOD SANDWICH.
Start by toasting some fennel and coriander seeds until they’re nice and fragrant, then grind them into a powder. I used a mortar and pestle, but a spice or coffee grinder would work fine for this too. At this point they’re so wonderfully fragrant – a little anise-y, and very redolent of five spice or pho flavors.
Peel and smash (or smash and peel) some garlic, and slice some fresh ginger.
Cut about 2 pounds or so of pork butt into large chunks, and place them in a deep baking dish.
Rub them with the ground spices, some fish sauce for umami, salt, black pepper, and white pepper.
Top with the crushed garlic and ginger, and roast, low and slow, at 300F for about an hour and a half.
At this point, you can let it cool, and refrigerate the pork and all its fat and juices in an airtight container until you’re ready to make the sandwiches, like we did.
Or you can just move on directly to the next step!
Before cooking the pork, I like to get the broccoli rabe out of the way, so we can just use the same pan without having to wash it in-between.
Wash, dry, and cut your broccoli rabe in half. And when I say dry, I really mean dry WELL. It can be hard to get all the water out, so just beware – if it’s not fully dry, things are going to be popping wildly when you add the broccoli rabe to the hot oil.
Add a bit of olive oil to a large nonstick pan, and heat over high heat. Add in your broccoli rabe – again, having a splatter screen or lid handy to protect yourself from popping if it’s not 100% dry – and let it brown, flipping so both sides are caramelized and slightly charred.
You may need to do this in batches, so set aside each batch on a plate when it’s done.
After you’ve cooked all the broccoli rabe, add it all back to the pan at once, then add a few cloves worth of minced garlic, some salt, and some fresh ground black pepper. Toss that all together until the garlic just starts to get fragrant, and then remove it from the pan and set aside until you’re ready to make the sandwiches.
Back to the pork – discard the ginger, but make sure you keep the garlic. If you refrigerated the pork, there should be a good layer of fat on top – you can set this aside to use in place of oil or butter in any dish where you want some porky goodness!
Using a couple of forks, tear the pork into smaller chunks. You don’t need to completely shred it, but aim for about 1″ chunks.
Then, put the pork and garlic in the same large nonstick pan from the broccoli rabe, over high heat. If you refrigerated the pork, then you’ll probably have a good bit of the gelled broth and fat sticking to it – this is what you want. But if you’re doing this immediately after roasting the pork and everything’s still warm, then go ahead and add about a quarter cup or so of the drippings into the pan as well.
Cook this, flipping once or twice, until the meat is browning and crisping up nicely. It’s really going to smell like a good pho or duck ramen.
Once your meat is browned, add in the rest of the drippings (or the rest of the gelled broth) and let it cook until everything is just-warmed through and combined.
Now it’s time to make some sandwiches! Cut some rolls in half, and lightly toast them.
The original recipe called for dijon mustard, but even though we’re usually mustard lovers, we found that to be too sharp and contrasted with the rest of the sandwich in a way we didn’t love. So we’re going with kewpie mayo instead.
Ladle the pork along with just a little of the juices onto the roll (you want the sandwich to be moist but not soggy), and then top with some broccoli rabe. If you’re feeling really decadent, you can top this with a fried egg, to really get that ramen vibe – we tested this out, and can confirm that it is delicious.
Pickled peppers are optional, but we highly recommend them to cut through the richness of the rest of the sandwich; do chua would be tasty here as well. If you’re a cilantro fan, that would also be a great addition… but it’s possible I’m biased because I really just want every sandwich to be a banh mi.
The original recipe also suggested sliced provolone as a tasty optional addition, but I didn’t have any on hand… because we maybe used all the provolone for those tasty philly cheesesteak sloppy joes… so we didn’t try that.
fine sea salt and freshly ground black pepper to season
3 cloves of garlics, finely minced
4 crusty Italian rolls
Kewpie mayo
pickled peppers
fried egg, optional
Cooking Directions
Preheat the oven to 300F. Cut the pork into large pieces about 5″ x 1 1/2″ big. This allows the seasonings to penetrate better and reduces cooking-time. Toast the fennel and coriander seeds on a skillet over medium heat, swirling constantly, until the seeds start to pop. Ground them coarsely in a mortar or spice-grinder, then rub the spices evenly over the pork along with the garlic, ginger, fish sauce, salt, and black and white peppers in a large and deep baking sheet (the pork will emit considerable amounts of liquid). Cover the baking sheet tightly with aluminum foil, then bake in the oven for about 2 1/2 hours. The pork should be very tender but NOT completely falling apart. You can prepare the pork up to 2 days ahead of time, keep it in an air-tight container soaked in its own juice until needed.
Wash, drain, and cut the broccoli rabe in half lengthwise. Lightly coat with extra virgin olive oil. Heat a large nonstick skillet over high heat, then add the broccoli rabe in a single layer. Cook until the first side is deeply caramelized and partially charred, then flip, and cook until the other side is caramelized as well. The broccoli rabe should be slightly wilted but not too soft at this point. Transfer into a large plate, and repeat with the remaining broccoli rabe. Now add all the caramelized broccoli rabe back into the skillet along with the minced garlic, season with sea salt and black pepper, and toss just until fragrant. Remove from heat, and set aside.
Back to the pork – remove the ginger slices and discard. Pull apart the pork into large 1 1/2″ chunks. Heat the same skillet over high heat. Add the pulled pork along with the cooked garlic, plus ~1/4 cup of the drippings. Cook, mashing the garlic and flipping once or twice, until all the liquid has evaporated and the pork starts to caramelize/brown on the edges. Add the remaining drippings (you should have about 1/2 cup left, if not, make up with chicken stock), and cook just until warmed through. Re-season with salt if needed.
Cut off the tips of the Italian rolls, then slice into half lengthwise. Toast the cut-side lightly under the broiler, then smear with a layer of kewpie mayo on both sides. Ladle the pork onto the roll, including enough juice to seep through the bread but not so much that it becomes soggy. Place pickled peppers, the broccoli rabe, and the fried egg (if using) on top, then top it off. Serve immediately.
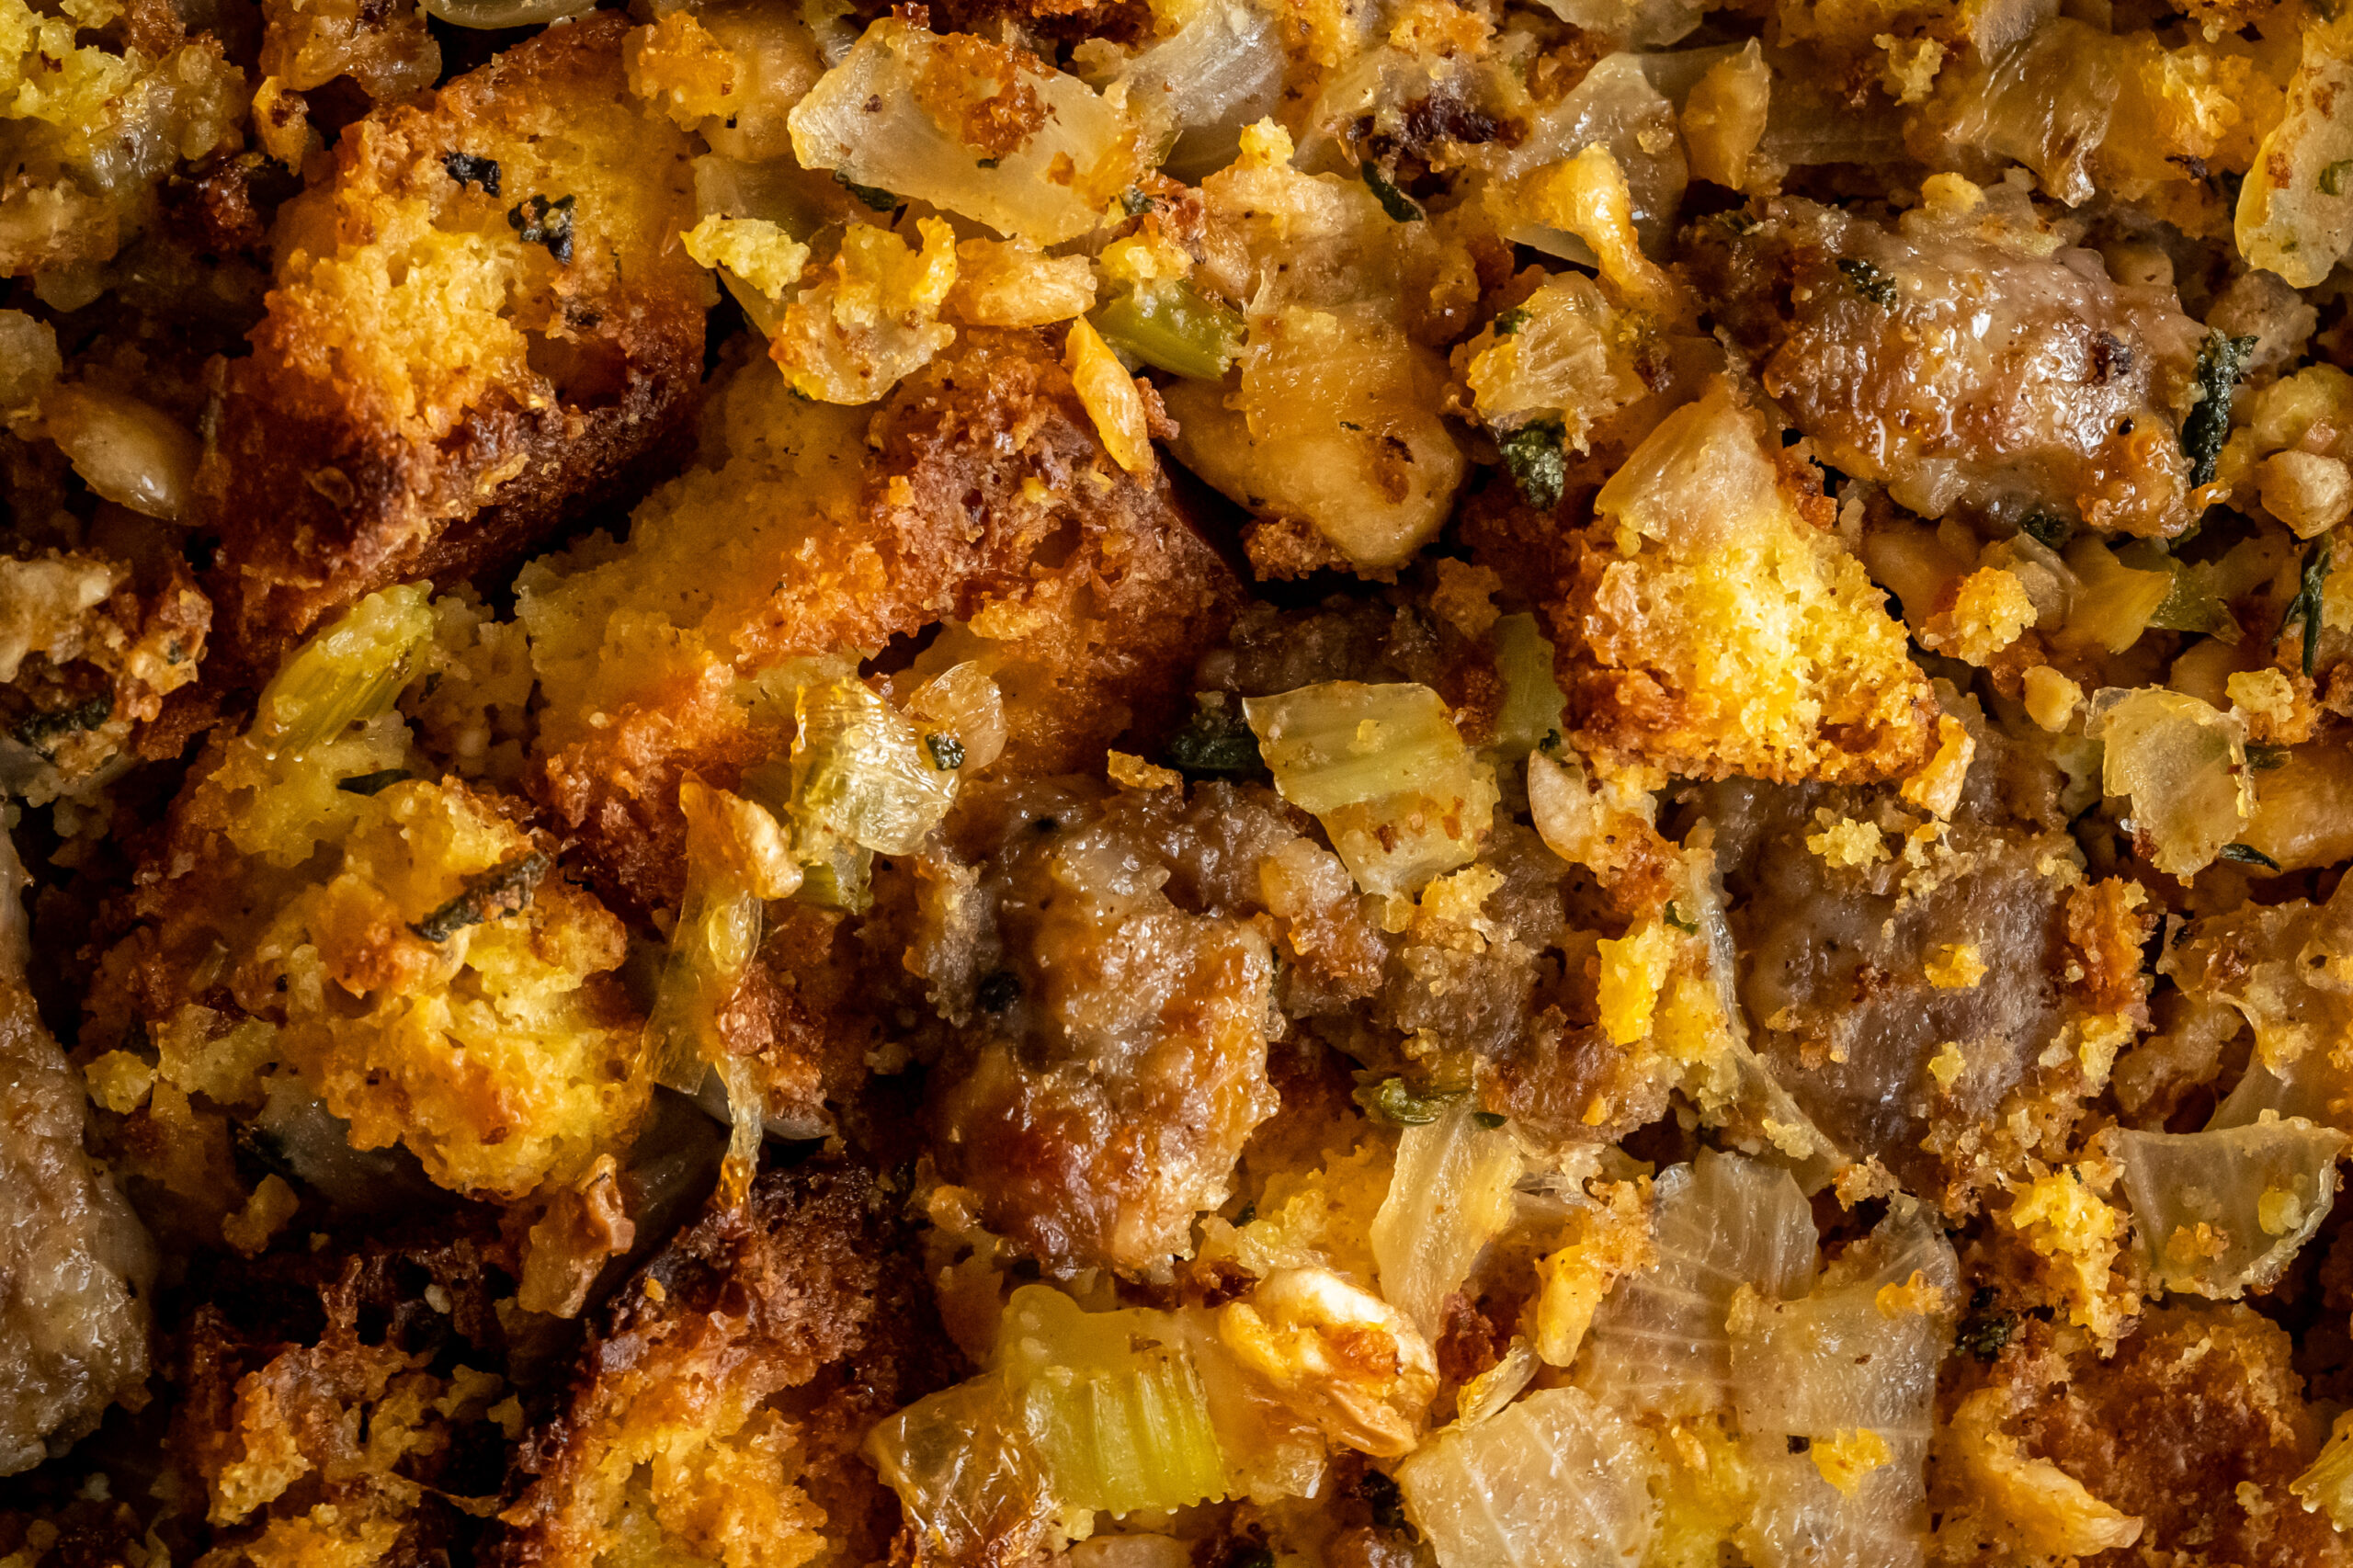
In your family, do you call it stuffing or dressing?
In my family we always refer to it as stuffing, even though technically it was never really stuffed in anything. But still, we called it stuffing.
We had two types – a rice stuffing, and a bread stuffing. And as a kid, I didn’t really care for either, and the rice stuffing is still not entirely my thing.
But as I’ve grown up, I’ve really really become a fan of bread stuffing, and definitely asked my mom to make extra this year when we exchange food for Thanksgiving.
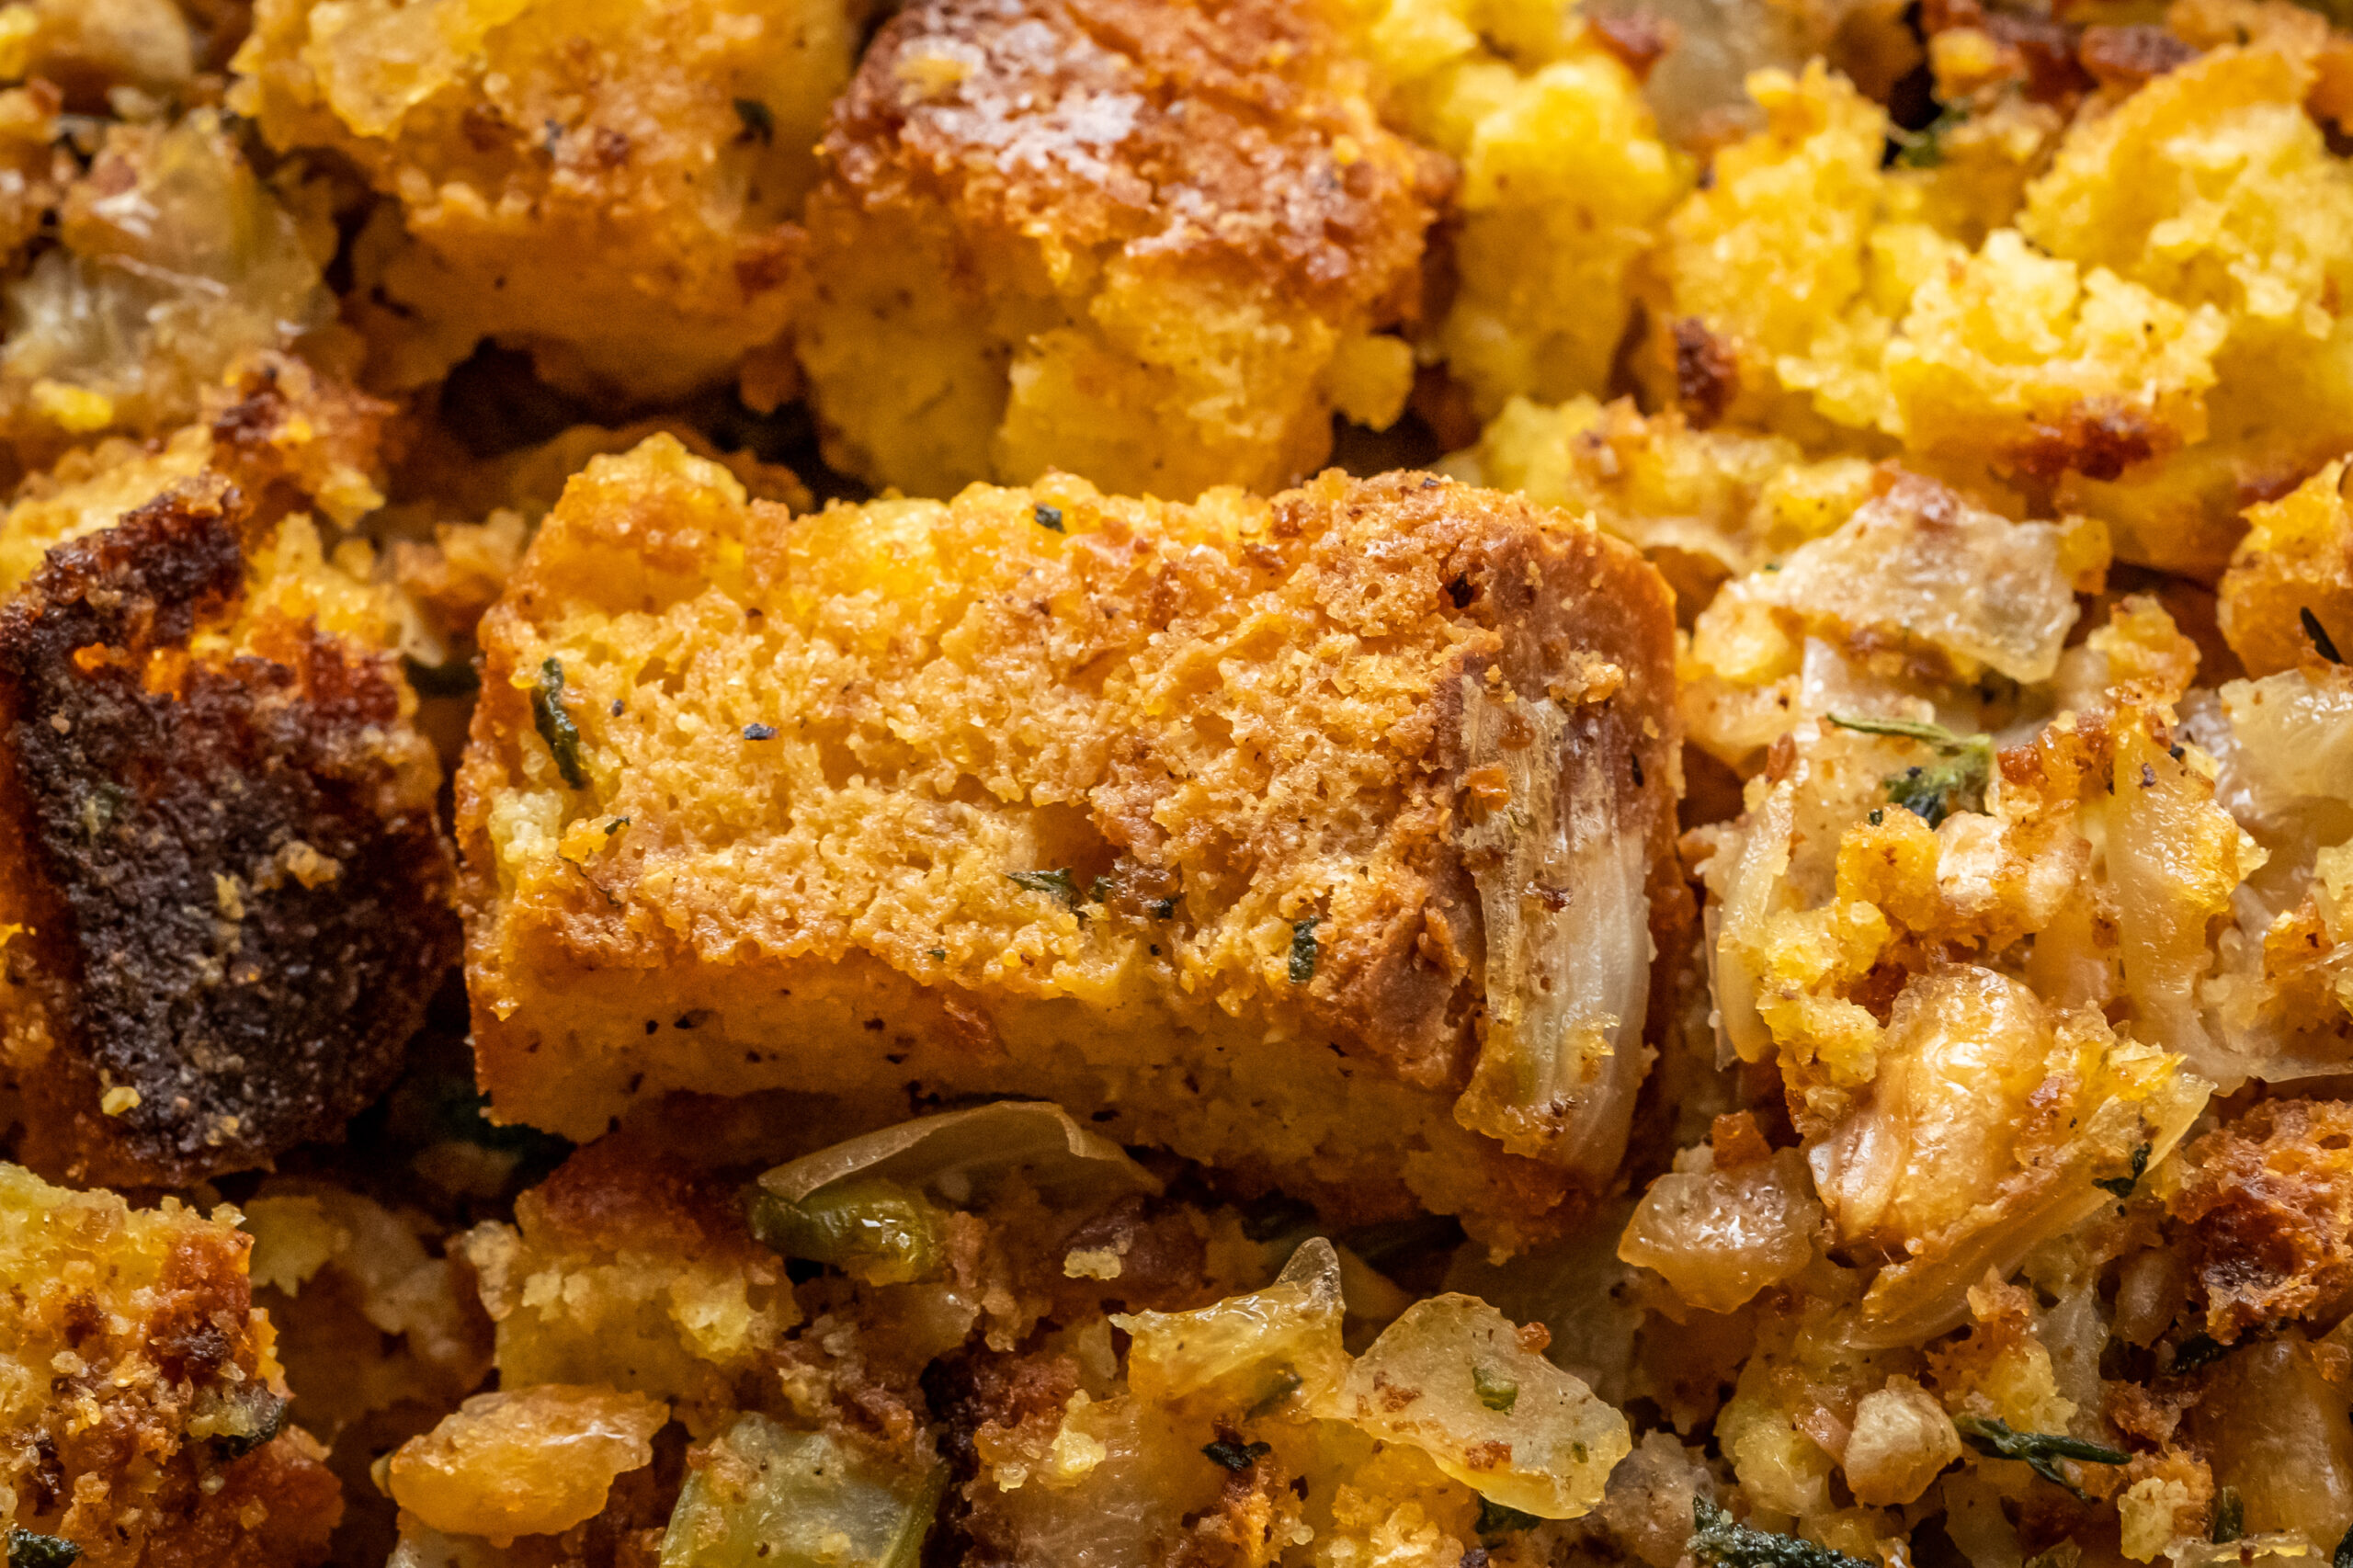
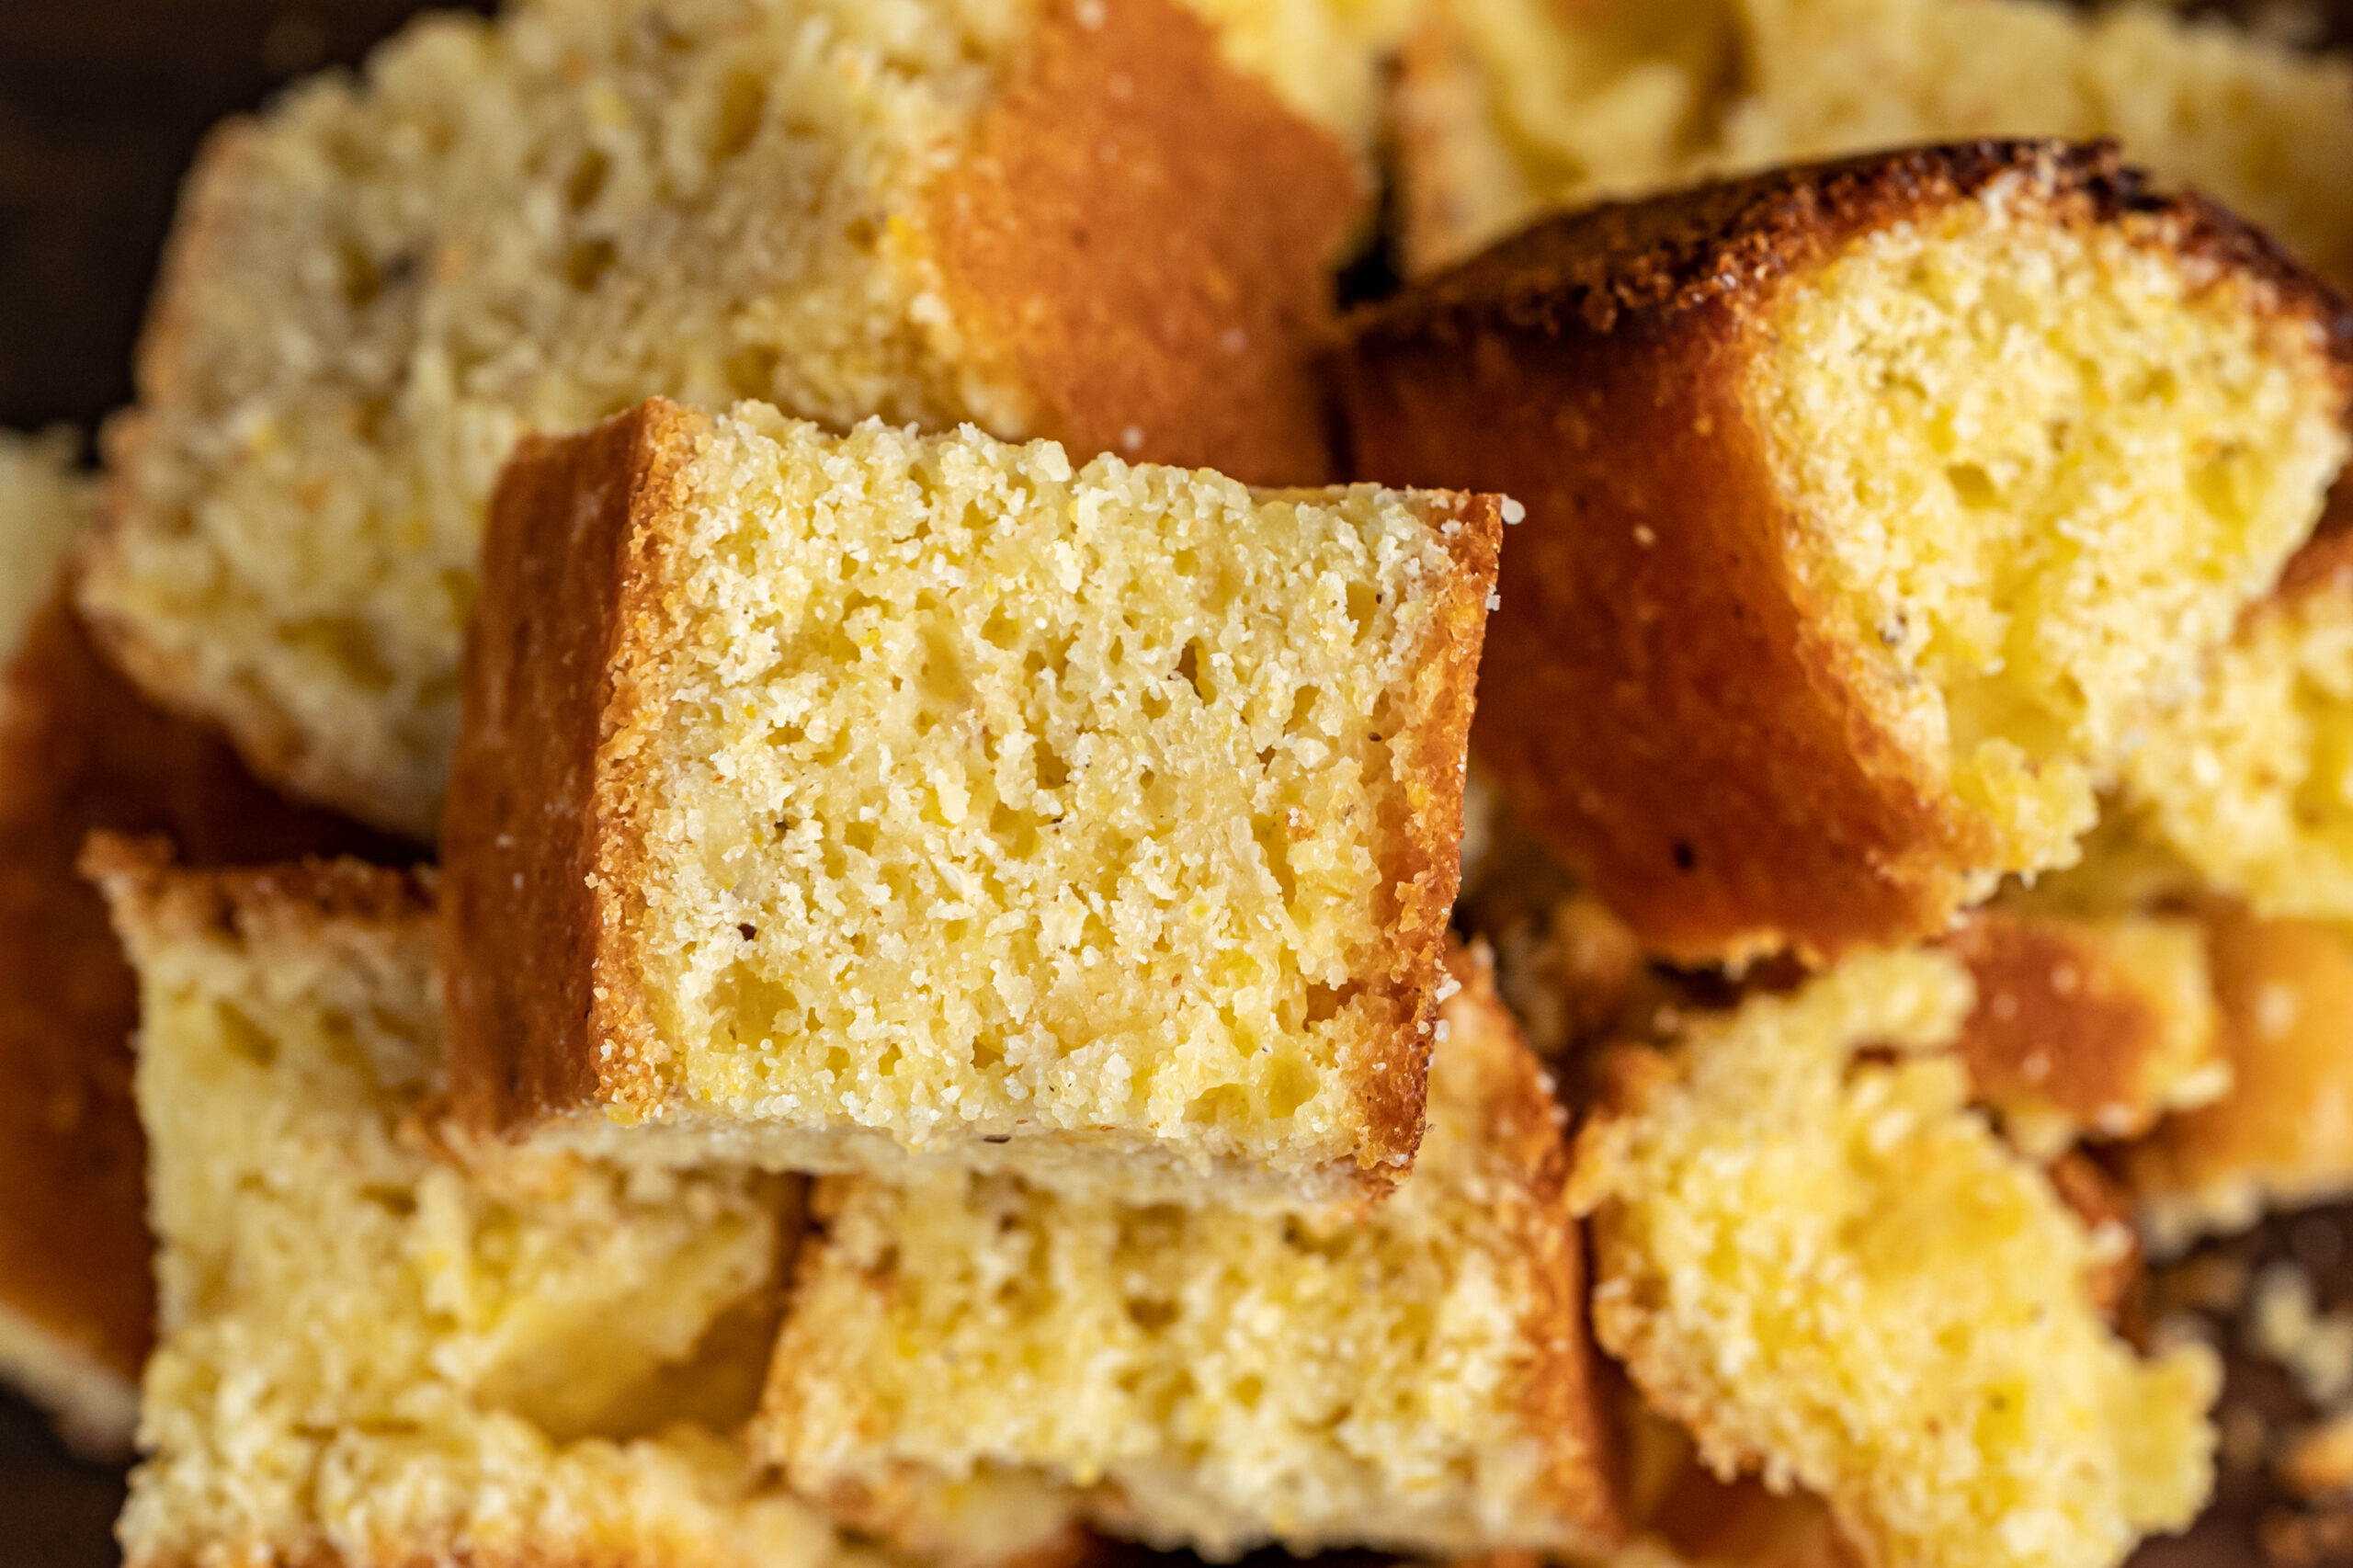
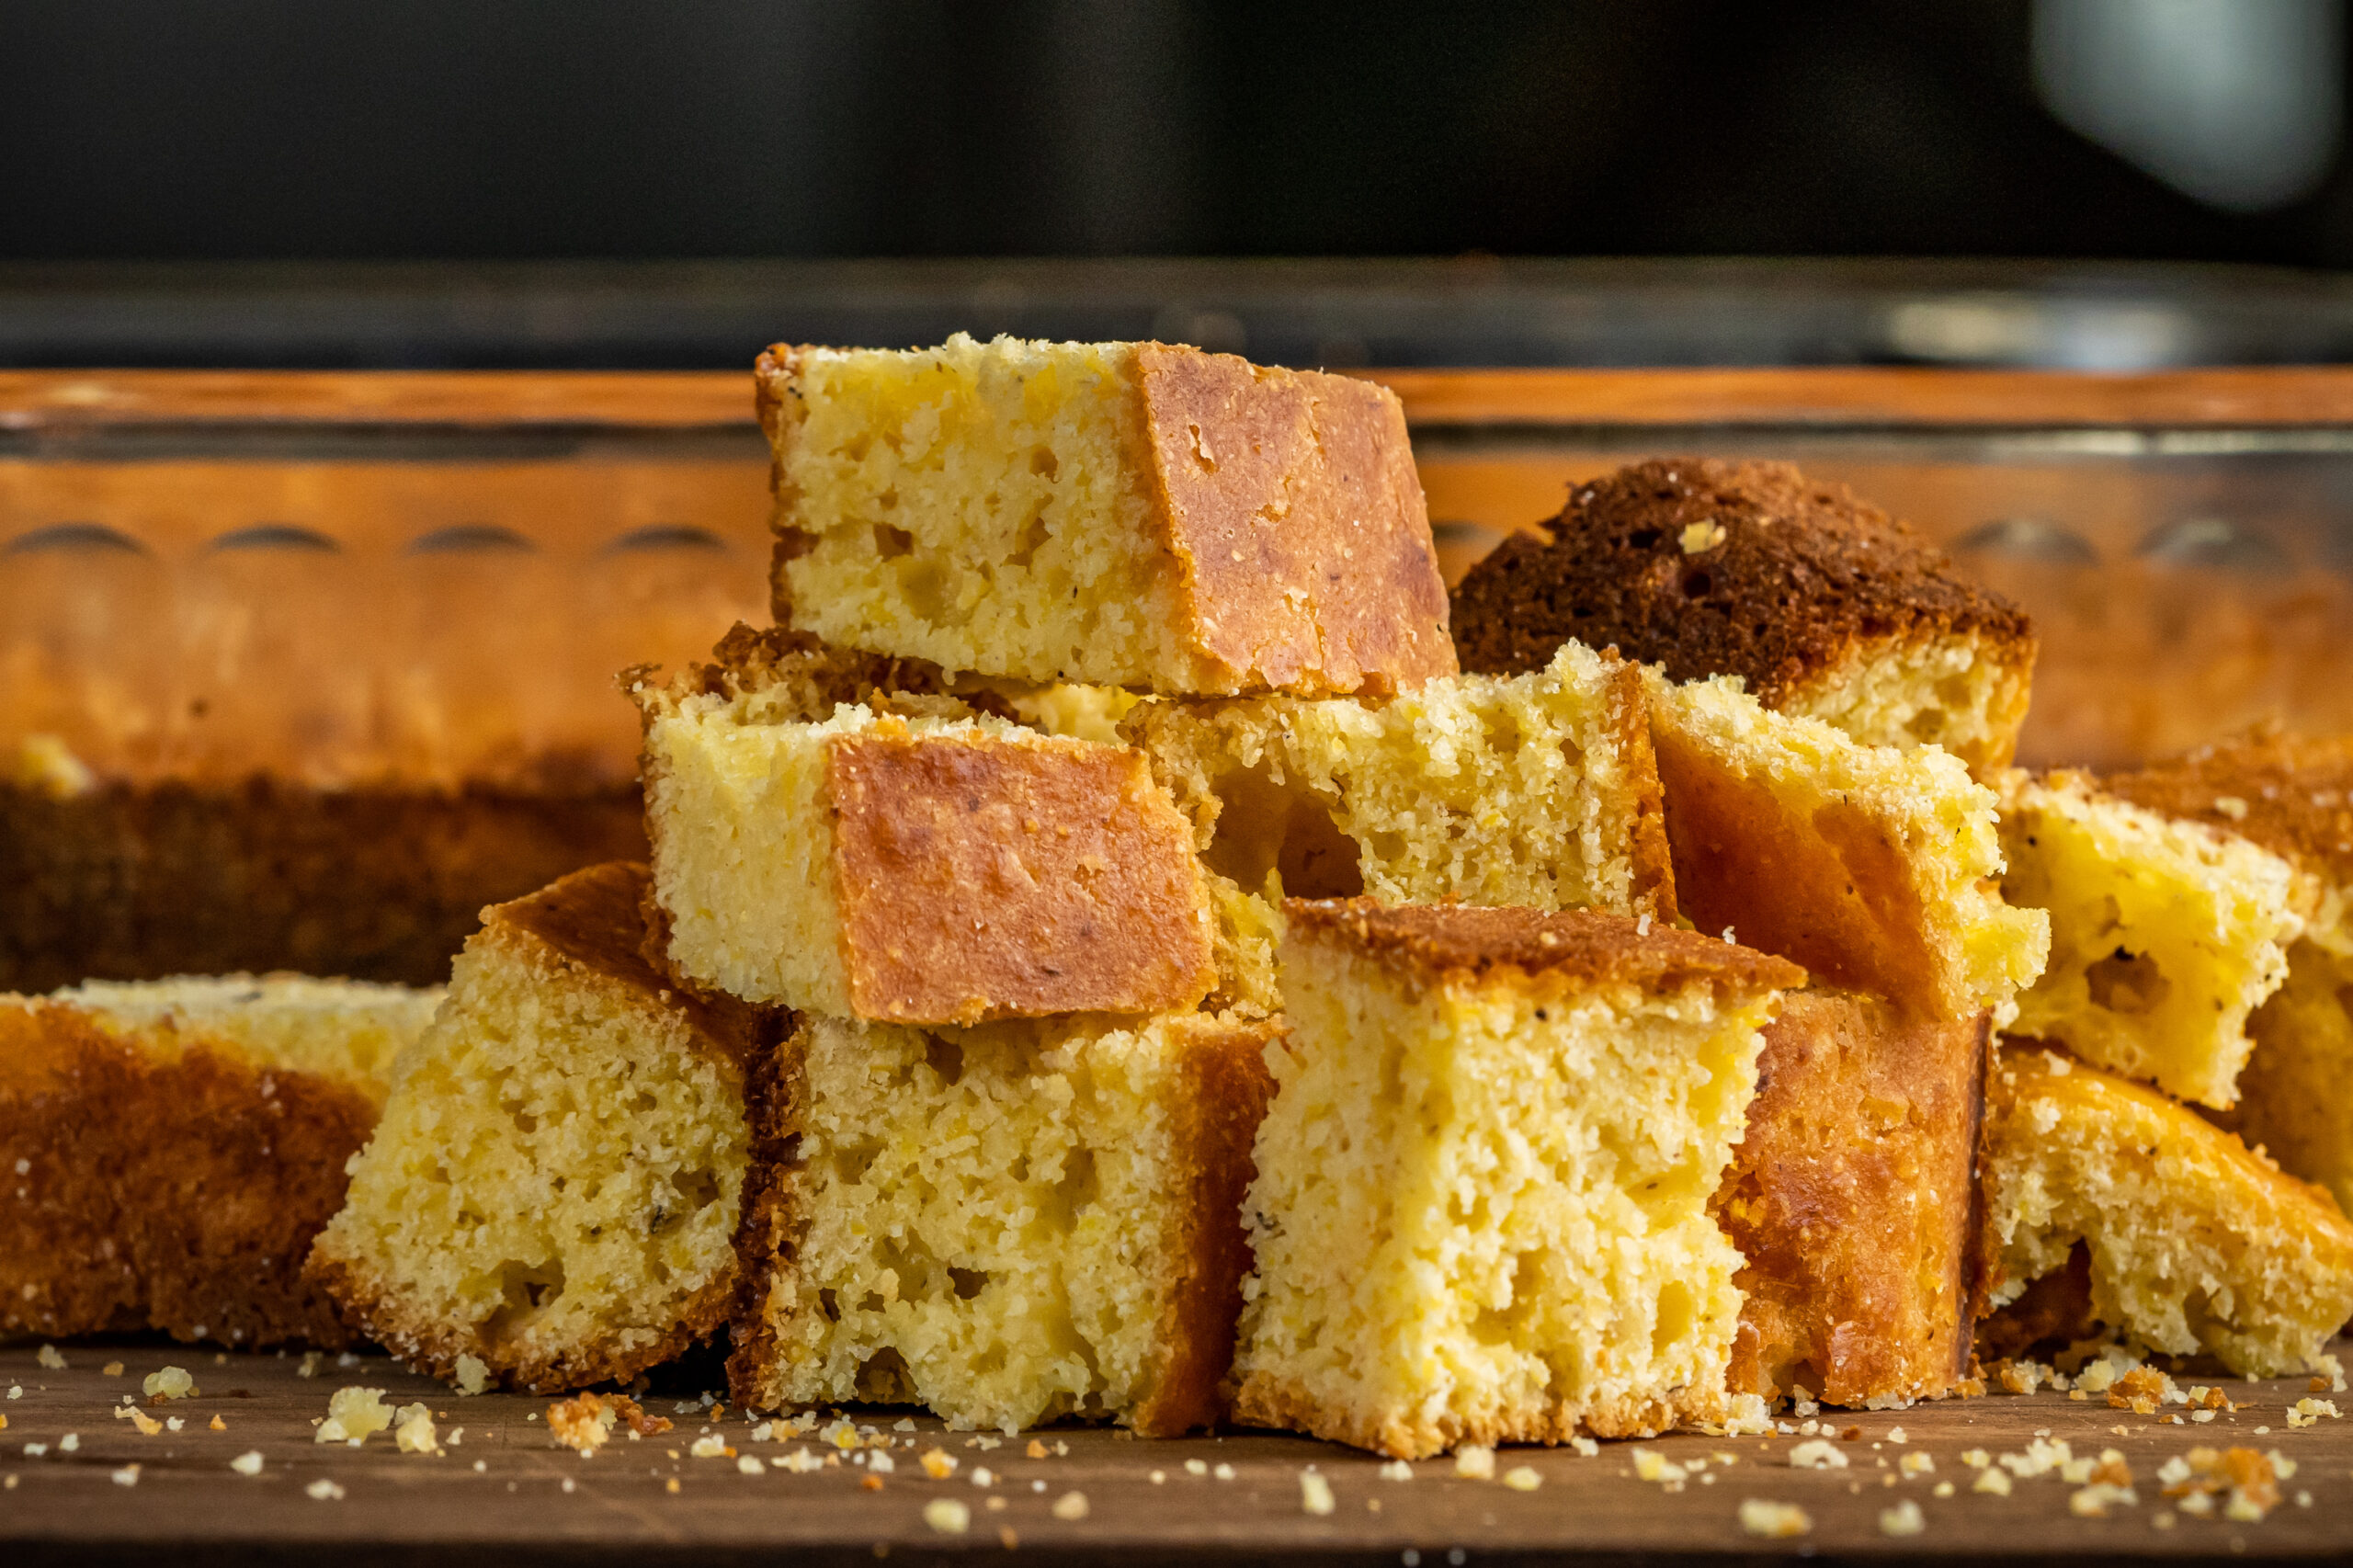
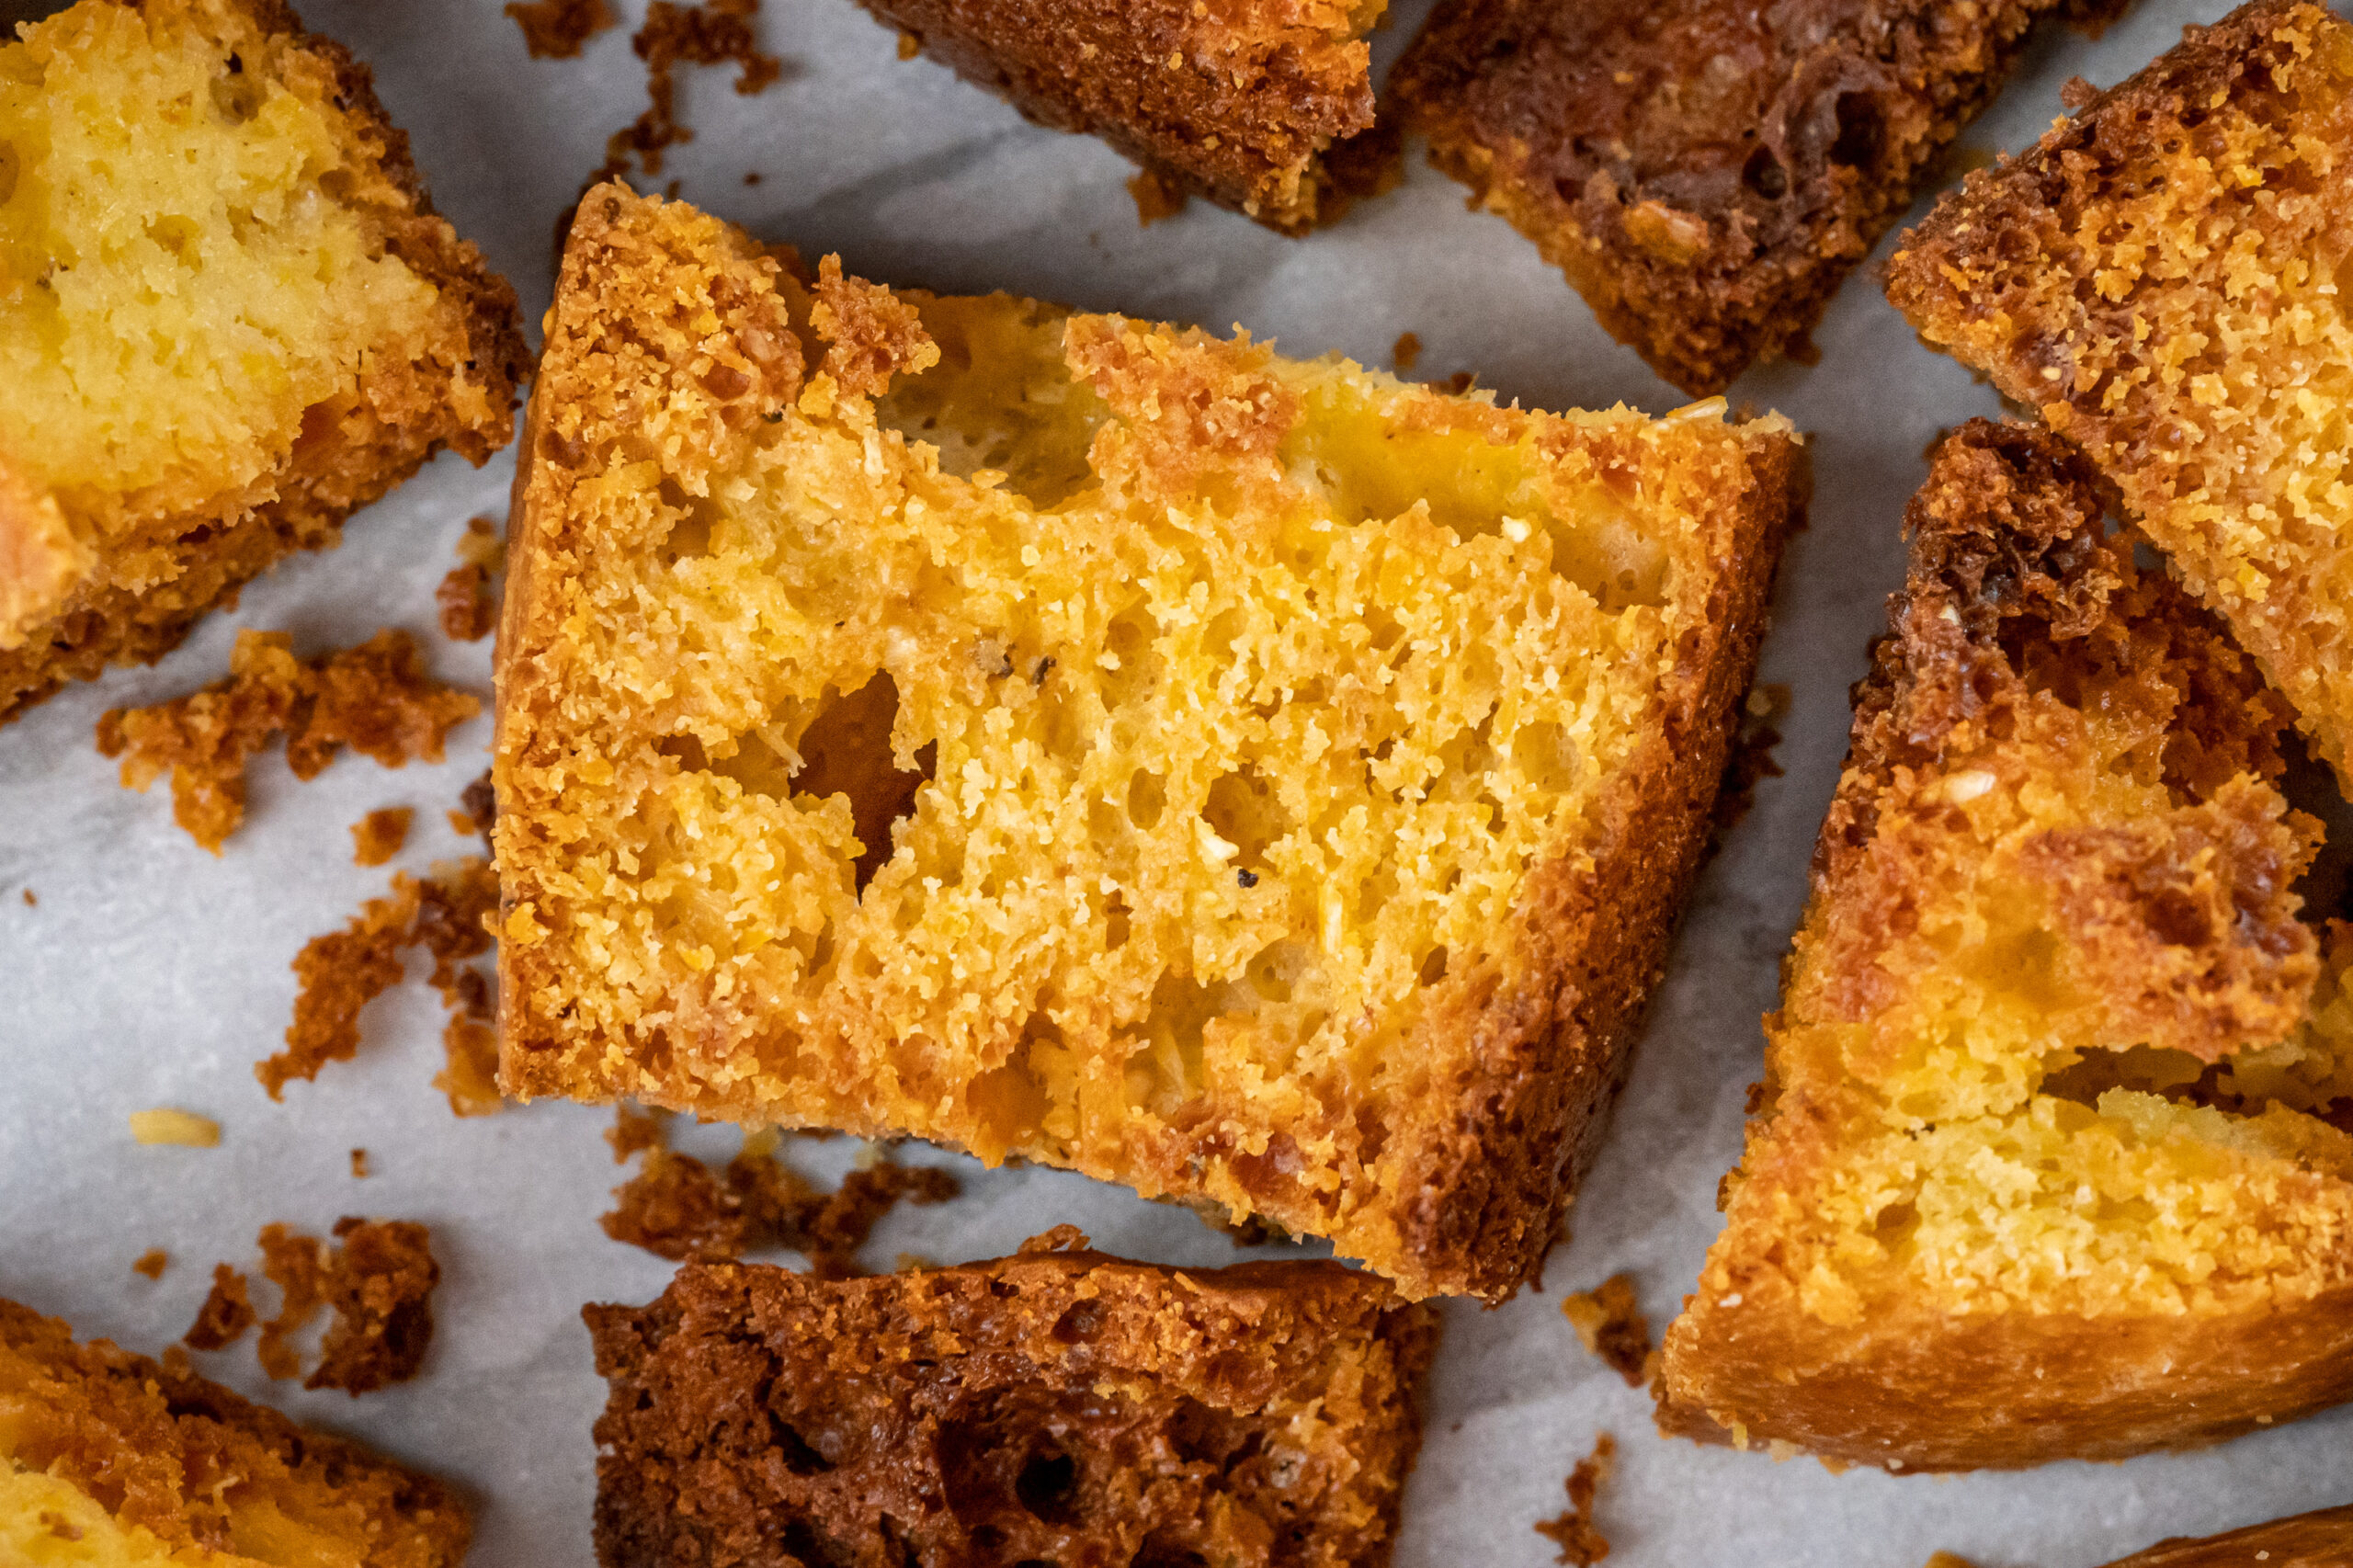
But I’ve also started making this cornbread stuffing just for myself, just to eat for breakfast leading up to Thanksgiving – not even making this for Thanksgiving – and oh my gosh, it’s so good. I love this stuffing!
1 1/2 lb breakfast sausage, casings removed if needed
1 cup unsalted butter (2 sticks), plus more for pan
2 medium onions, chopped
4 celery stalks, chopped
kosher salt
3 garlic cloves, finely chopped
2 Thai chiles or 1 jalapeño (with seeds), chopped
3/4 cup corn nuts, finely ground in a food processor, blender, or mortar and pestle (about 1/2 cup)
3/4 cup dry white wine
1 tbsp finely chopped sage
2 tsp finely chopped thyme
3 large eggs
3 1/2 cups turkey stock or low-sodium chicken broth
freshly ground black pepper
Cooking Directions
Preheat oven to 325°. Divide cornbread evenly between 2 large rimmed baking sheets and bake, tossing occasionally, until dried out and lightly browned around the edges, 40–50 minutes. Let cool at least 10 minutes. Increase oven temperature to 350°.
Meanwhile, cook sausage in a large skillet over medium-high heat, stirring and breaking up with a spoon, until lightly browned and cooked through, 6–8 minutes. Transfer to a plate.
Reduce heat to medium and melt butter in same skillet. Add onions and celery; season with salt. Cook, stirring occasionally, until softened but not browned, 8–10 minutes. Add garlic and chiles. Cook, stirring once, until very fragrant, about 1 minute. Add corn nuts and cook, stirring often, until very fragrant and vegetables are starting to brown around the edges, about 3 minutes. Add wine and cook, stirring occasionally, until almost completely evaporated, about 3 minutes. Add sage and thyme and toss to combine. Remove from heat.
Combine cornbread, sausage, and vegetable mixture in a large bowl. Whisk eggs and stock in a medium bowl until very well combined. Pour over cornbread mixture and let sit, gently stirring every minute or so, until cornbread has absorbed all or virtually all of the liquid. Season with salt and pepper (about 1 tbsp Diamond Crystal or 1 1/2 tsp Morton kosher salt).
Lightly butter a 3-qt. or 13x9x2″ baking dish. Transfer stuffing to dish and tap dish lightly against counter to distribute and compact stuffing. Cover tightly with foil and bake until stuffing is very hot throughout and bubbles appear around sides, 40–45 minutes. Increase oven temperature to 425° and remove foil. Continue to bake stuffing until top is lightly browned, 15–20 minutes longer.
Do Ahead: Stuffing can be baked at 350° 3 days ahead. Let cool, then chill. Reheat in a 350° oven before increasing temperature to 425° and removing foil.
I talk about this a lot, and I will keep bringing it up because I think it’s something that’s really important – I’m always telling people, “Post your shitty art.”
And this is because, if you’re so afraid of making shitty art, you will never even start, and then your good art will never exist because you’re so afraid of the shitty ones.
But also, if you’re posting your shitty art, your worst stuff is already out there. You can’t really be afraid of posting your good stuff because you know you already posted some bad stuff. So it kind of takes a lot of that pressure off.
Plus it makes you human – no matter how good you get, you’re still going to produce some stuff every now and then that’s total trash – and I think it helps people, to know that none of us are perfect.
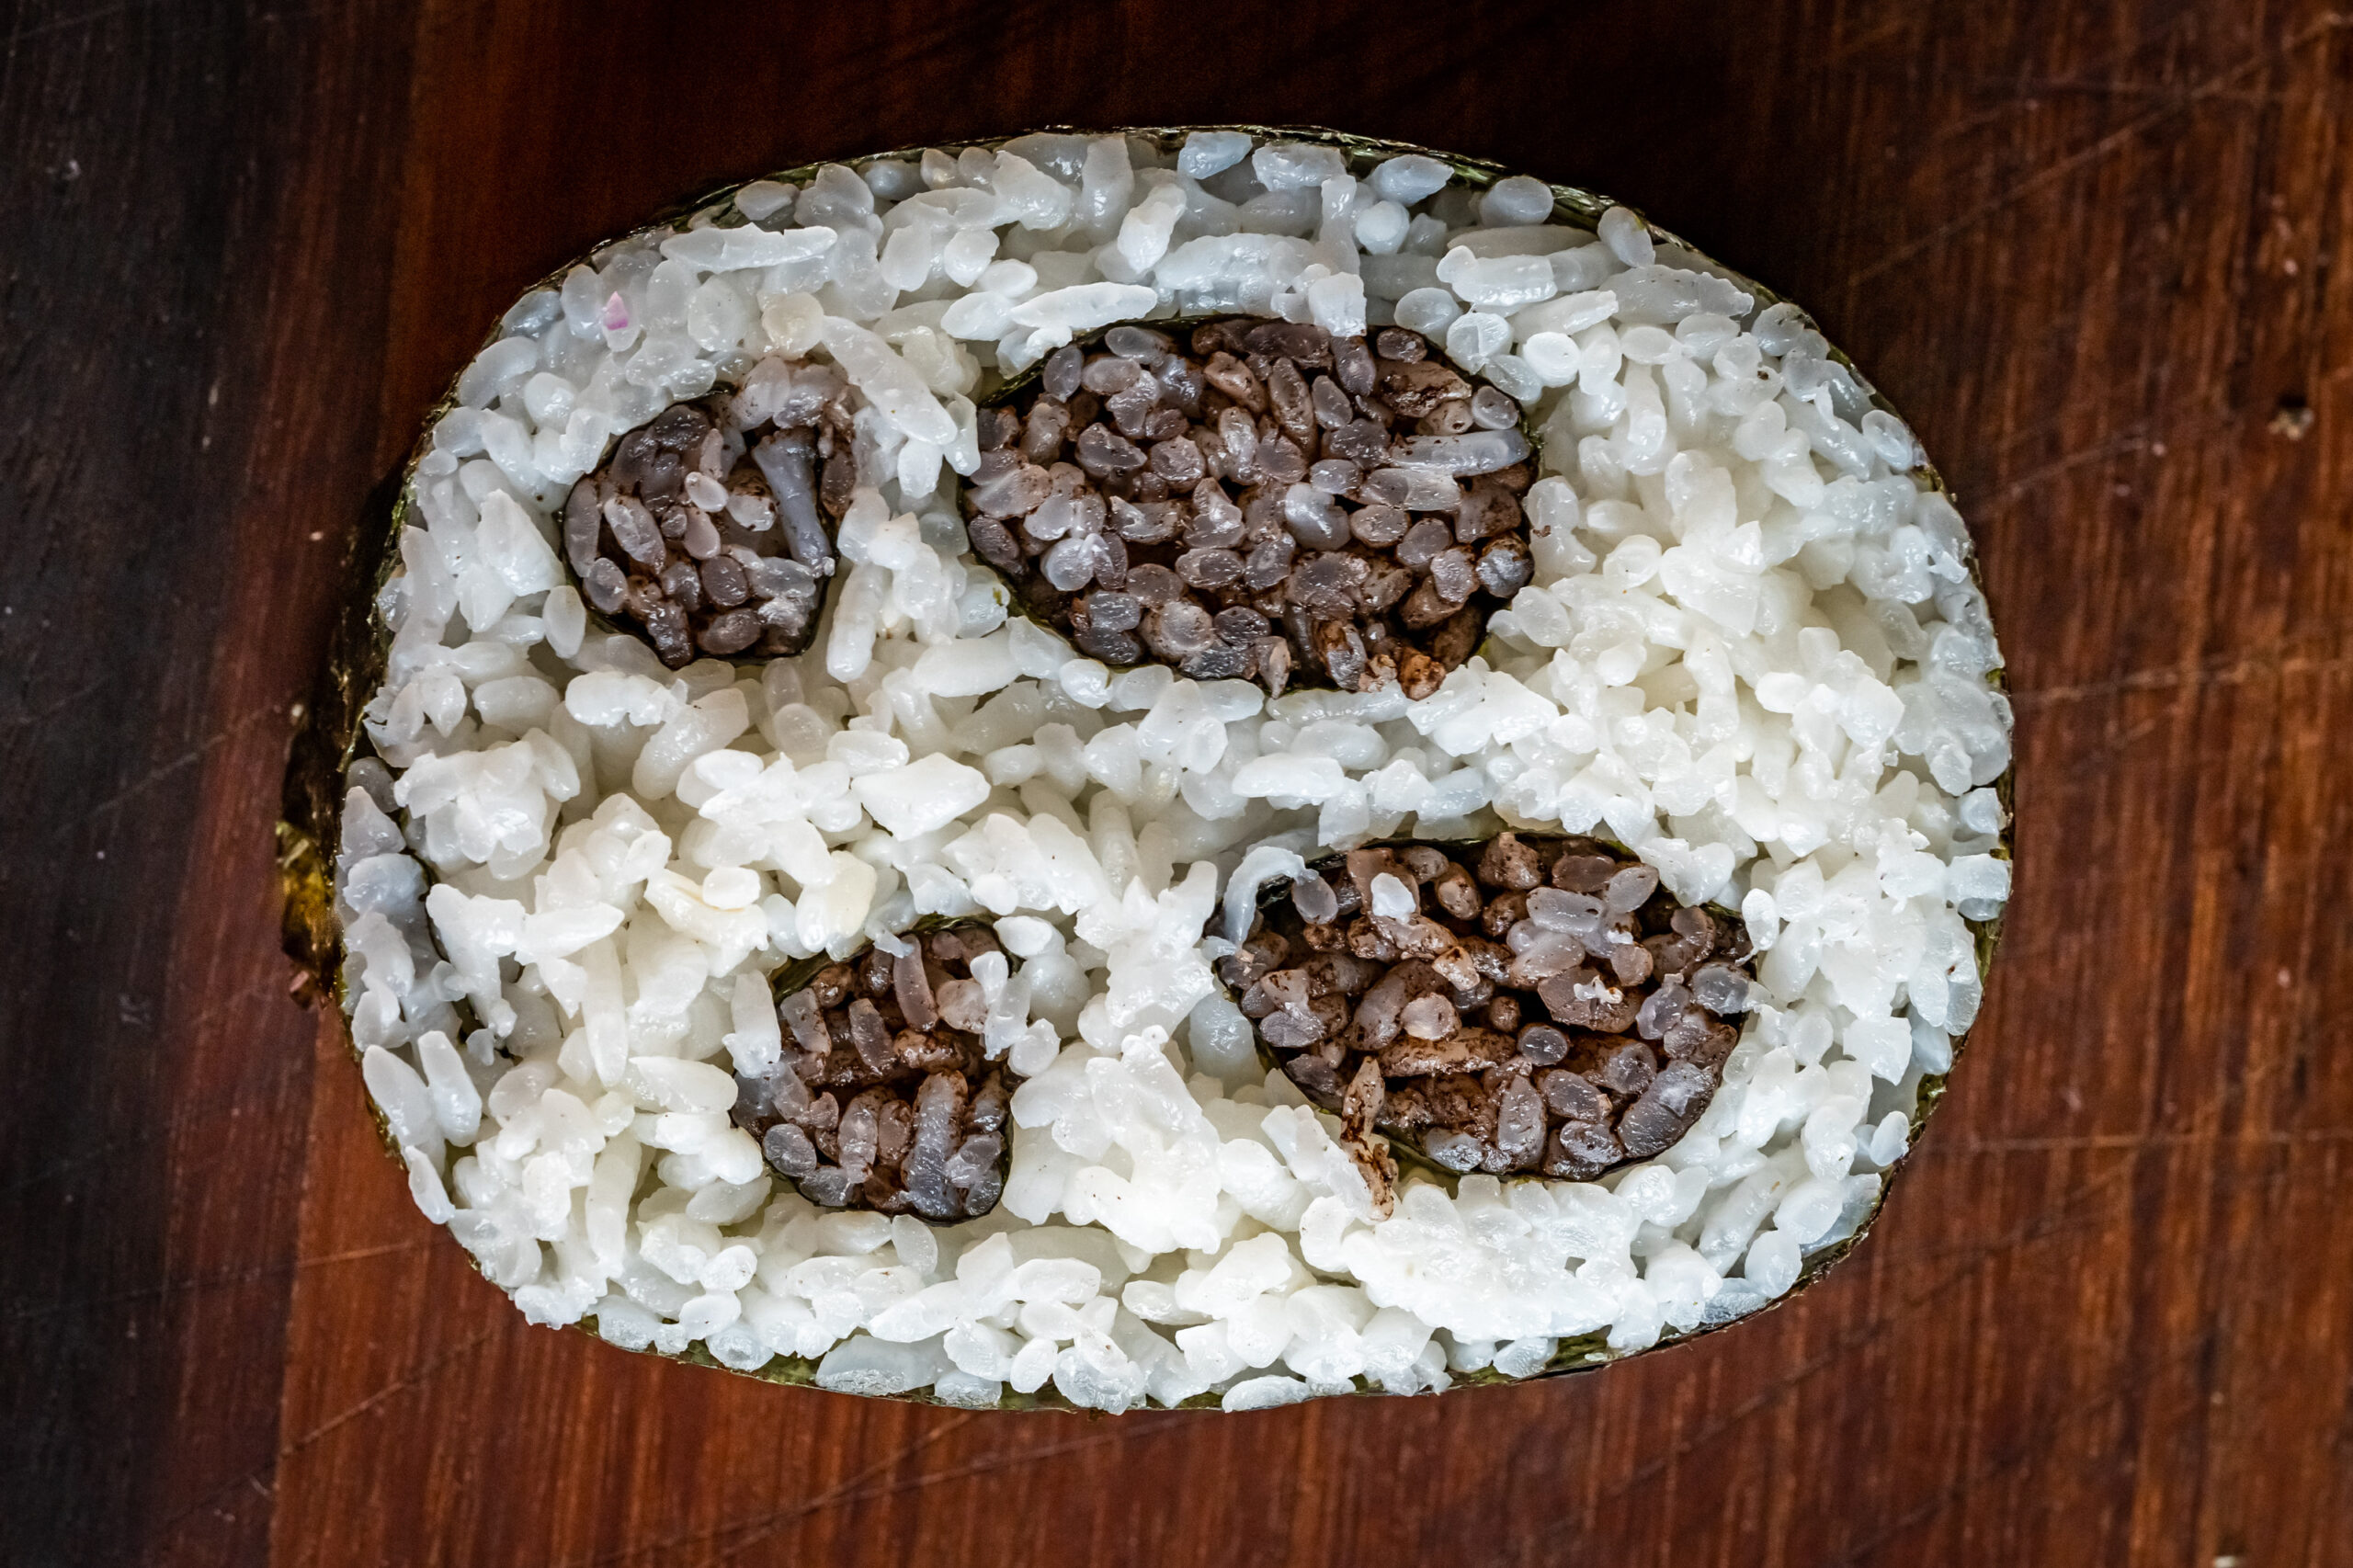
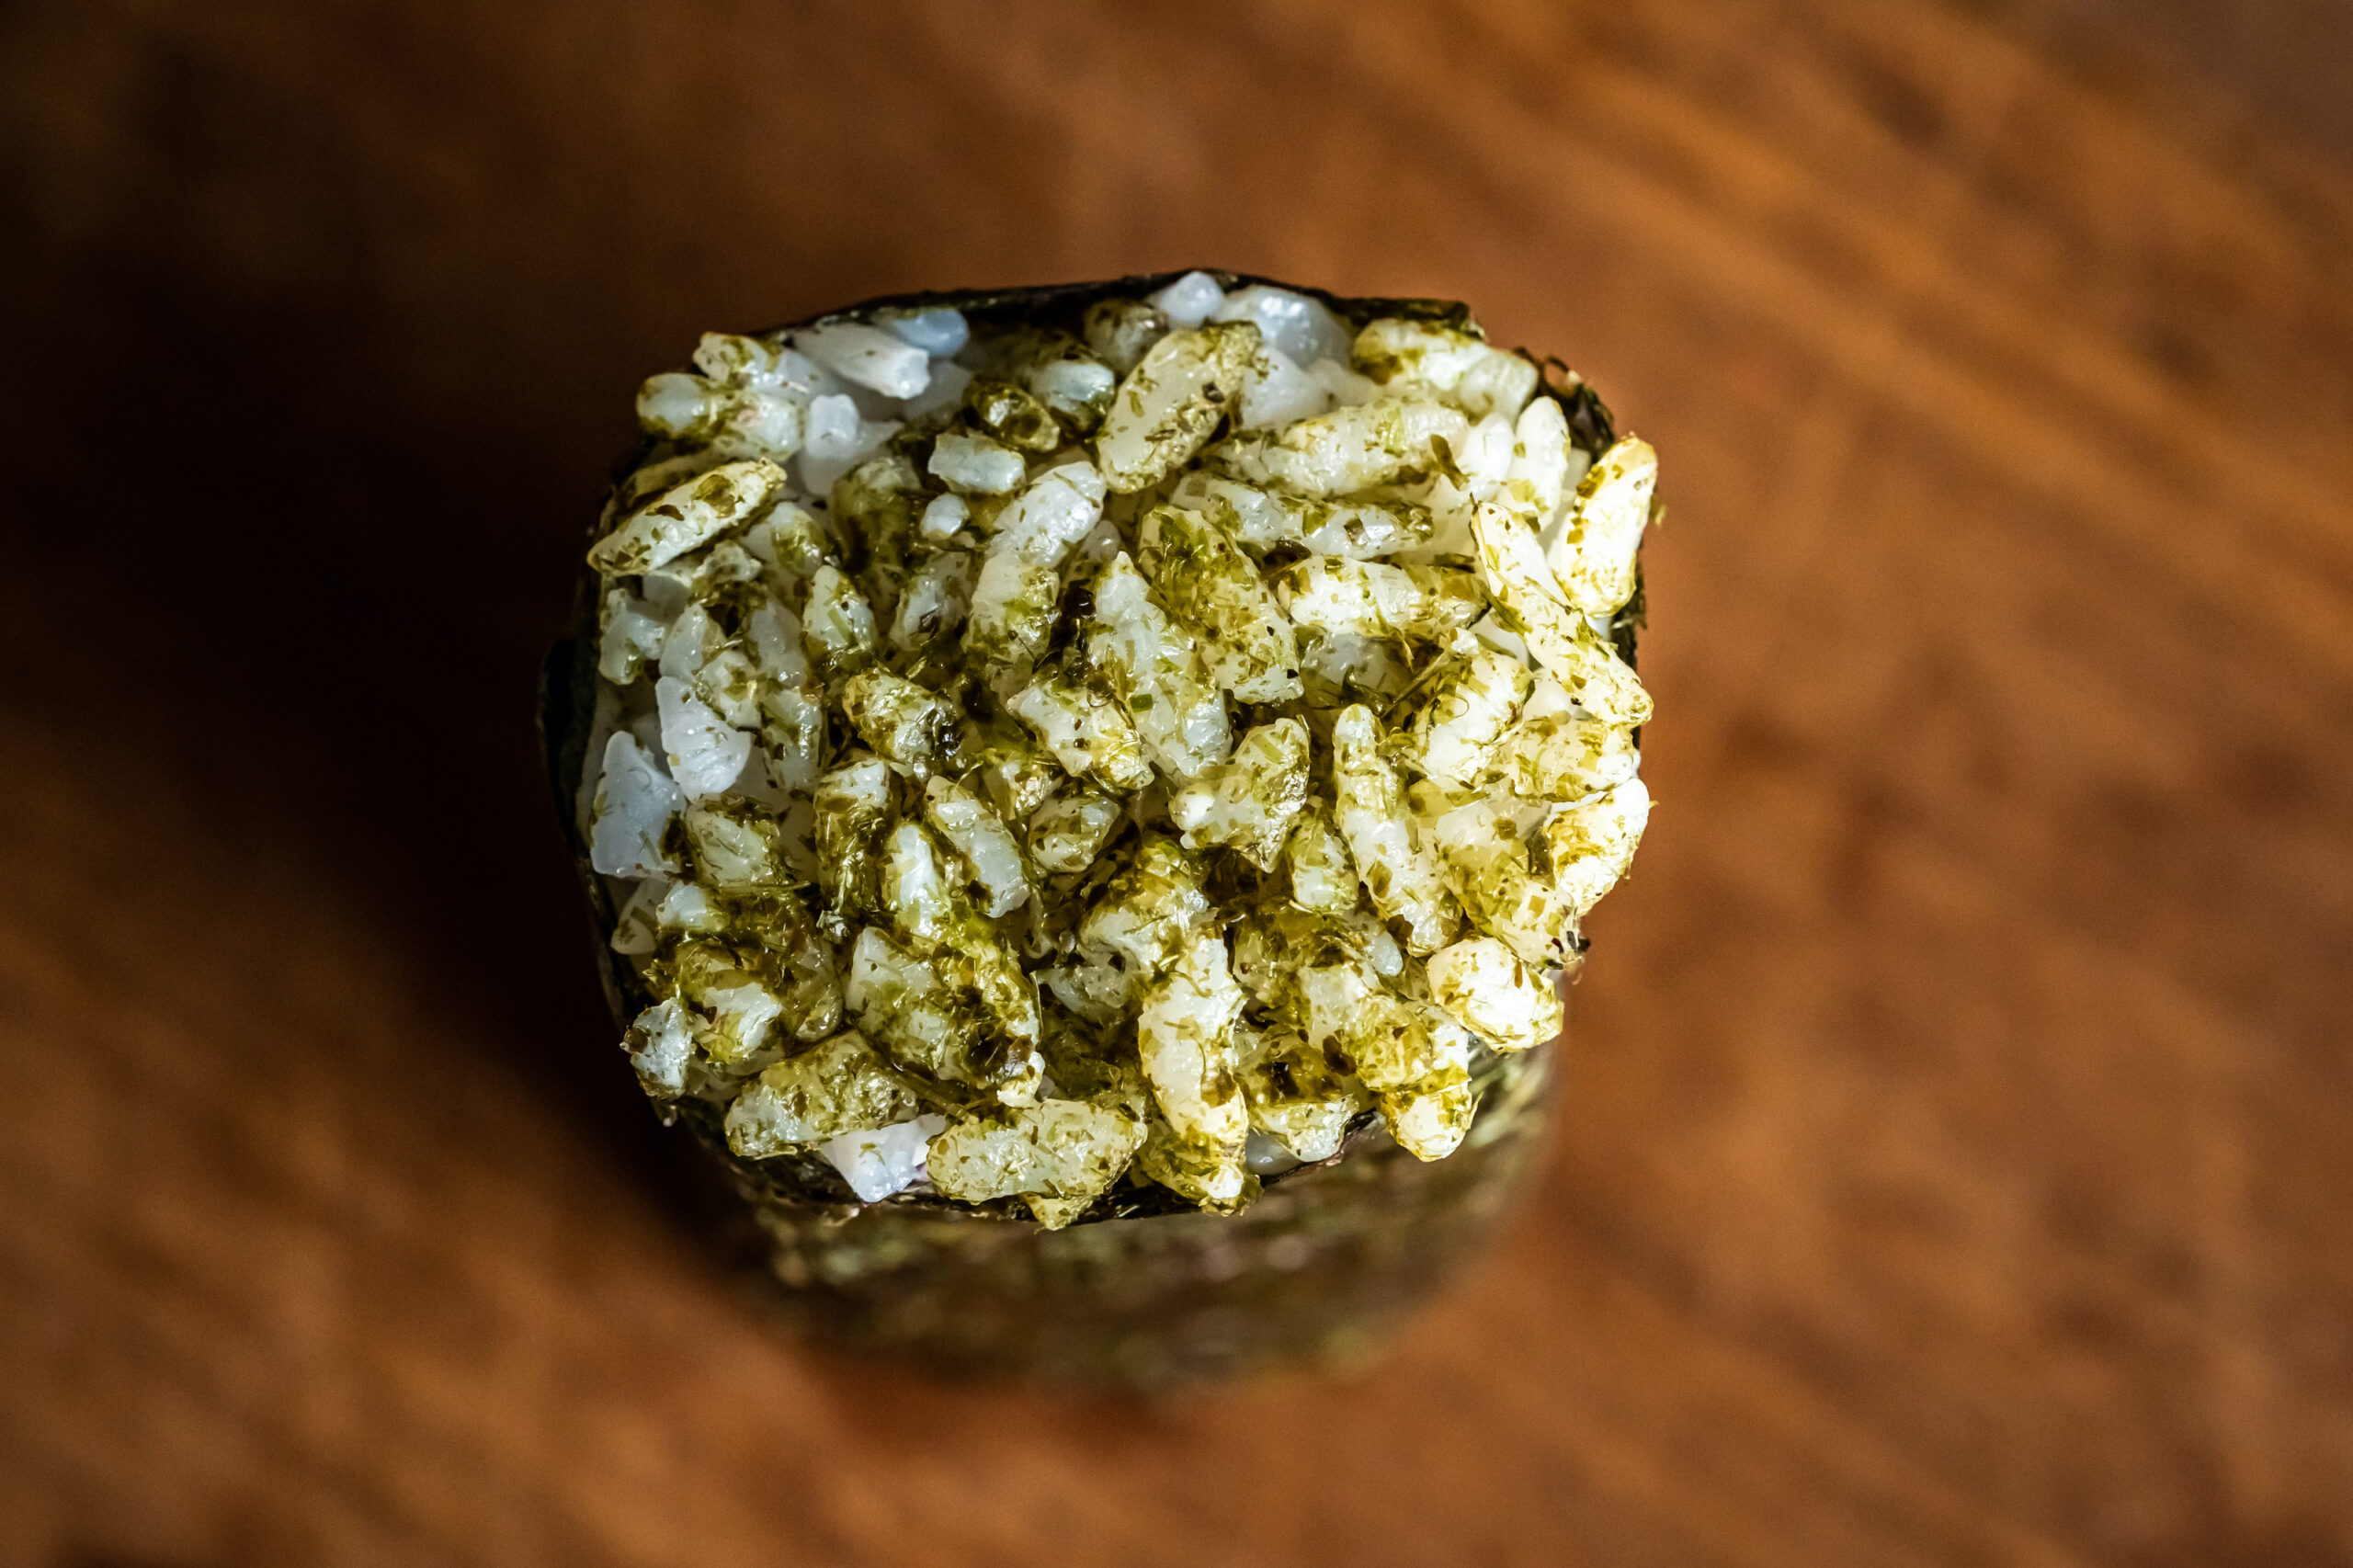
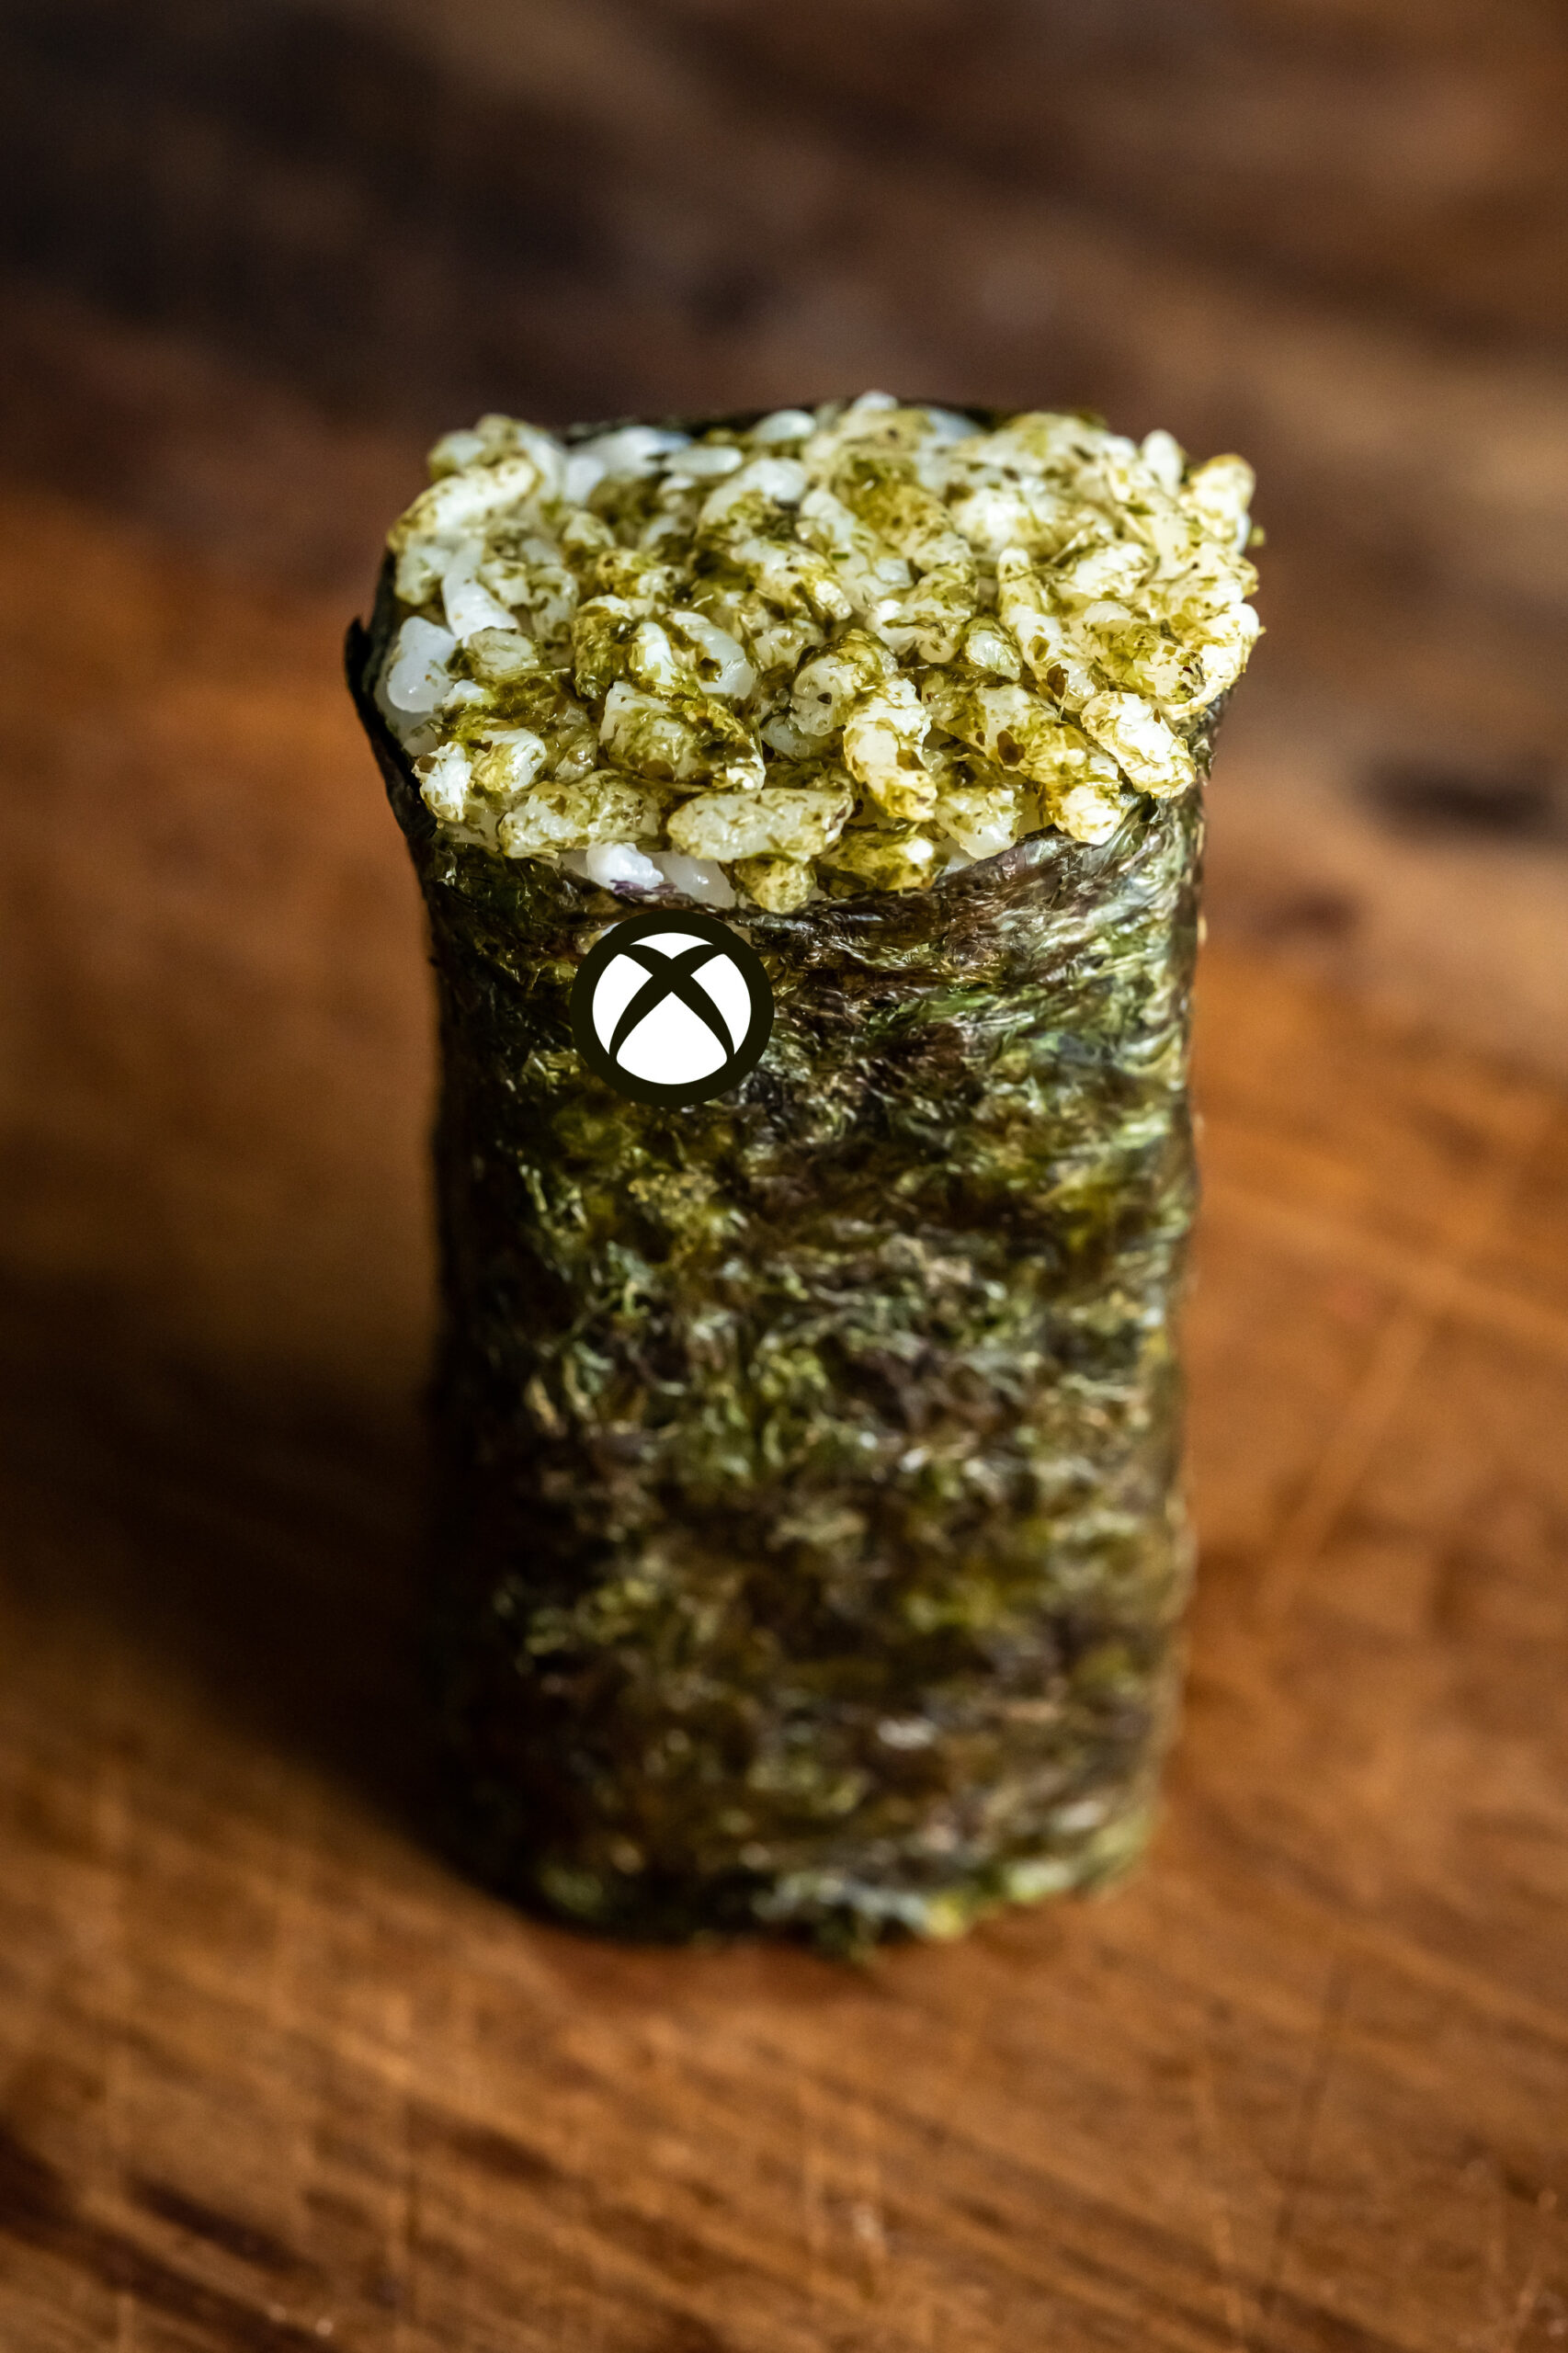
So… this is a PS5. Somebody requested in the comments that I make a PS5, and this is try number three and they were all trash. So this is what you get. ?
People always make assumptions about judgments I might make because I cook a lot.
But the thing is, I will never ever shame somebody who cooks from a box mix, because growing up that’s what we did.
We always always had a box of Bisquick in the pantry, and you knew it was going to be a good day when there was one of those boxes of blueberry muffin mix with those teeny tiny dried blueberries. Oh, those were so good.
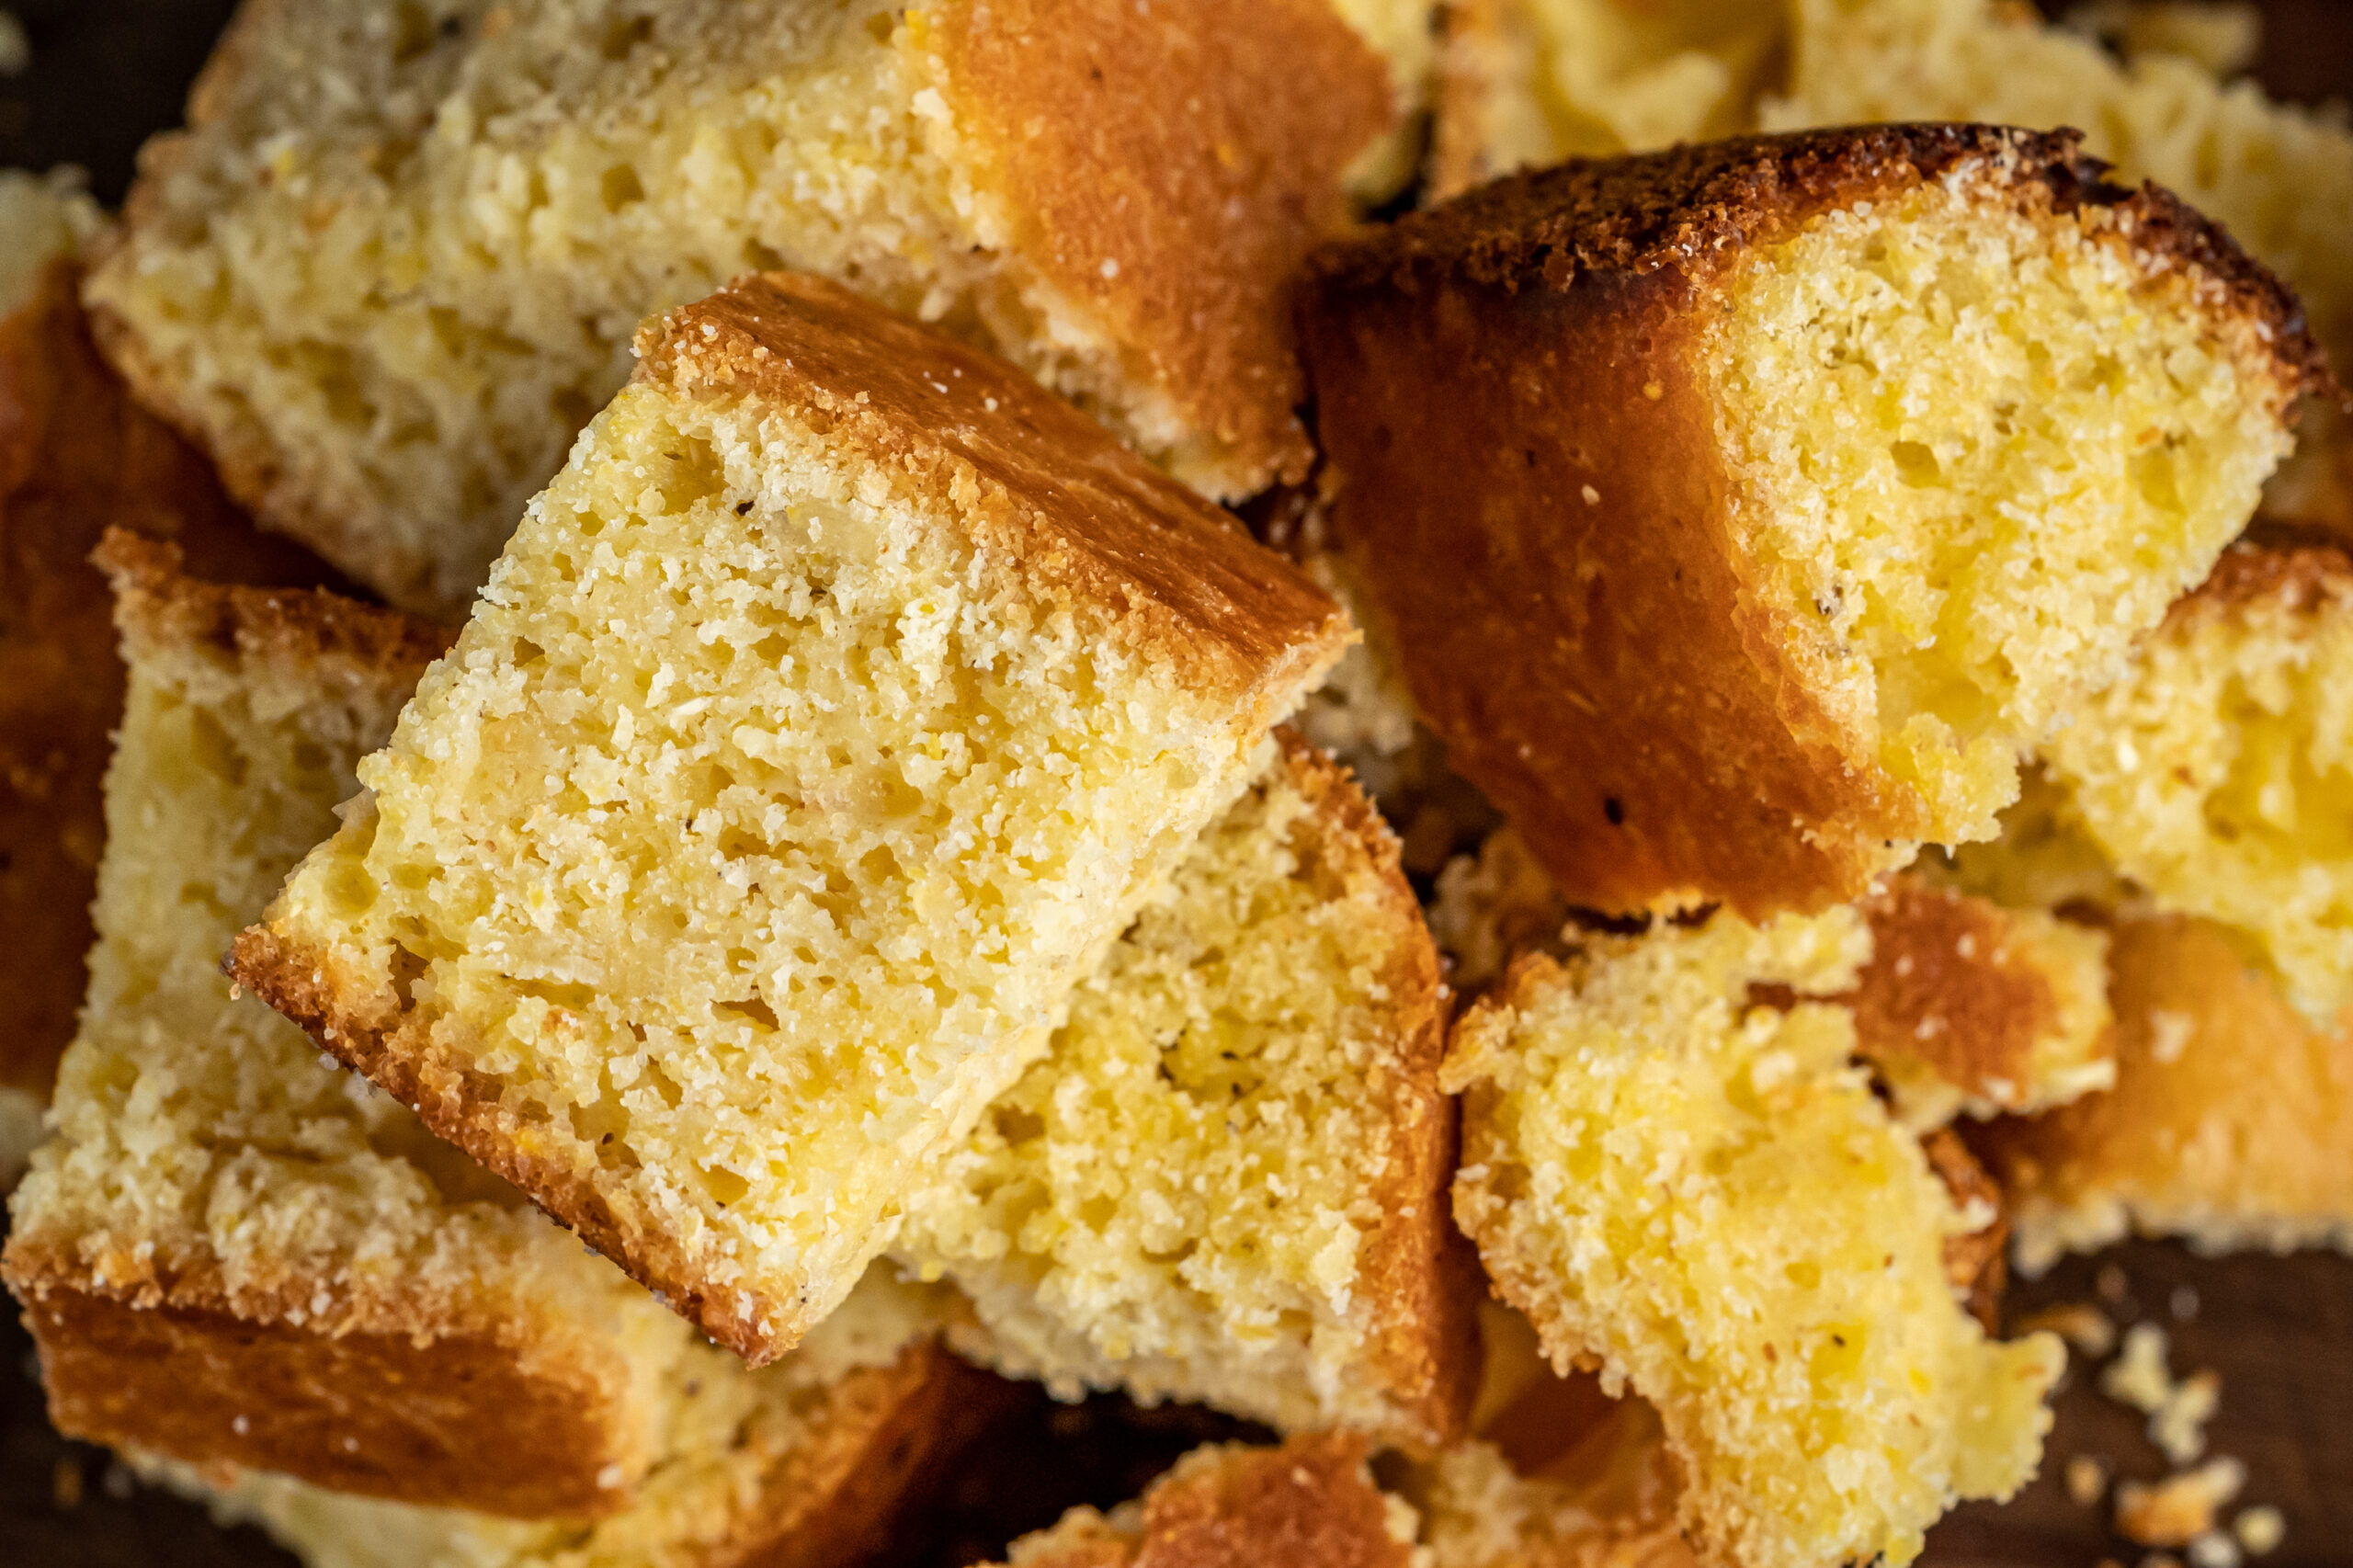
And up until adulthood, the only cornbread I had ever had was the kind that came from a box.
But oh my gosh, I loved that cornbread.
So yes, I will never ever shame somebody, because even though I may not cook from boxes very much anymore, there’s nothing wrong with that kind of convenience!
This cornbread is specifically for this cornbread stuffing/dressing recipe, so it’s not quite the kind of cornbread you might want as a side dish to eat by itself, or with a pat of butter and drizzle of honey.
But of course I couldn’t help but sneak a cube (or few), and it’s still pretty tasty!
1/2 cup (1 stick) unsalted butter, melted, slightly cooled
Cooking Directions
Preheat oven to 400°. Lightly coat a 13×9″ baking dish with nonstick spray. Whisk flour, cornmeal, sugar, baking powder, salt, and pepper in a large bowl. Whisk eggs, buttermilk, and butter in a medium bowl. Make a well in the dry ingredients and pour in egg mixture; stir into dry ingredients with a wooden spoon until combined. Scrape batter into prepared pan and smooth top.
Bake cornbread, rotating dish halfway through, until a tester inserted into the center comes out clean, 20–25 minutes. Let cornbread cool slightly in dish, then cut crosswise into 4 large pieces. Transfer to a wire rack with a large spatula and let cool completely.
Do Ahead: Cornbread can be baked 2 days ahead. Store tightly wrapped at room temperature.
As part of the ballroom dance team, we’d volunteer to help out at ballroom competitions. And for one of these competitions, Son and I ended up signing up for the same time slot.
When I got to the hotel where the competition was being held, I couldn’t figure out where to park. So he CONVENIENTLY volunteered to show me where to go.
We chatted a little as we parked and walked in, worked the competition, and went our separate ways.
Since I had a car, I drove some of our other teammates back to their dorms afterwards. And when I finally got back to my dorm, I saw that I had a missed call from him.
BUT I assumed he was calling about something to do with the competition, and that it was probably no longer important, plus it was really late already, so I never called him back.
LITTLE DID I KNOW HE WAS CALLING TO ASK ME OUT.
But since I didn’t return his call, he assumed I wasn’t interested.
The world of gamers is always so interesting to me.
I think most people would look at me and say, “oh she’s absolutely not a gamer,” because I did not grow up having a video game console.
That was not something we ever had until my brother was old enough to start playing video games, and I was a teenager by then – so I was busy with school, and dance, and didn’t have time to play games.
So I didn’t really grow up with console-based video games, but I did still spend a large chunk of my childhood gaming. It was just all computer games games like Chips Challenge – I played so much Chip’s Challenge.
I was so freaking good at Minesweeper. I absolutely adored Treasure Mountain. And we can’t forget Pickle Wars. I don’t know if anybody else played this or anybody else remembers this game, but Pickle Wars was my jam.
I was a gamer. I always have been. Just maybe not same kind of gamer as you.