Categories
TikTok

Curry Grilled Cheese

The summer before I was set to start kindergarten, my dad came home from work one day looking alarmed.

“The school is on fire!”

Someone – a student, I think – had set the kindergarten building on fire.

And I was absolutely DEVASTATED – I thought that meant I wasn’t going to get to go to kindergarten, and that was just the most terrible thing my four-year-old mind could imagine.

They ended up putting the kindergarten classes in temporarity trailers for the first part of the school year, until the building was fixed up and useable again.

But we still had recess in the kindergarten playground.

The playground equipment was fine, if a little fire damaged, and I didn’t mind most of it.

But for some reason, I was absolutely terrified of the tall metal slide, which had gotten just a little discolored and warped from the fire.

By the middle of the school year we were able to move back into the kindergarten building, which looked like new. But I don’t think I ever got over my fear of that slide.

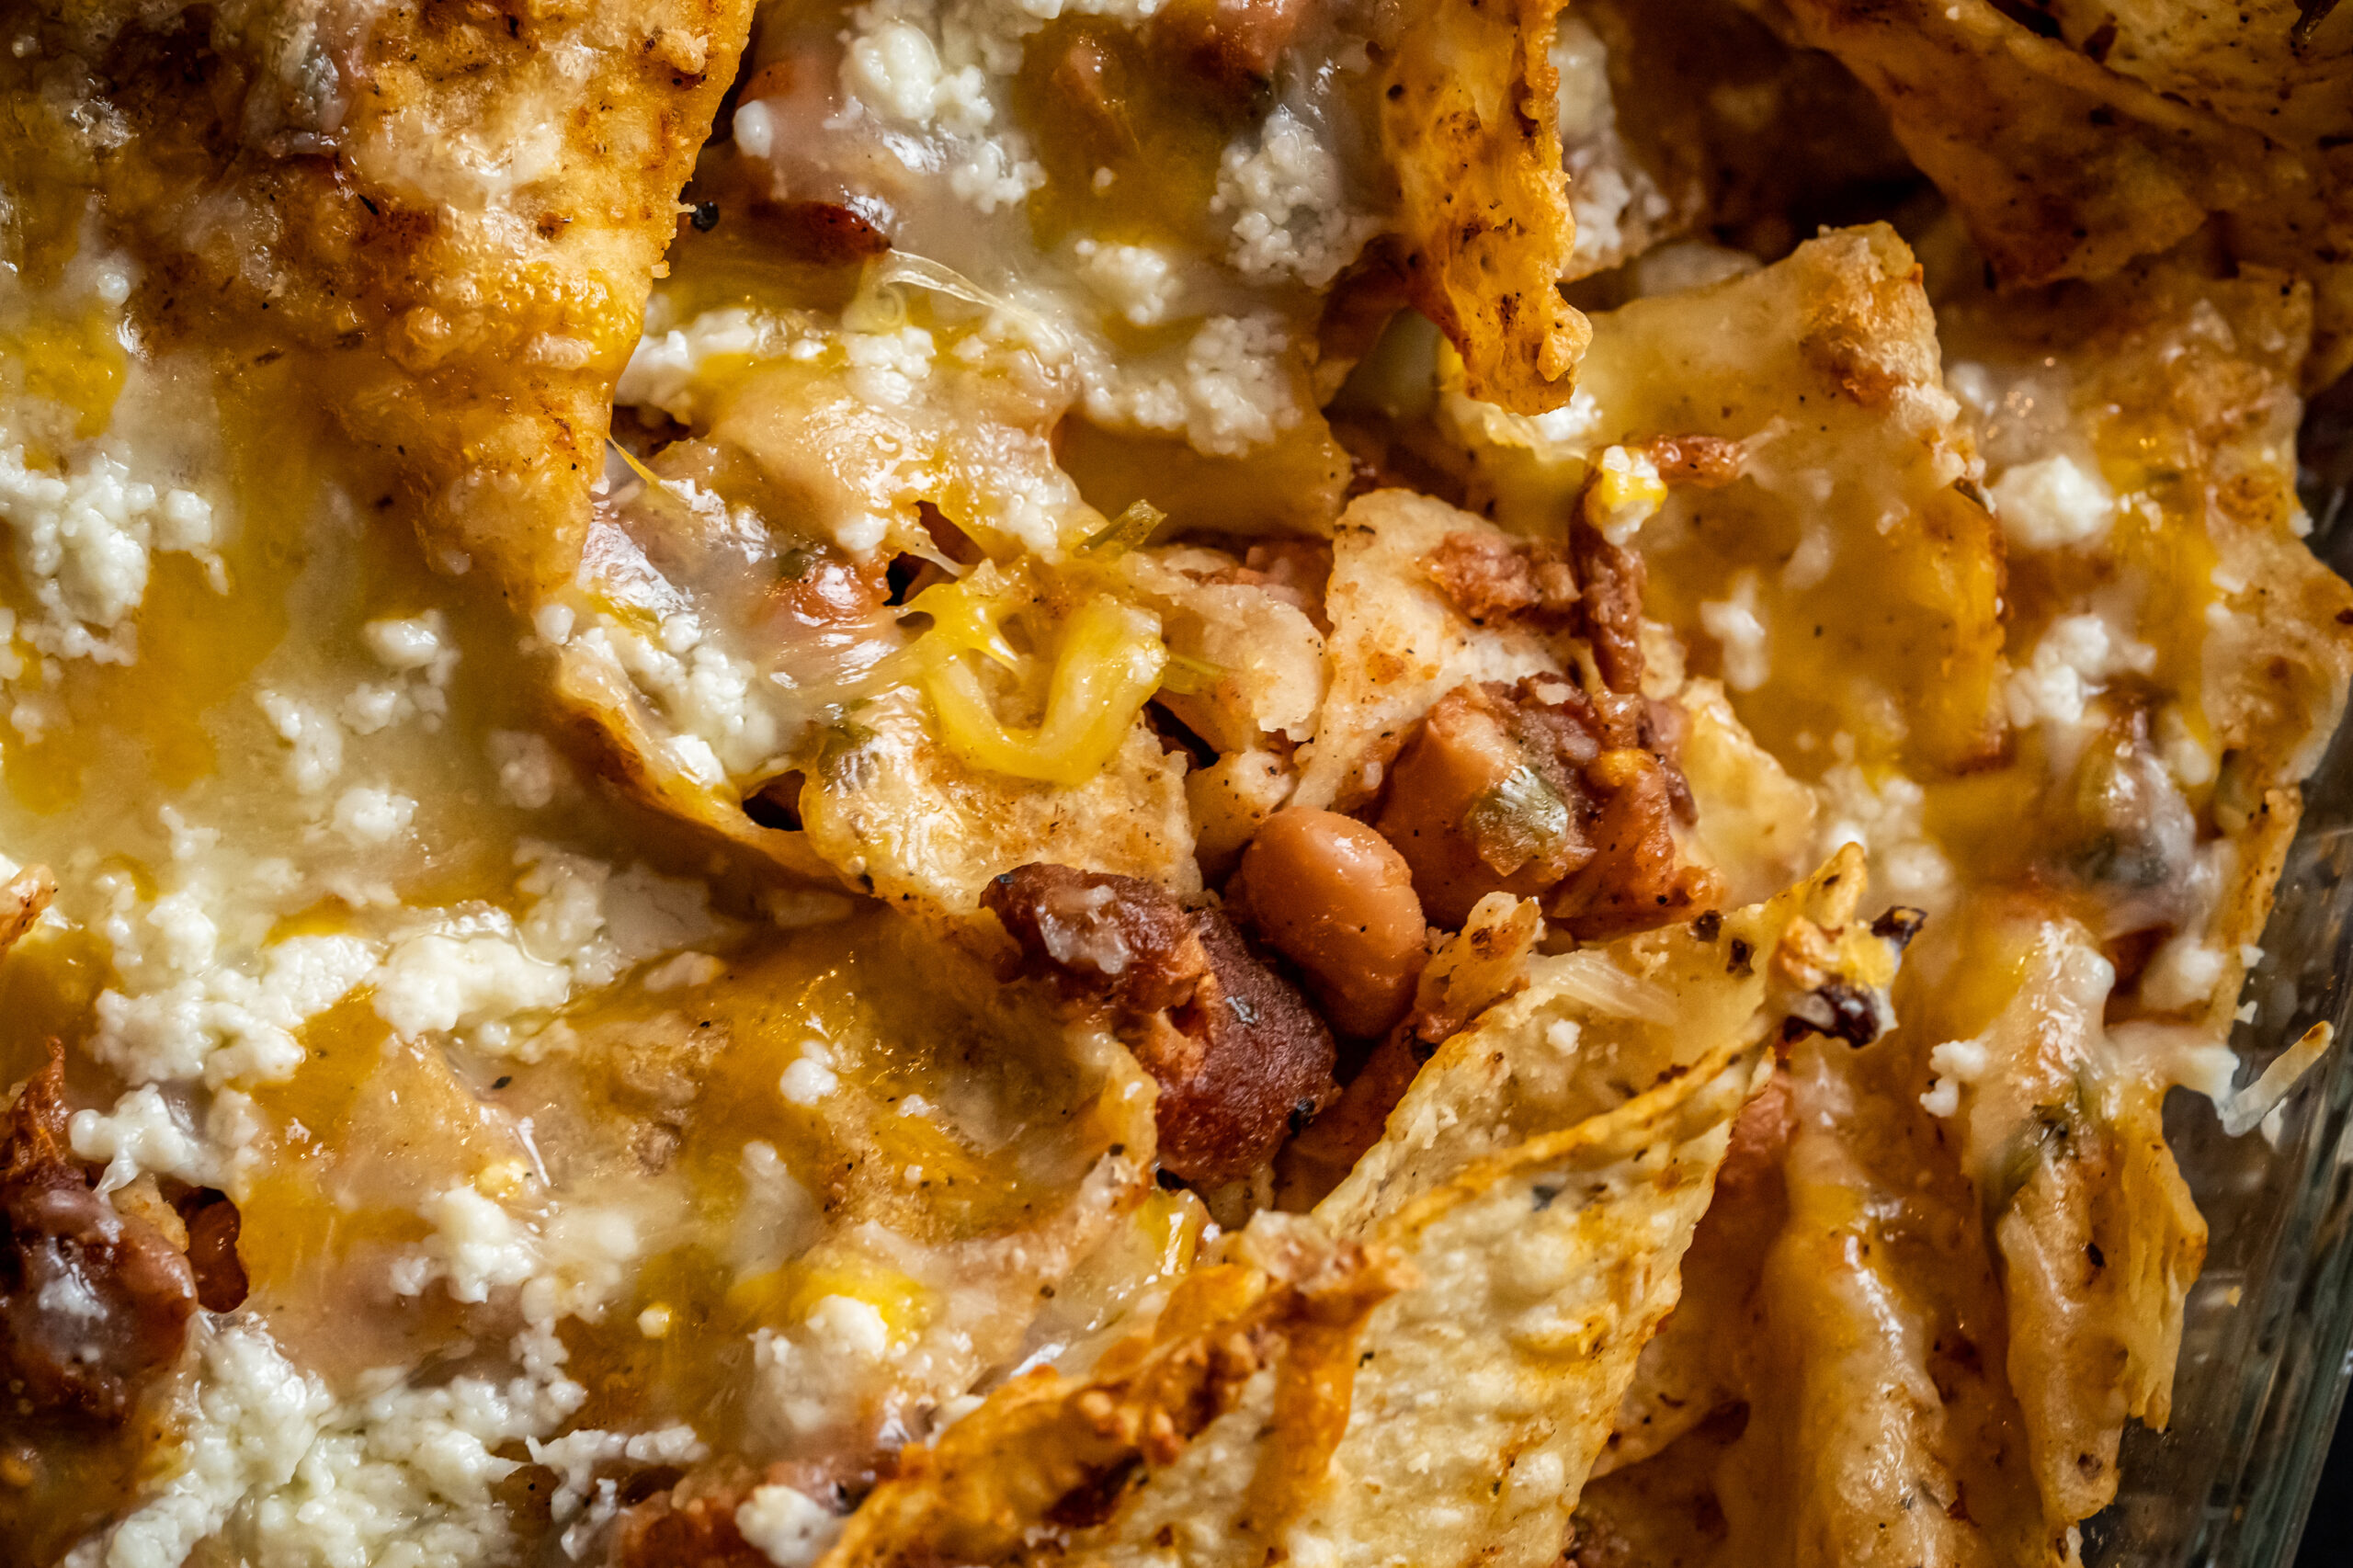
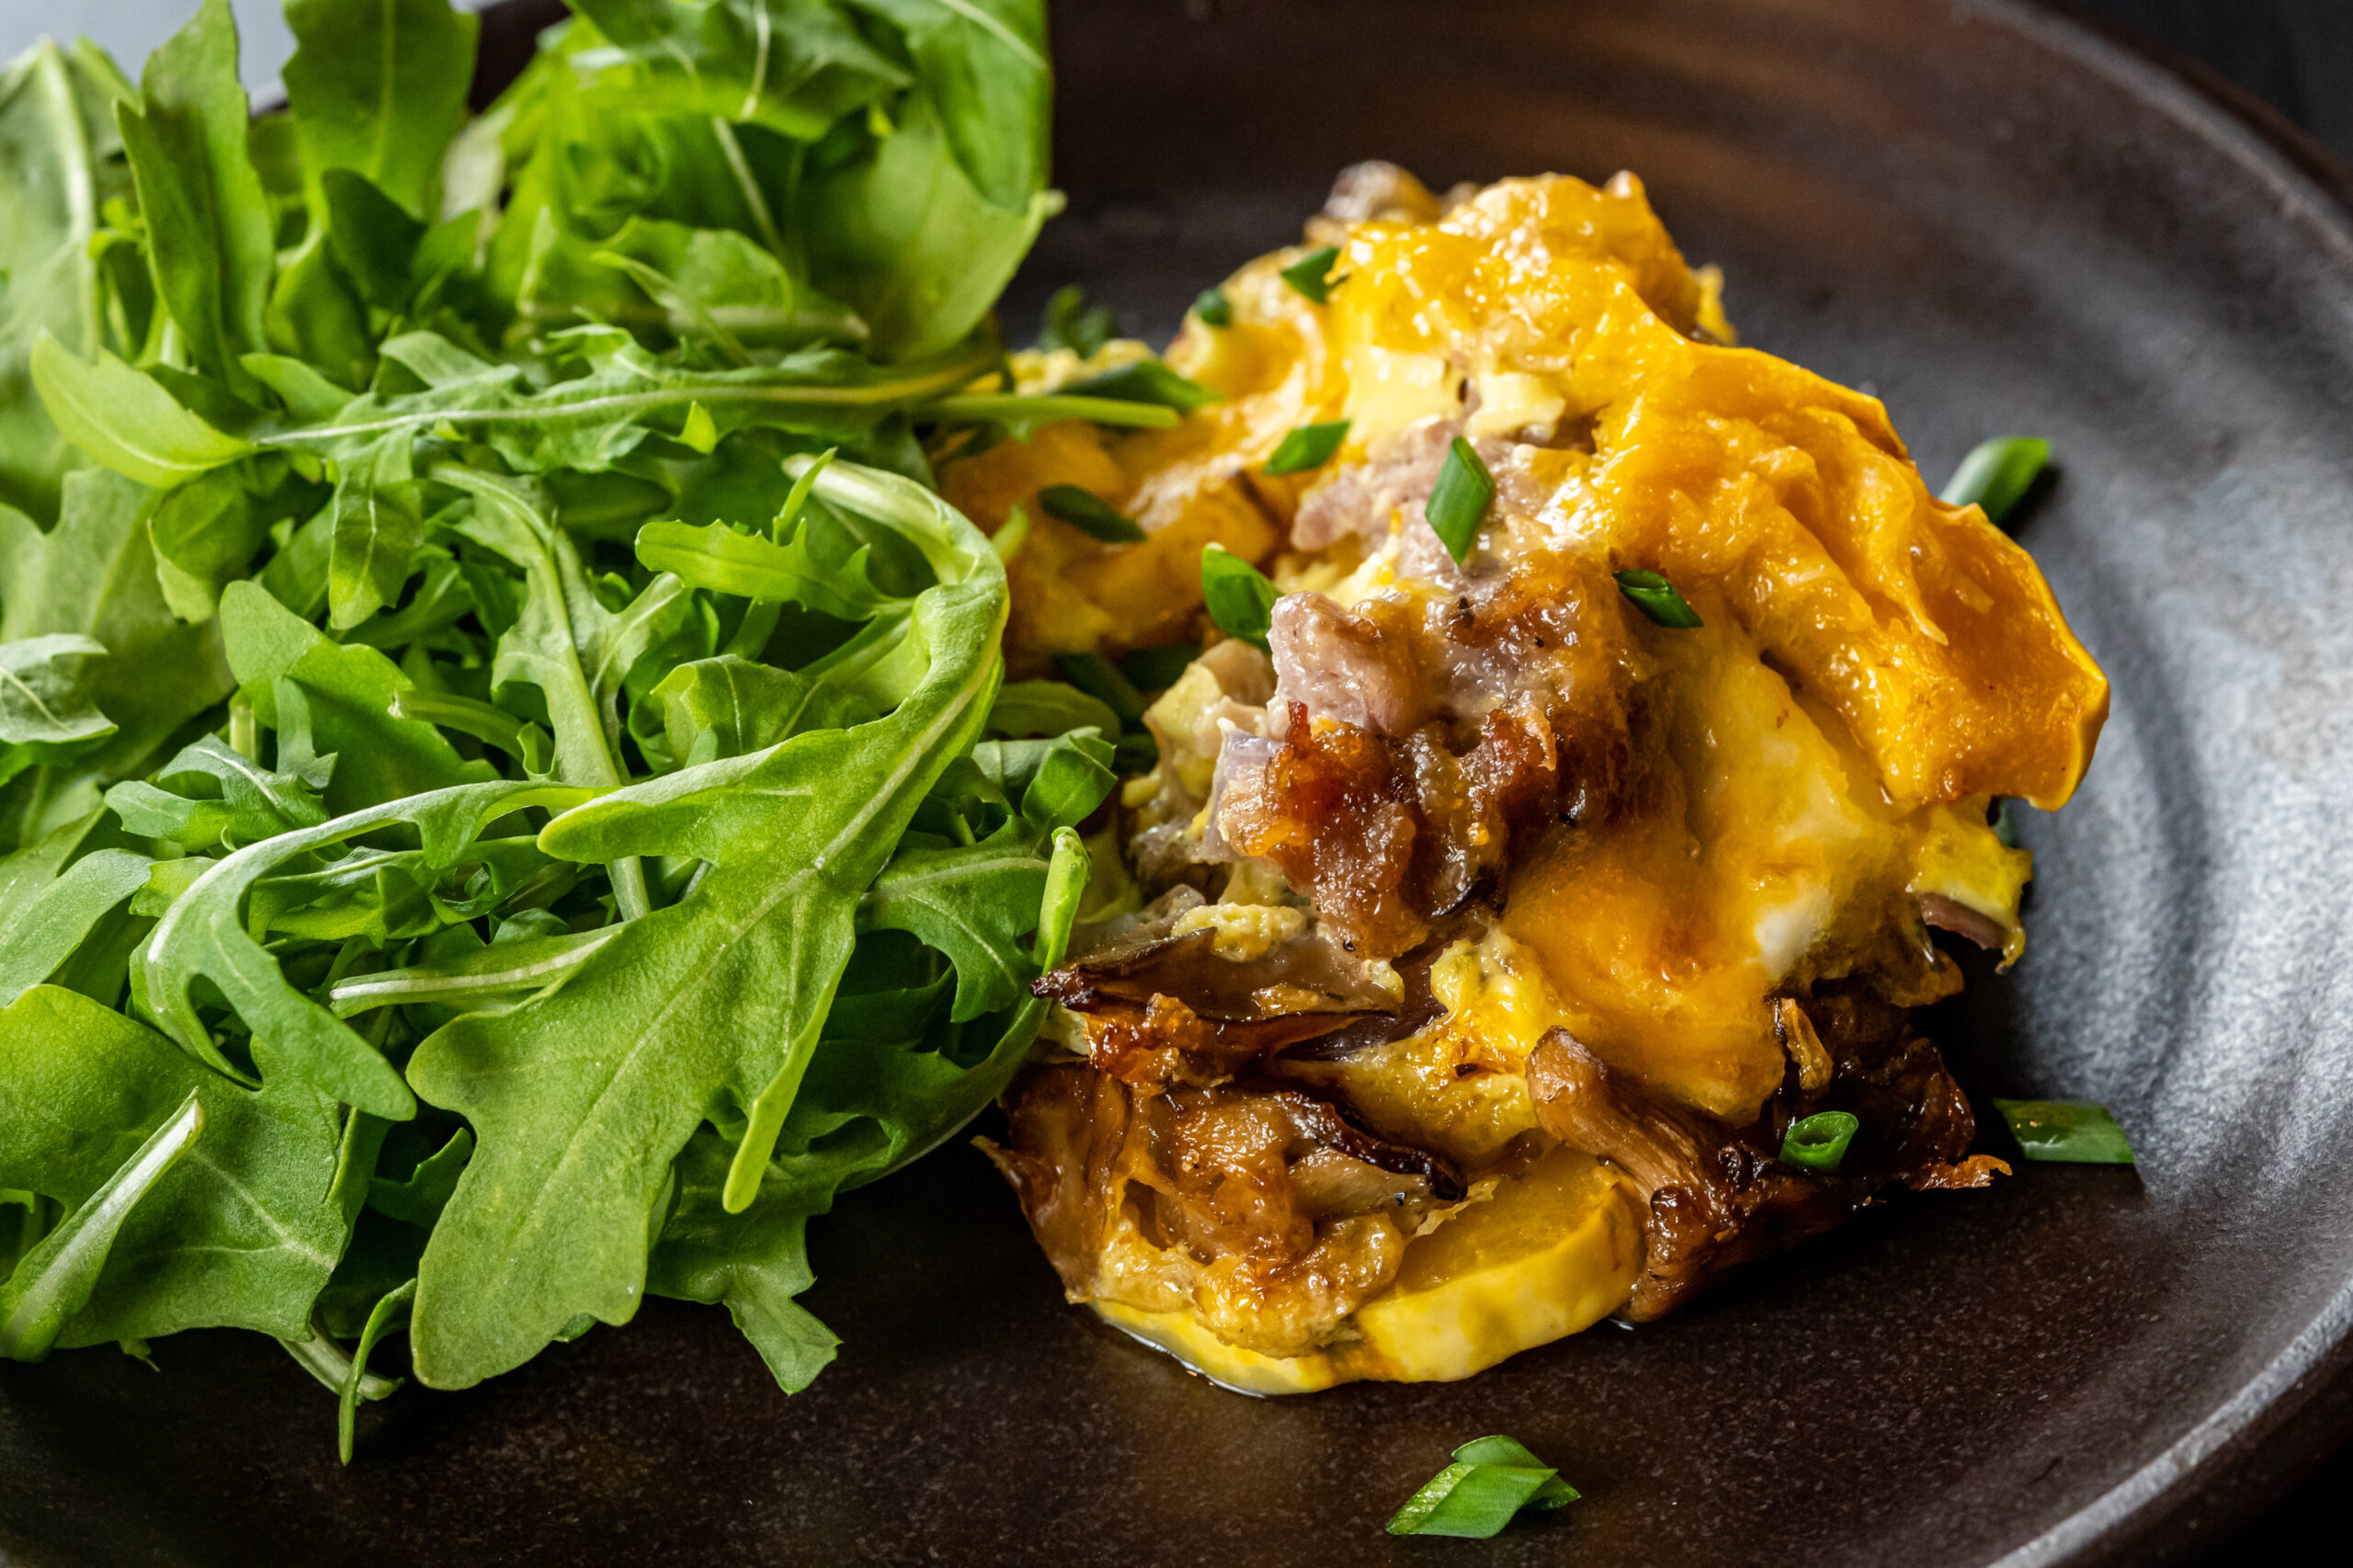
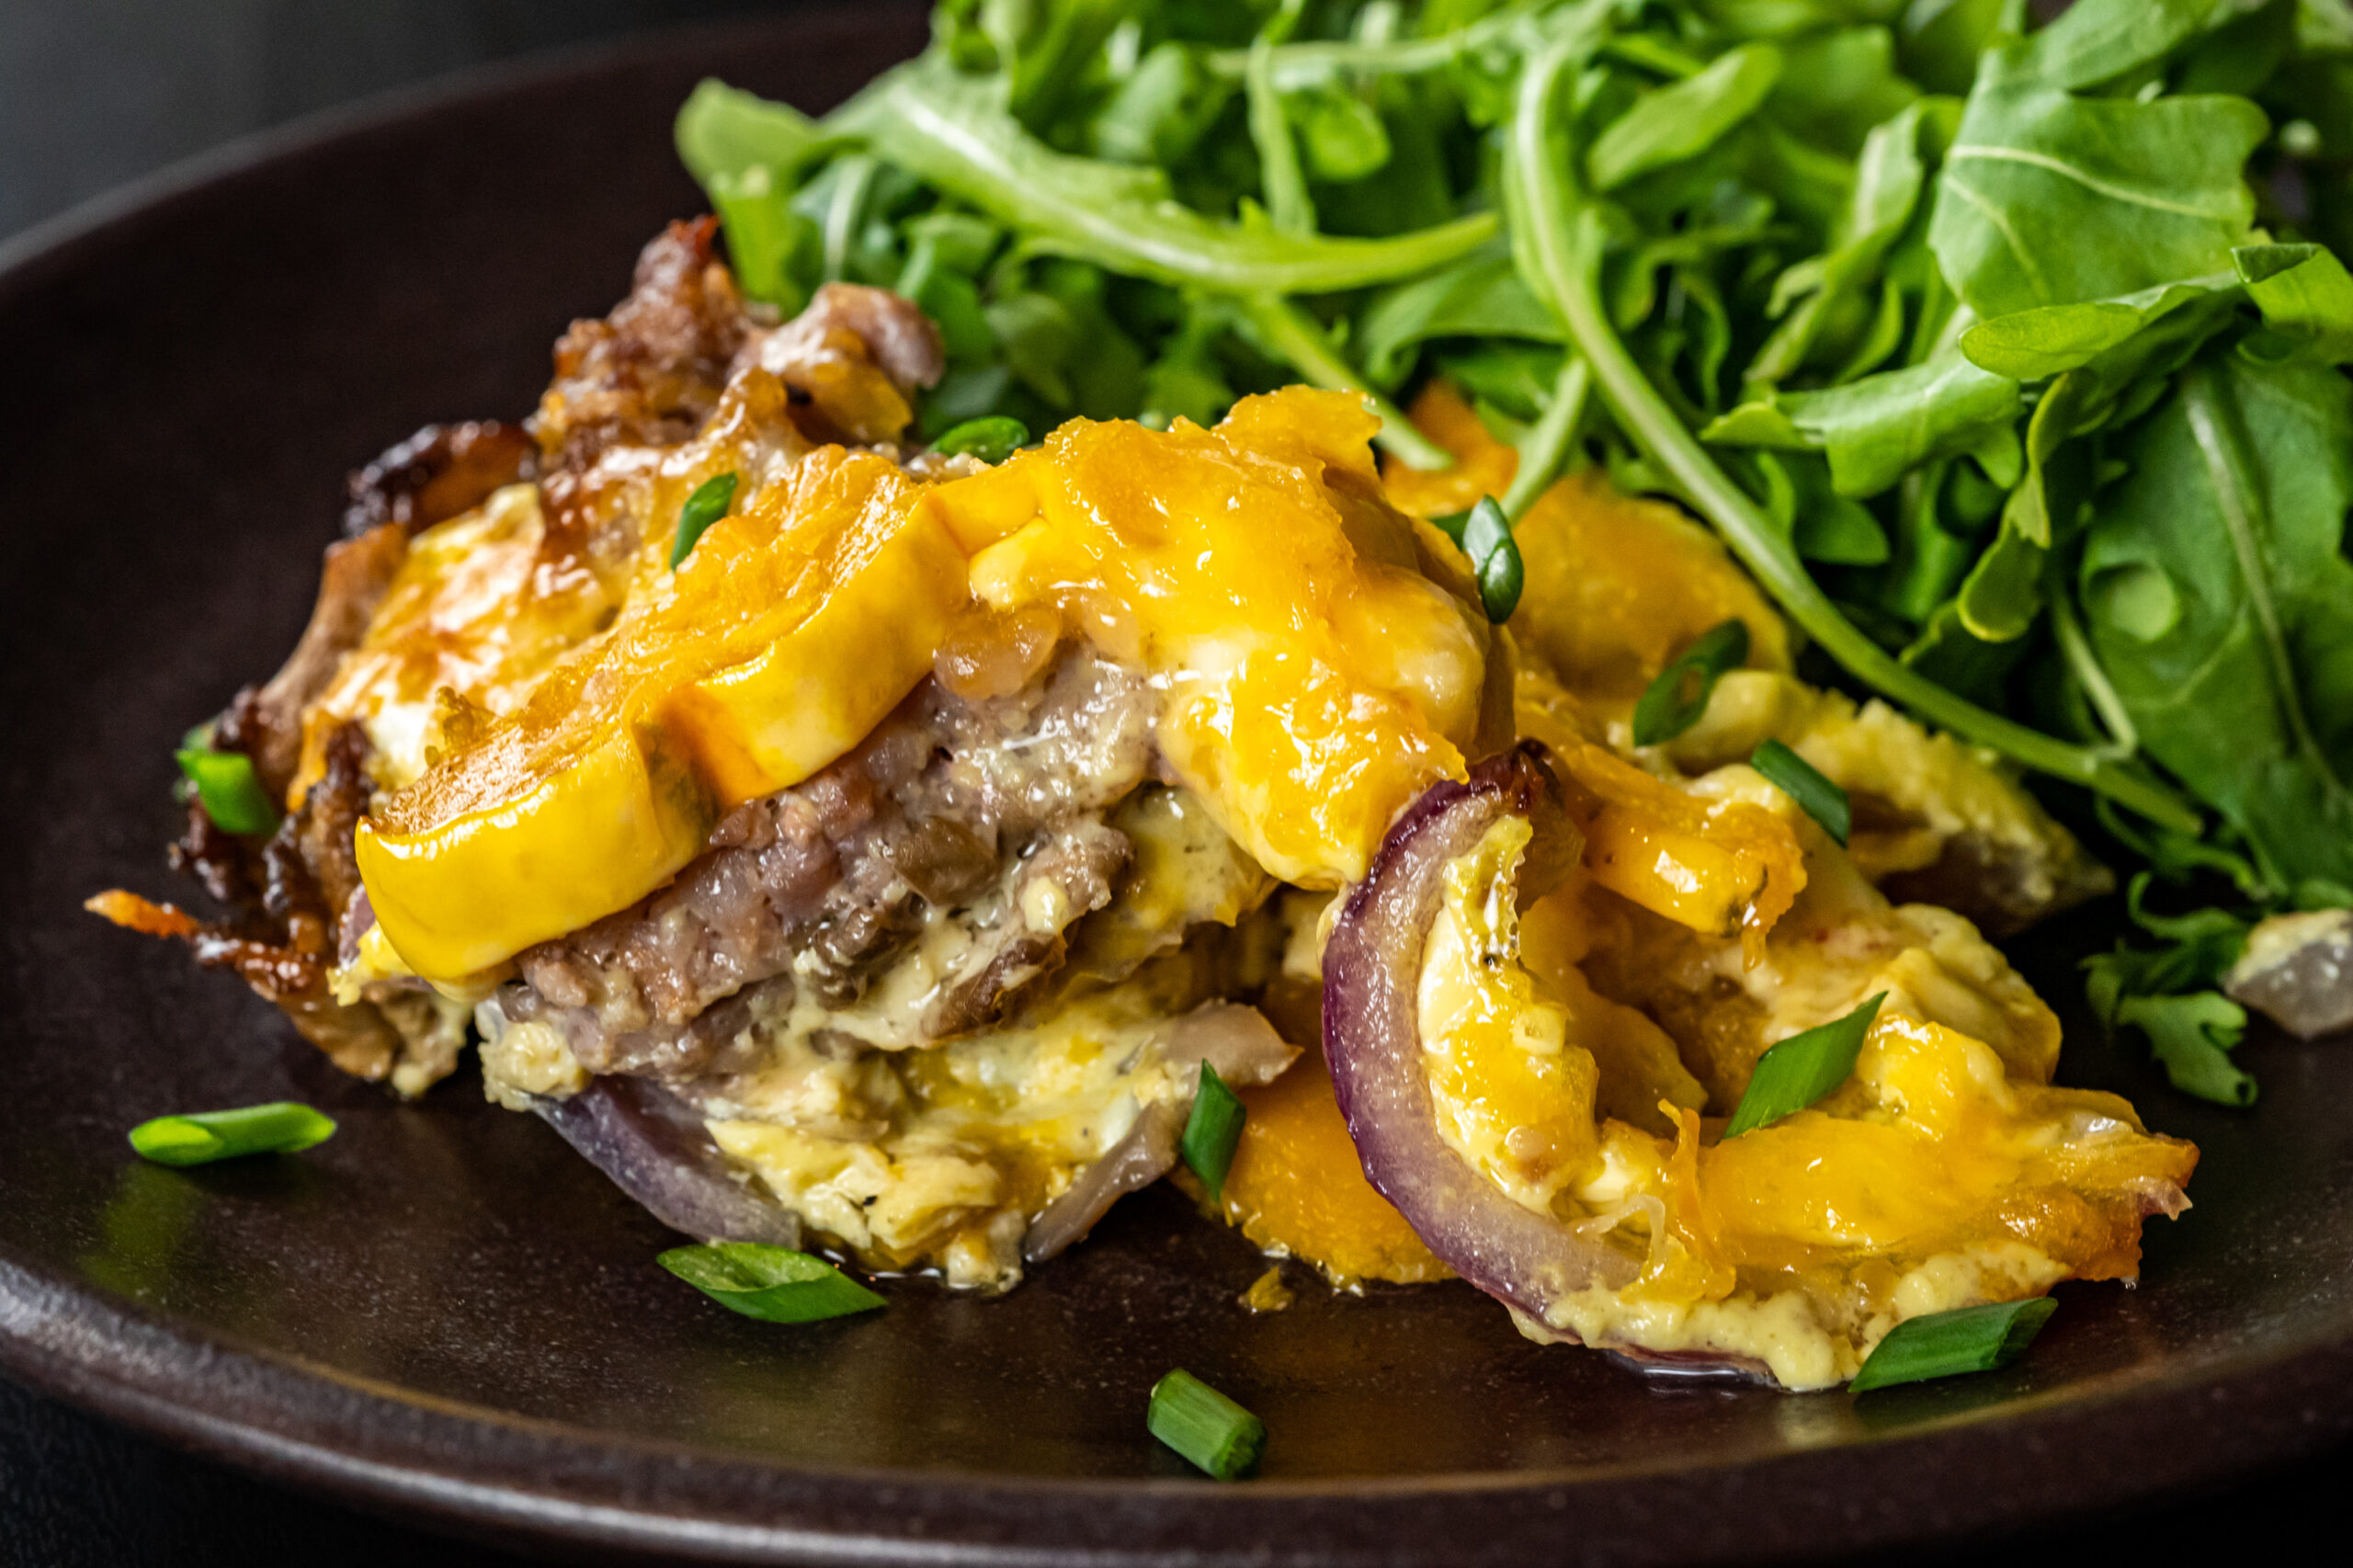
I’ve made this grilled cheese recipe a number of times, and OHMYGOD it is so good.

Rich and decadent and definitely on the salty side, so don’t skip the jam – it’s a vital part of the recipe!

The amounts I have listed make A LOT of sandwiches, but I really really love these so it’s totally maneagable (we seriously ate these for breakfast the next few days) AND I never like using a partial package of things like ground beef, so I have a habit of scaling recipes to fit the full package when I can.

Is that just me? Maybe it’s just me.

Curry Grilled Cheese

slightly adapted from Lady and Pups

Ingredients
  • 3 tbsp unsalted butter
  • 9 shallots, thinly sliced
  • 1 lb ground beef
  • 1 tbsp finely minced ginger
  • 6 cloves garlic, finely minced
  • 2 tbsp curry powder
  • 1 tbsp unsweetened cocoa powder
  • 3/4 tsp freshly ground black pepper
  • 5.4 oz (150 grams) Japanese curry cubes, cut into small pieces
  • 1 lb shredded white cheddar
  • crusty country bread
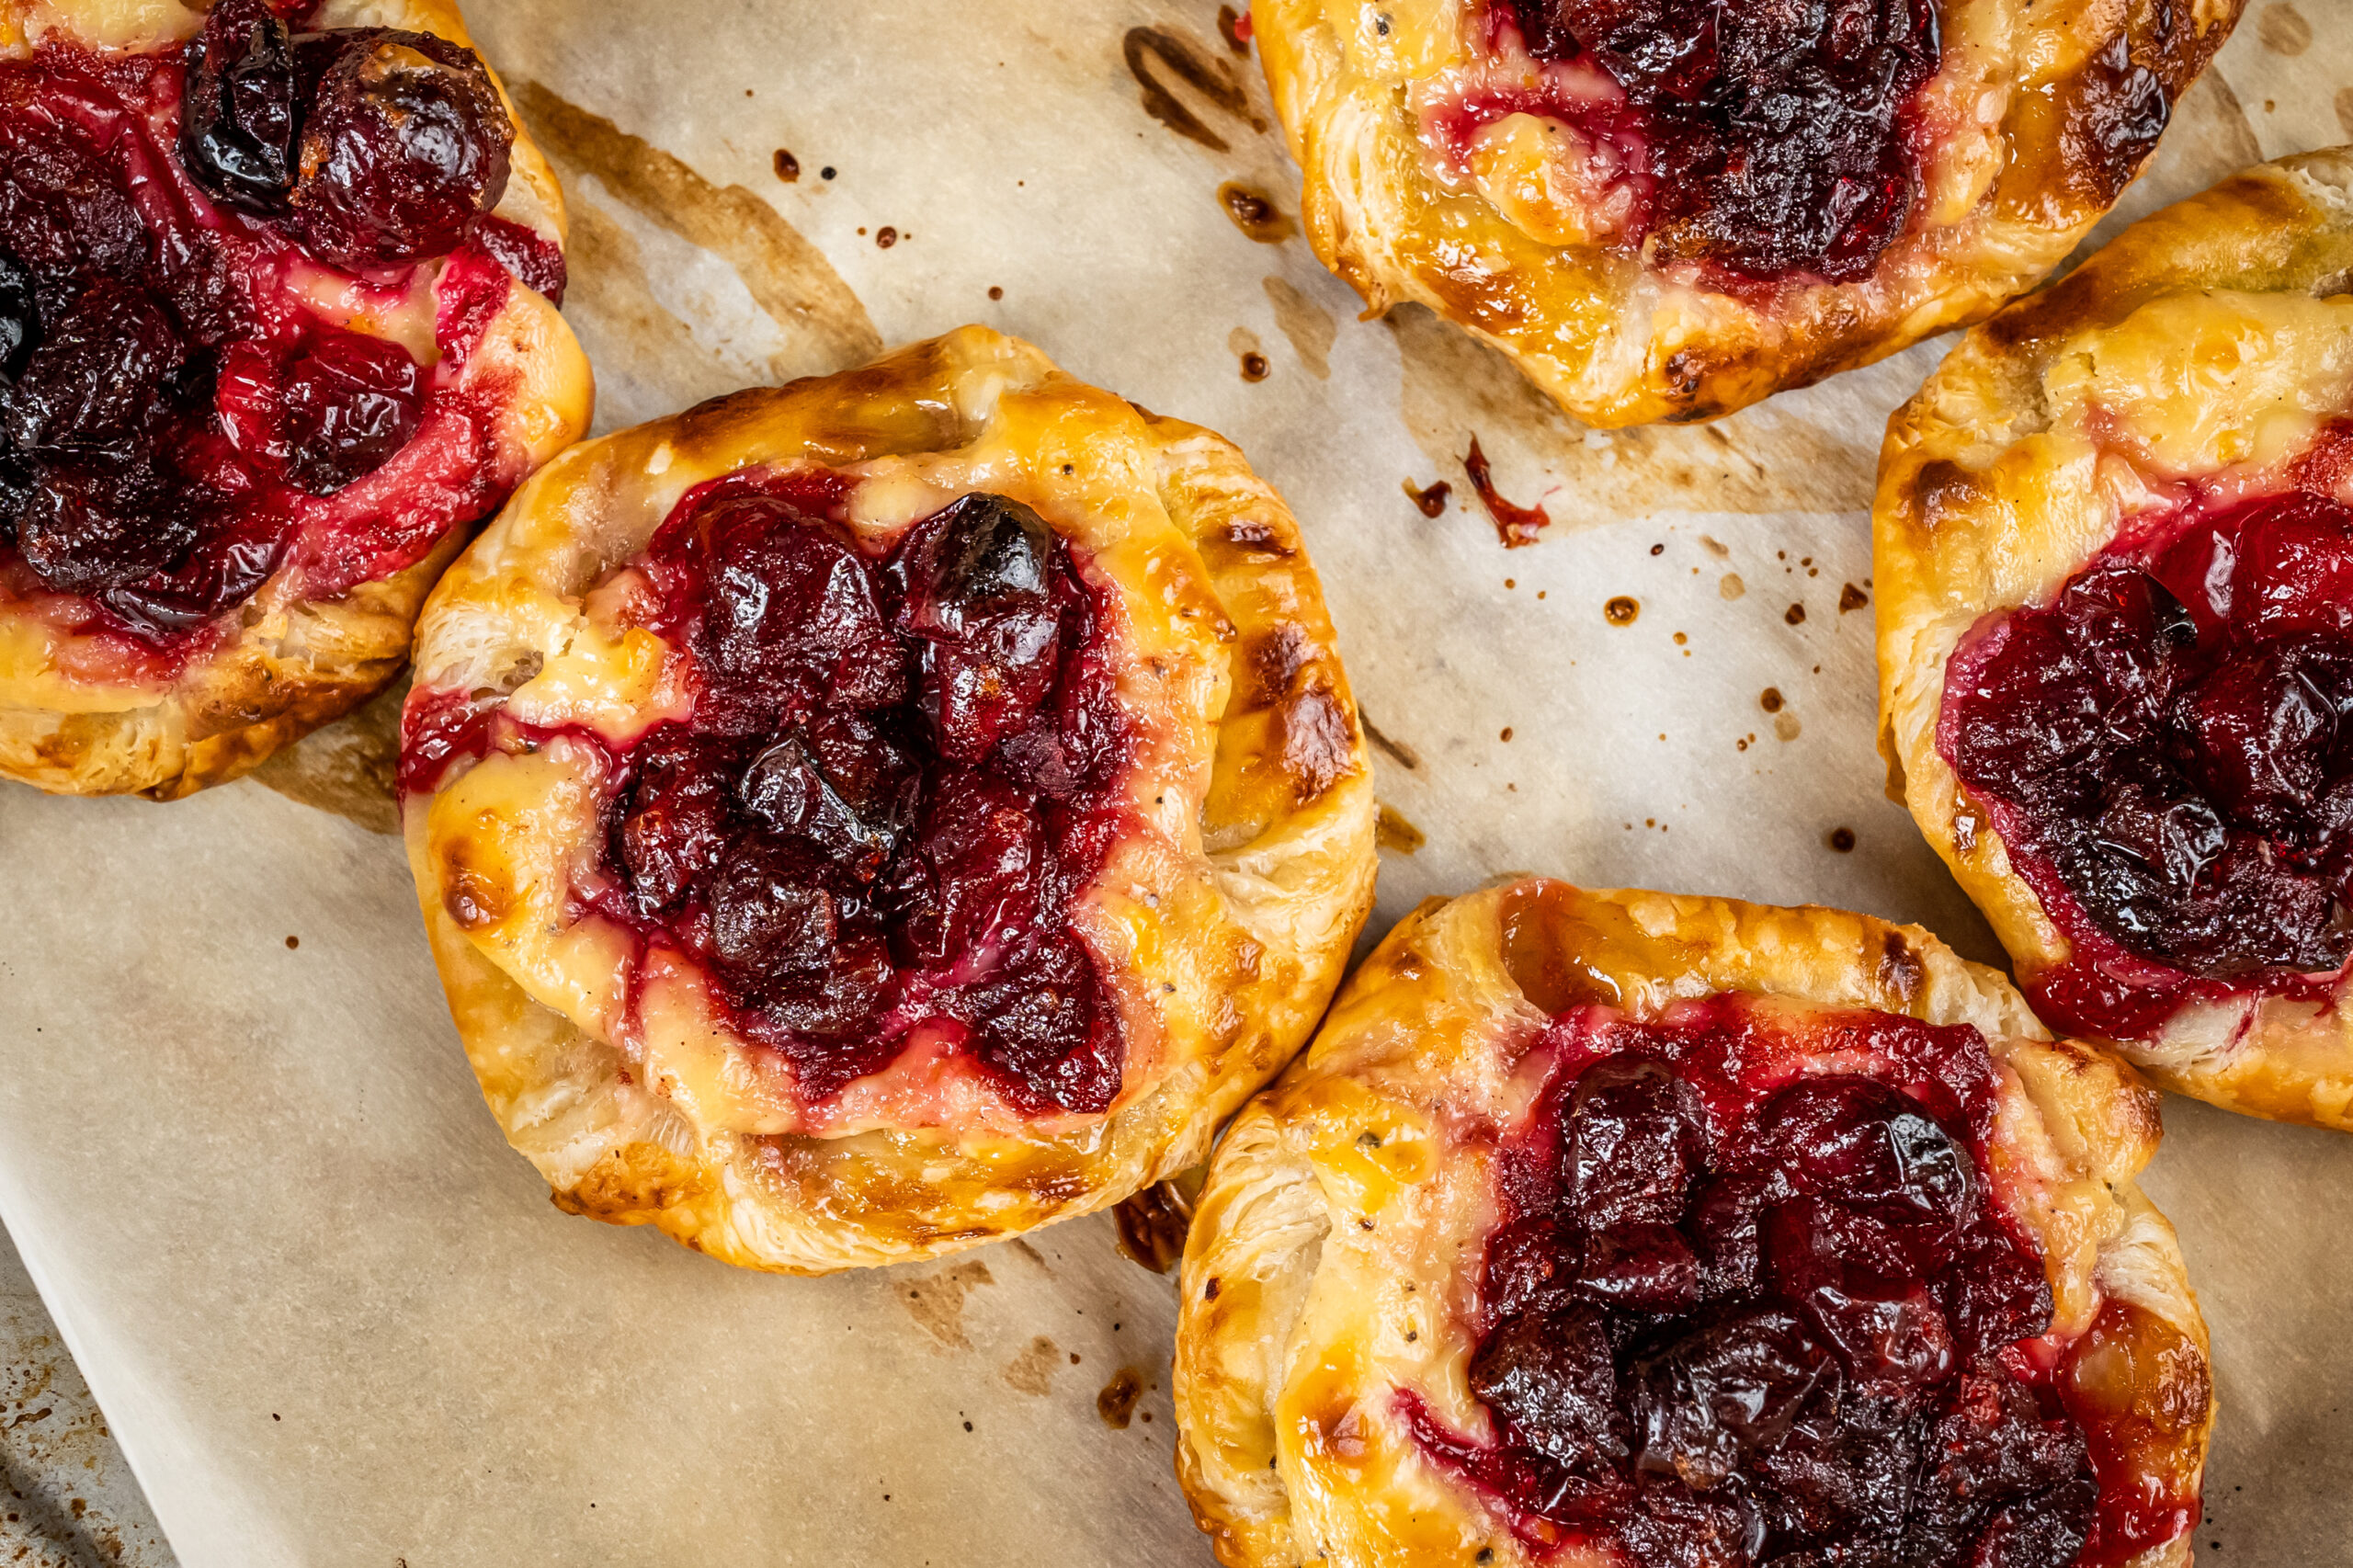
  • berry jam (raspberry, strawberry, or blueberry are all tasty!)
  • unsalted butter for cooking
Cooking Directions
  1. TO MAKE THE FILLING: In a skillet over medium-high heat, melt the butter and cook the sliced shallots until deeply browned on the edges. Add the ground beef and cook until evenly browned. Add the ginger, garlic, and curry powder, and cook for another 30 seconds. Transfer to a large bowl, and while still hot, add the cocoa powder, freshly ground black pepper, small pieces of Japanese curry cubes, and mix until the cubes have melted. Let cool for 10 min, then mix evenly with shredded white cheddar. Can be made and kept in the fridge until needed.
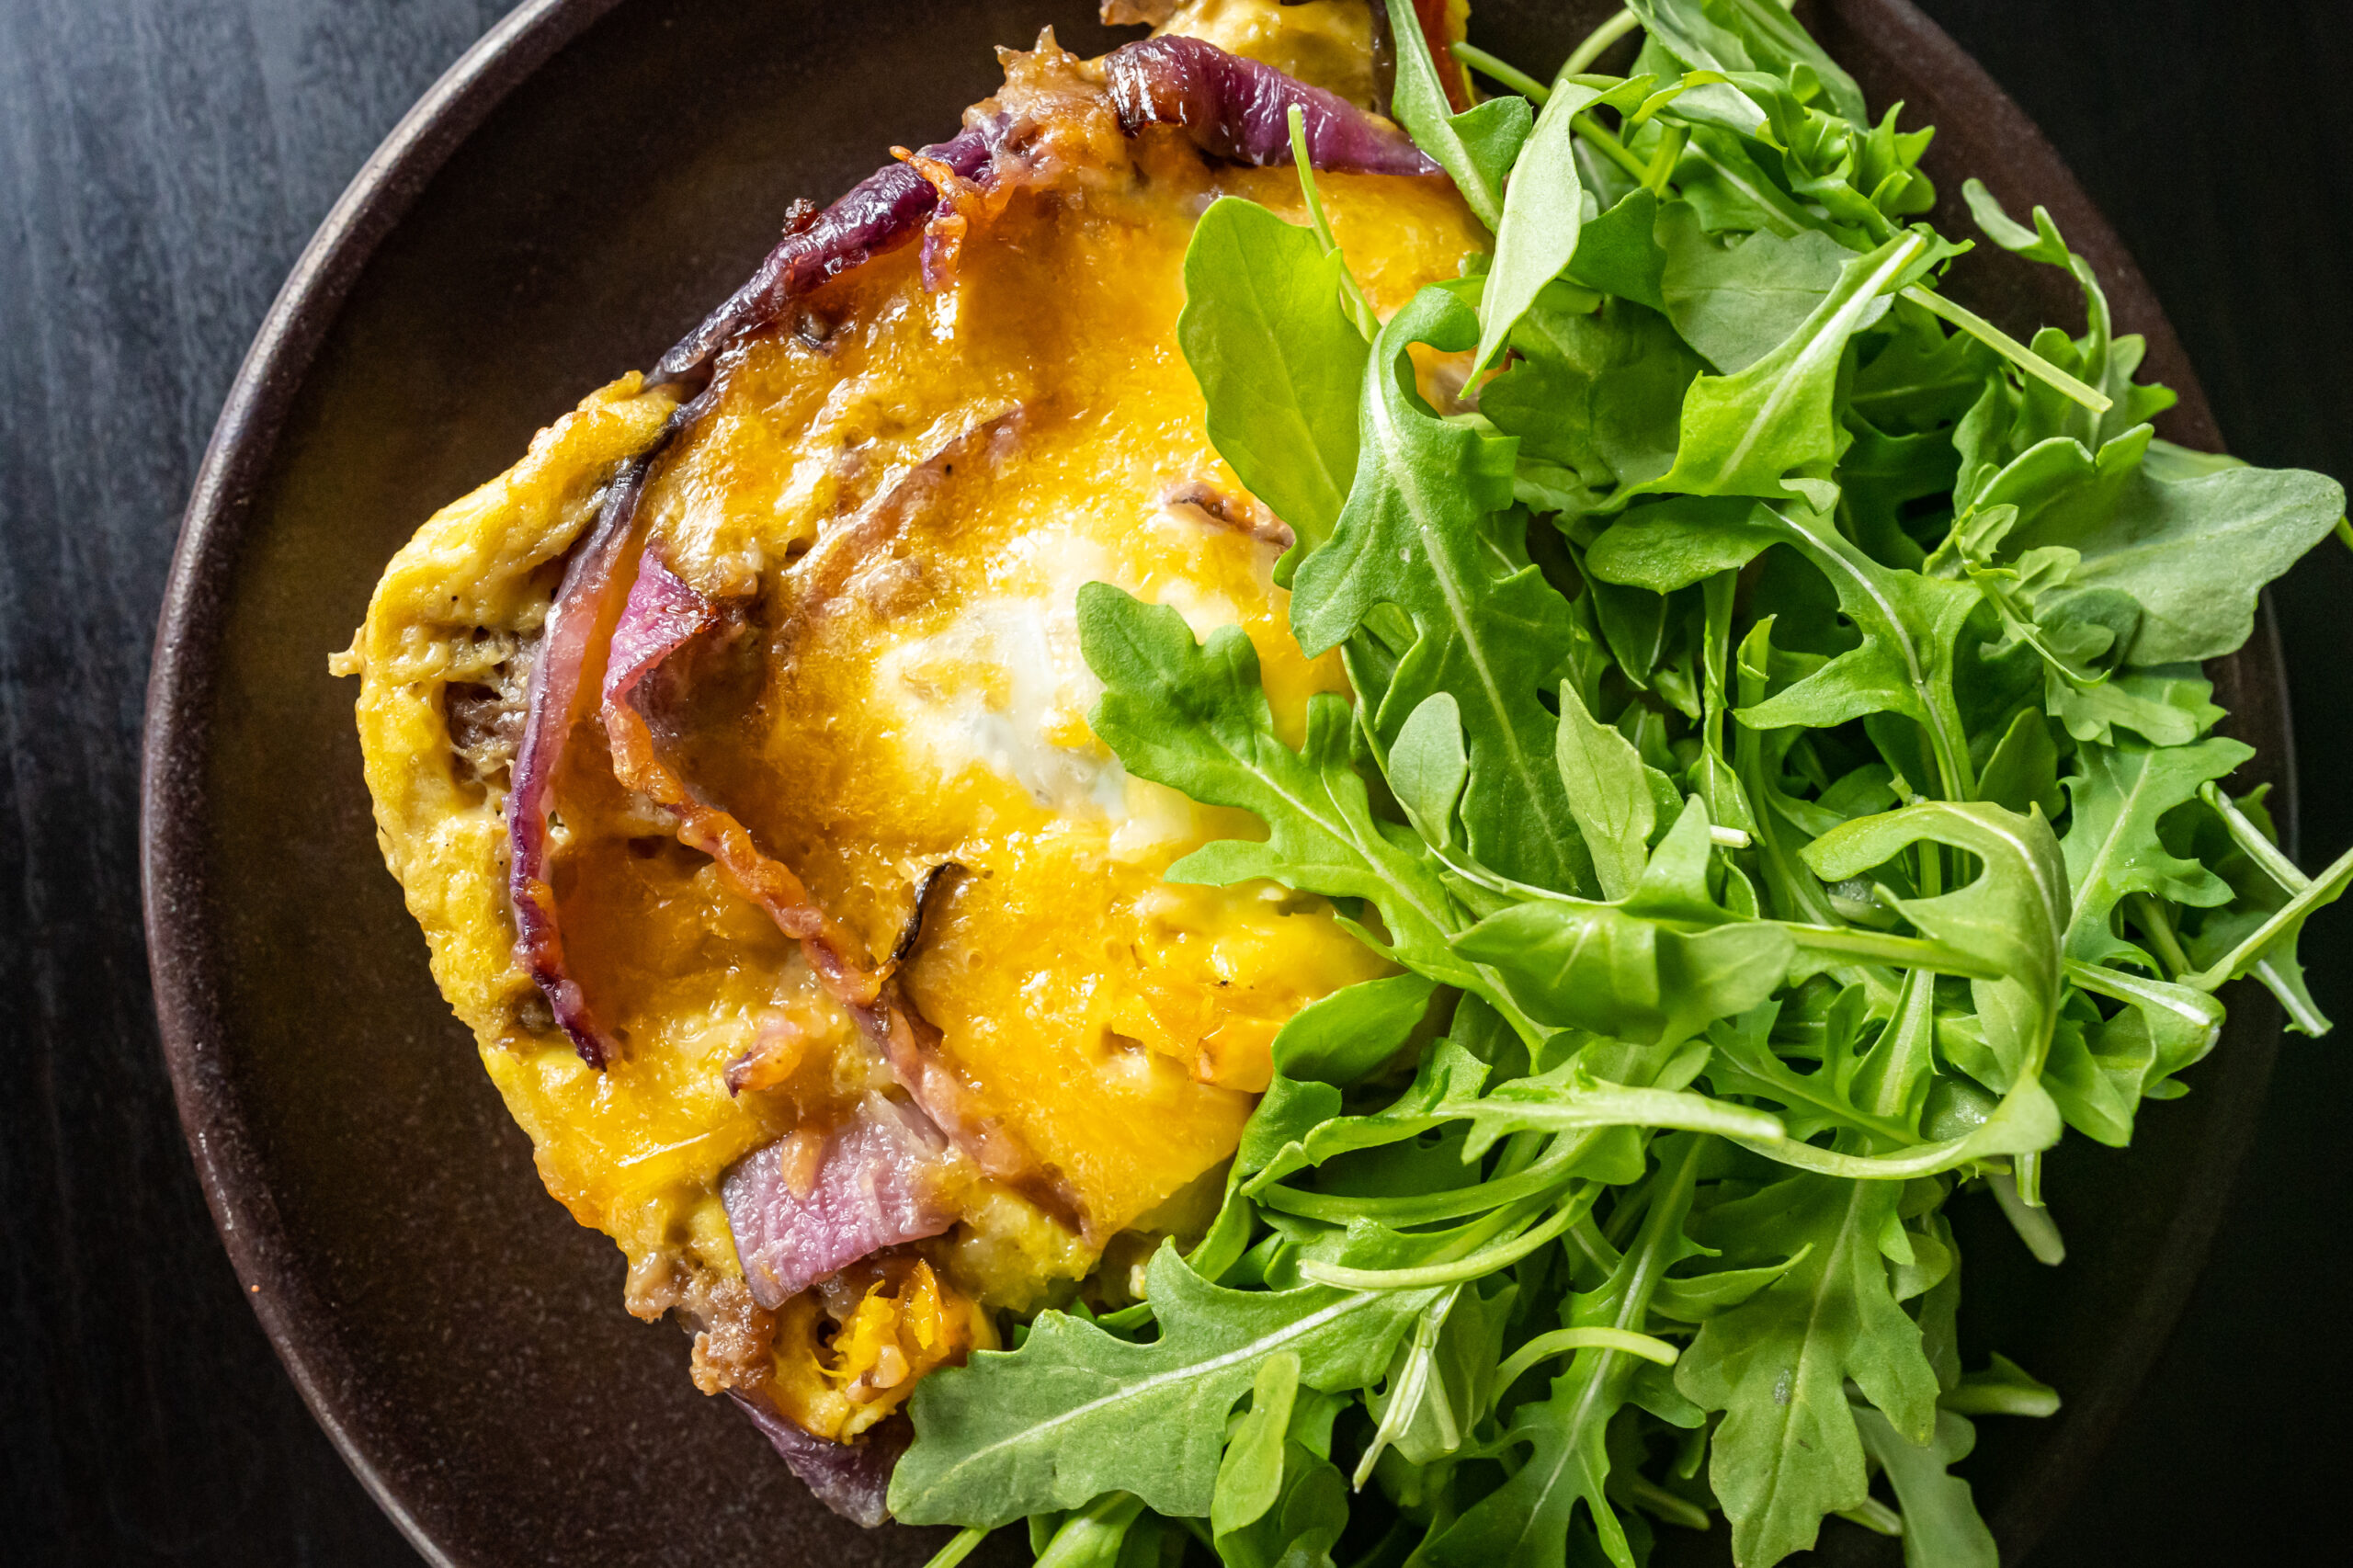
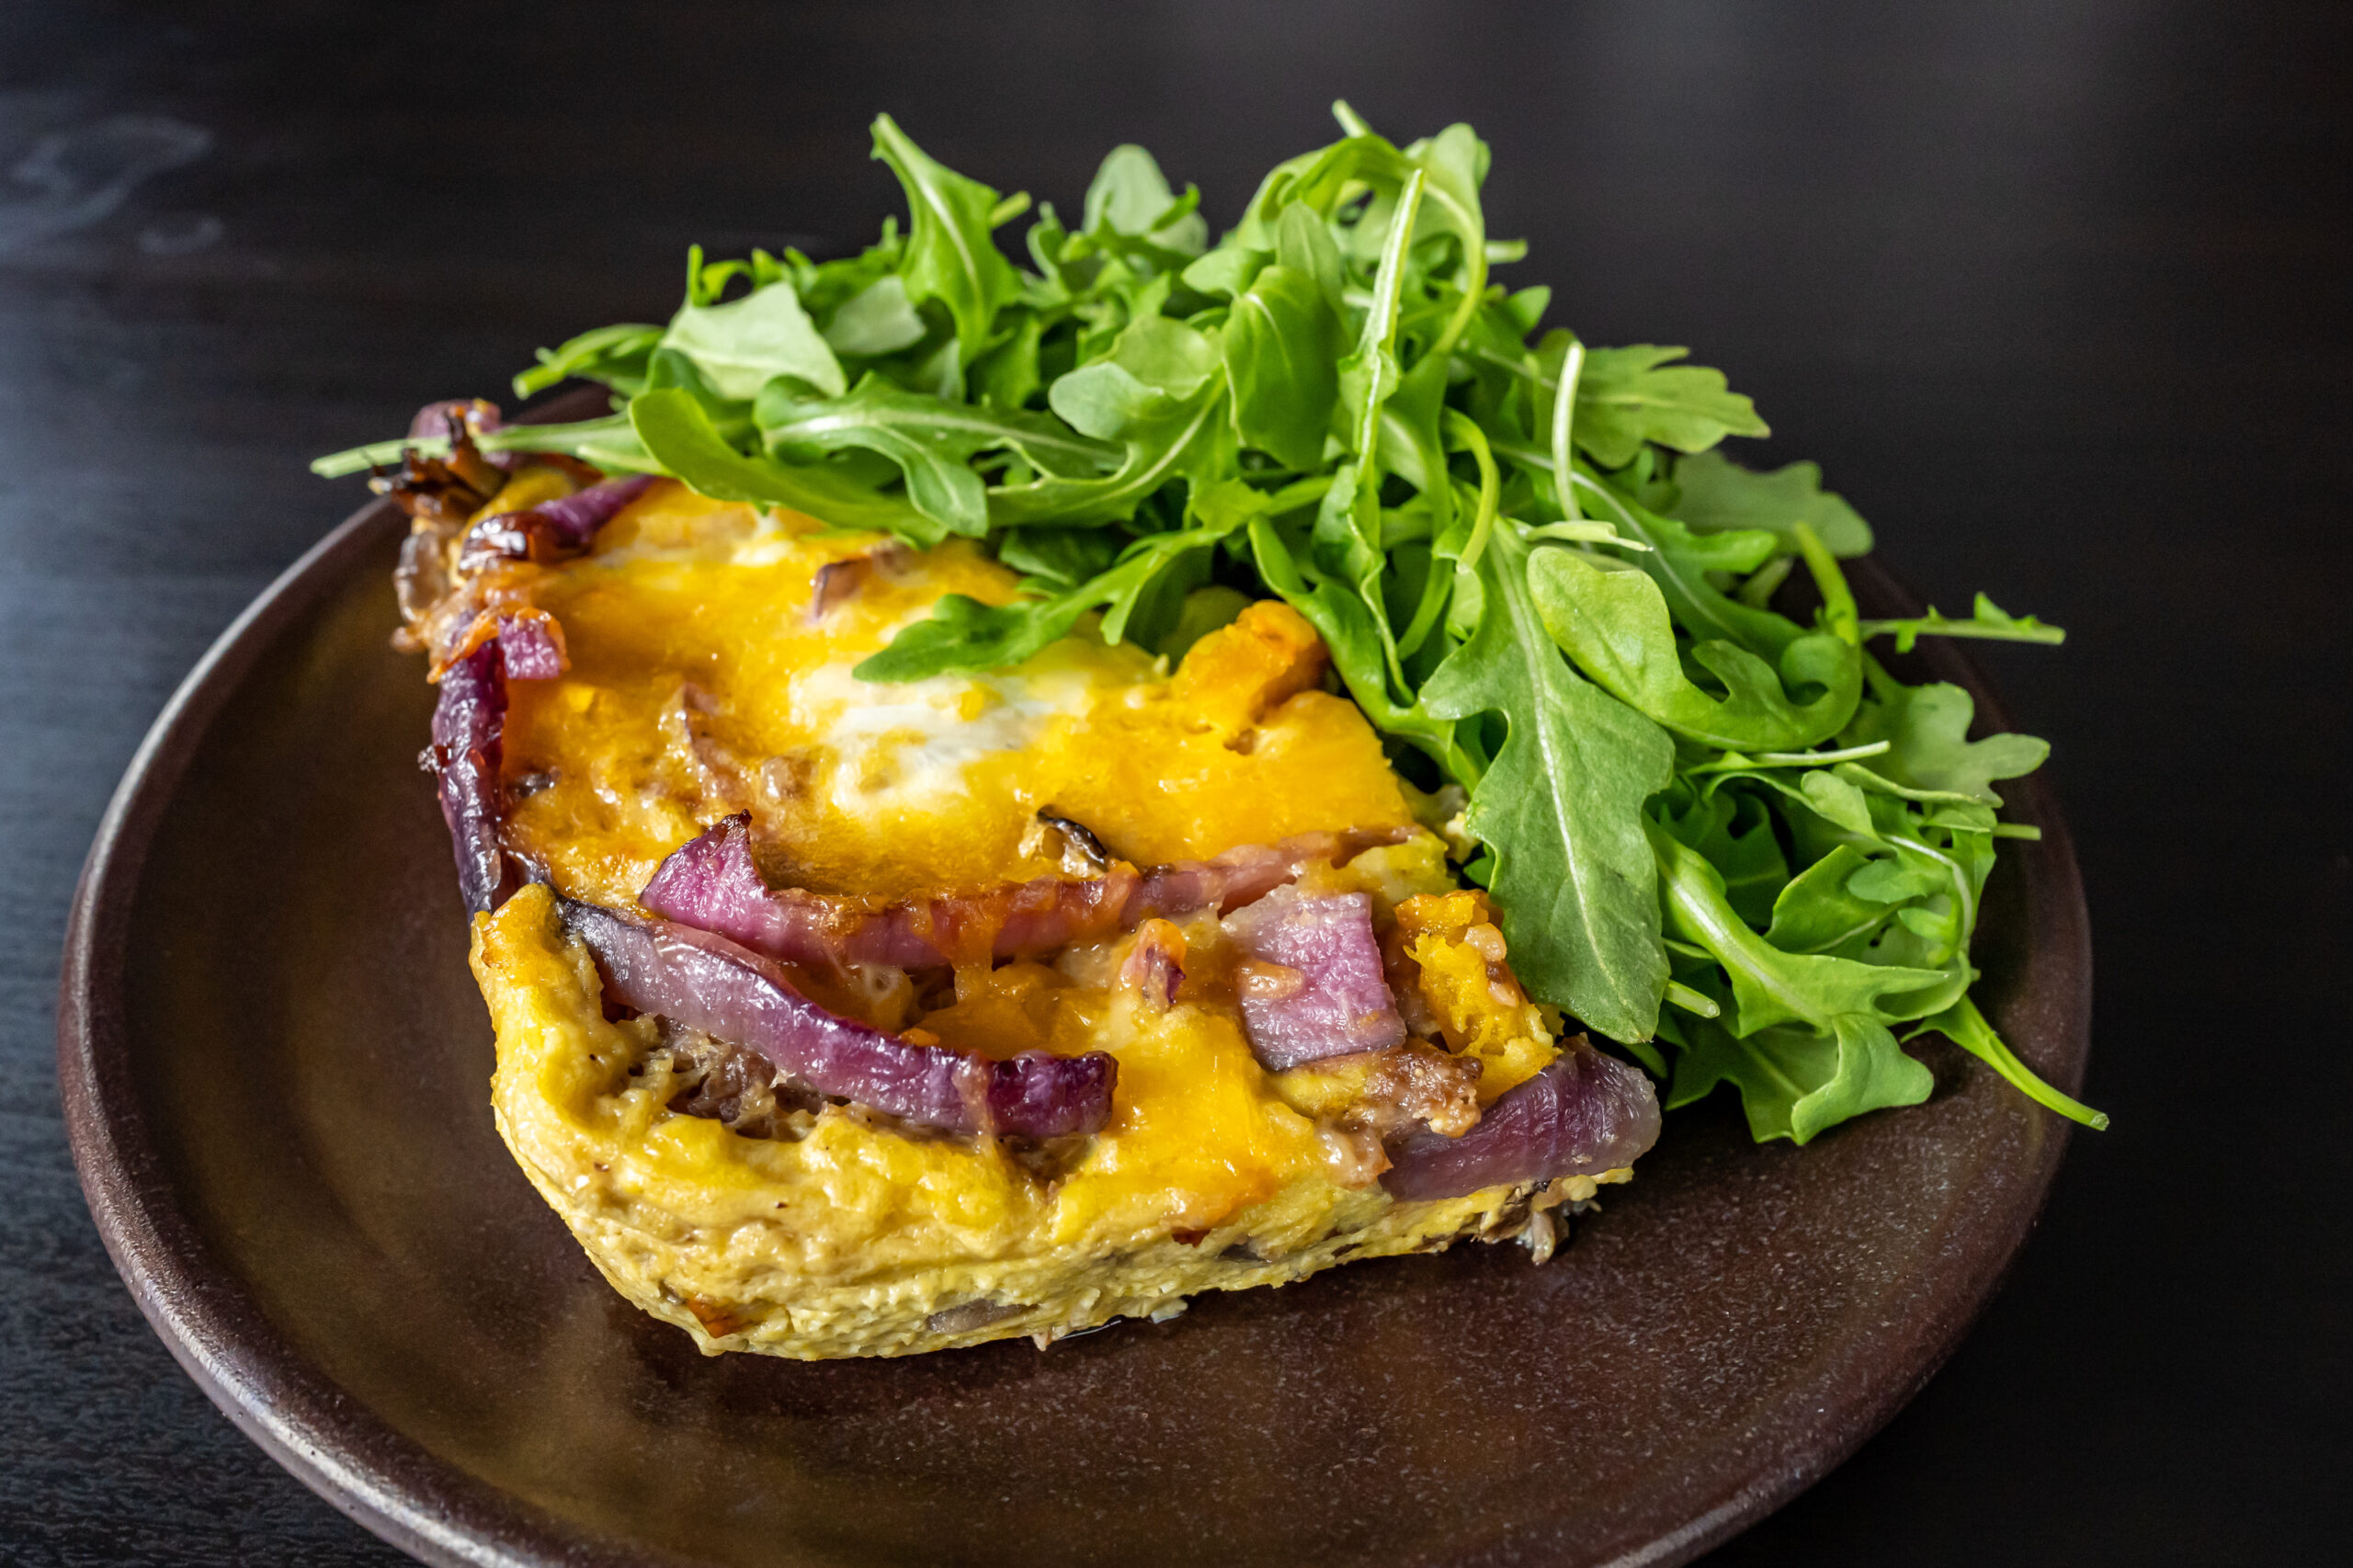
  2. TO MAKE THE SANDWICH: Smear a very thin layer of jam on one side of the bread, pile the filling on top (not too thick because it’s on the saltier side), then top it with another piece of bread. Butter both sides of the bread (about 1/2 tbsp for each side), then brown in a skillet over medium-high heat until golden browned on both sides. Serve immediately.

Sub to my YouTube channel and follow me on TikTok or Instagram to get notified whenever we have new videos!

Links in this post may be affiliate posts. If you buy an item through an affiliate link, I get a small fee, which helps support this blog!

Categories
TikTok

Jalapeño poppers

I was 18 when I discovered I was lactose intolerant.

It was New Year’s Eve, and I was at my parents’ house, and the guy I was dating at the time was there with me.

We had been eating appetizers all evening long – especially my mom’s spinach dip, which is my favorite thing ever.

And filled with dairy.

As you might imagine, the process of discovering you’re lactose-intolerant is… er… not a pretty experience. I should have seen it coming, seeing as very few people on my mom’s side can eat dairy, but somehow it came as a surprise.

The guy I was dating was like, “maybe I should leave,” got the heck out of there as fast as he could, and then broke up with me a week or two later.

But – getting dumped led me to audition for a certain ballroom dance team, and… you all know what happened from there.

Lucky for me, I ended up marrying a guy who can handle me at my absolute shittiest… terrible pun absolutely intended.

I’ve posted jalapeño poppers before, but let’s be real, I LOVE jalapeño poppers and will happily make them anytime I just happen to have jalapeños on hand.

So, it’s highly likely this won’t be my last popper recipe on here. But nobody’s complaining, right?

Jalapeño poppers

Ingredients
  • 1 lb bacon
  • 8 oz cream cheese (I used jalapeno, but plain or any savory flavor should do)
  • 8 oz grated cheese
  • 14 jalapeños
Cooking Directions
  1. Turn the oven up to 400F.
  2. Combine the cream cheese and shredded cheese.
  3. Wearing protective food-safe plastic gloves, slice the jalapeños in half lengthwise. Remove the seeds and ribs from the jalapeños and discard.
  4. Fill each jalapeño half with the cream cheese mixture, and wrap with a half-slice of bacon.
  5. Bake at 400F for 20 minutes, or until bacon is crispy and caramelized.
  6. Serve warm. Enjoy!

Sub to my YouTube channel and follow me on TikTok or Instagram to get notified whenever we have new videos!

Links in this post may be affiliate posts. If you buy an item through an affiliate link, I get a small fee, which helps support this blog!

Categories
TikTok

Savory crispy kugel cups

When I was a child, I vowed that I was going to read every single book in my little local library.

Unsurprisingly I never quite managed that, but this library was my absolute favorite place. I come from a family of readers.

Every weekend from when we were little, we’d go to their weekly reading event for kids, and once I outgrew that I’d still go but spend the time browsing the shelves while my siblings sat and listened to the librarians read.

We’d always borrow as many books as we were allowed, and then spent the rest of the week voraciously reading.Anytime we had a report due for school, there we’d be at the library, combing through research books or photocopying the books we weren’t allowed to check out.

Mind you, this was back before things like google or wikipedia existed. Practically prehistoric times!

To this day, libraries are my happy place.

I’ve always wanted to try making kugel, and had fully intented to attempt a traditional kugel this year! But then I came across this recipe and just had to try it.

It’s crispy and cheesy and oh so good, total comfort food. I’ve never had traditional kugel before so I have no idea how legit this is, but it sure is tasty.

10/10 would make again.

Savory Onion Crispy Kugel Cups

slightly adapted from Practice with Danielle

Ingredients
  • 12 oz wide egg noodles
  • 3 tbsp butter
  • 1 tbsp olive oil
  • 2 large yellow onions, thinly sliced
  • 1 1/4 cups sour cream
  • 1 1/4 cups small-curd cottage cheese
  • 4 eggs
  • 1 tbsp grainy mustard
  • 1 tbsp spicy brown mustard
  • 1 tsp paprika
  • 1 tsp salt
  • 1/2 tsp black pepper
Cooking Directions
  1. Start by boiling a pot of water to cook the noodles, and preheat the oven to 425F.
  2. Caramelize onions in a large skillet over medium-low heat with 1 tbsp of butter and olive oil. You’ll want these brown but not crispy, this should take about 30 minutes. Once they’re finished cooking, remove from heat and let cool.
  3. While the onions are caramelizing, boil the noodles for only 5 minutes, to keep them al dente. Drain over the sink and rinse with cold water to stop the cooking process.
  4. Meanwhile, mix the sour cream, cottage cheese, eggs, mustards, paprika, salt, and pepper in a large bowl.
  5. Mix in the noodles and onions.
  6. Use 1 tbsp of butter to butter 2 dozen muffin tins. Fill them to the top with the kugel mixture. Melt the remainind tbsp of butter, and drizzle over the top.
  7. For regular sized muffin tins, bake 20-25 min. Add 5 minutes for larger tins, or check at 15 min for smaller tins.
  8. Enjoy!

Sub to my YouTube channel and follow me on TikTok or Instagram to get notified whenever we have new videos!

Links in this post may be affiliate posts. If you buy an item through an affiliate link, I get a small fee, which helps support this blog!

Categories
YouTube

Treet and Eggs

What is something that seemed like the absolute height of luxury when you were younger?

For me, it was owning a house with stairs.

My grandparents on my dad’s side had a big house with citrus trees and a pool, and potpurri in the guest bedrooms, but most importantly, they had stairs.

These stairs were carpeted, which was important because they provided a soft landing for our little bums as we slid- kathunk, kathunk, kathunk all the way down the stairs.

Over and over and over again.

And now, I’m all grown up, and I have a house with carpeted stairs! But the biggest downside of being all grown up is that I’m a heck of a lot heavier than I was when I was five, and my poor tailbone just can’t take the abuse anymore!

Treet and eggs is a Christmas morning tradition that came from my dad’s side of the family. Every year, after stockings but before presents, we’d have treet and eggs (sometimes spam and eggs or bacon and eggs, if we couldn’t find treet) and Cinnabon cinnamon rolls that we picked up on Christmas Eve.

These days we don’t always have the cinnamon rolls (although there’s usually something sweet – like these sticky toffee pancakes!), but the treet and eggs are a yearly must!

Treet and Eggs

A Day family original

Ingredients
  • 1 can treet or spam, diced
  • 5 eggs
  • a dash of heavy cream or milk
  • freshly ground black pepper
Cooking Directions
  1. Heat the pan over medium heat. Pan-fry the treet until browned on all sides.
  2. Whisk the eggs with a dash of cream until smooth. Scramble eggs into the treet until they are done to your liking. Season with pepper, and serve.

Sub to my YouTube channel and follow me on TikTok or Instagram to get notified whenever we have new videos!

Links in this post may be affiliate posts. If you buy an item through an affiliate link, I get a small fee, which helps support this blog!

Categories
YouTube

Lemon Dill Salmon

As unrealistic as it may be, I never really gave up on my dream of dancing professionally. It’s just… evolved over the years.

As a teen, I wanted to dance in a major ballet company. ABT, LINES Ballet, here I come!

By college, I had realized that I would never be that good (and was pretty much already too old to get into a company like that)… plus being in a pretty serious car accident kind of put my dancing dreams on hold for a while.

Since then, it’s been a battle – between my inner demons, who tell me I’m too old and out of shape and injury prone and never was any good anyways so why bother, and my ridiculously persistent dreams of SOMEHOW being a dancer and performing again.

But I’m not ready to give up on this dream. I’ve started doing barre everyday. Putting my pointe shoes on. Investing some serious hours into Just Dance.

Who knows where this will go… but I’m still not giving up on being a dancer – not yet.

Reasonably easy, tasty, more or less healthy? You know me, I’m into it.

I love salmon with cream sauces, especially if lemon or dill are involved, so this hits all the right notes. We ate this over rice, but I imagine it would be great with pasta as well!

Lemon Dill Salmon

from The View From Great Island

Ingredients
  • 4 center cut filets of salmon about 1/3 lb each
  • olive oil
  • salt and fresh cracked black pepper
  • 1 large shallot, thinly sliced
  • 1/4 cup white wine
  • juice of 1 lemon
  • 1 cup heavy cream
  • 1/4 cup chopped fresh dill
  • 3 tbsp capers
Cooking Directions
  1. Preheat oven to 400F.
  2. Lightly coat the bottom of a large skillet with olive oil and heat on medium high heat until hot but not smoking. Season the salmon on all sides with salt and pepper, and then sear it on both sides. Remove the salmon to a baking sheet and bake for 12-15 minutes, or until just done through.
  3. Meanwhile make the sauce by adding the shallot to the browning pan and saute for a minute or two to soften. Add the wine and let the wine bubble away to reduce for a couple of minutes. Add the lemon juice and cream to the pan and bring up to a simmer. Add the fresh dill and the capers. Add salt and pepper to taste.
  4. When the salmon is done, add it to the pan, nestling it down into the sauce. Spoon some of the sauce over the fish, and garnish with lemon and more fresh dill. Serve right away on a bed of wilted spinach, with couscous or a rice pilaf on the side.

Sub to my YouTube channel and follow me on TikTok or Instagram to get notified whenever we have new videos!

Links in this post may be affiliate posts. If you buy an item through an affiliate link, I get a small fee, which helps support this blog!

Categories
TikTok

Do Chua (Vietnamese Daikon and Carrot Pickles)

The first time I went to Vietnam with Son, was a decade ago, and I was still terribly picky.

I hated cilantro, which was in EVERYTHING, and so I spent the majority of the trip trying to sneakily pick the cilantro out of my food.

I always have a finicky stomach, and the stress of traveling always makes it worse, so I was so incredibly grateful for his aunt and uncles’ housekeeper that trip.

When she noticed I ate a lot of watermelon, she’d make sure there was watermelon at every meal.

When she saw that there was a coconut pork dish that she made that I absolutely devoured, she would make it and place the dish right in front of me with a knowing smile, and even shared the recipe with me before we left.

The second time we went to Vietnam six years later I was past most of my picky tendencies and had learned to love cilantro, and pretty much stuffed my face the entire trip, but I’ll never forget the kindness of that woman who never judged me or shamed me, and just made sure I was fed.

Bánh mì and do chua are a must around here, and I make them often. You really can’t go wrong with any of Andrea Nguyen’s recipes!

A note, because it does frustrate me when people don’t use the right accents, that the fonts on this blog REFUSE to work for Vietnamese accents. So it’s better to have do chua than ?? chua… but just pretend I’m using the proper accents here. *grumble*

Do Chua (Daikon and Carrot Pickles)

from The Bánh Mì Handbook, by Andrea Nguyen

Ingredients
  • 1 medium daikon, about 1 lb
  • 1 large carrot, about 6 oz
  • 1 tsp fine sea salt
  • 2 tsp plus 1/2 cup sugar
  • 1 1/4 cups distilled white vinegar
  • 1 cup lukewarm water
Cooking Directions
  1. Peel and cut the daikon into sticks abour 3 inches long and 1/4 inch thick, the width of an average chopstick. Peel and cut the carrot to match the size of the daikon sticks but slightly skinnier. Put the vegetables in a bowl. Toss with the salt and 2 tsp of sugar. Massage and knead the vegetables for 3 minutes, or until you can bend a piece of daikon and the tips touch without breaking. They will have lost about a quarter of their original volume.
  2. Flush with running water, then drain in a mesh strainer or colander. Press or shake to expel excess water. Transfer to a 4-cup jar.
  3. For the brine, stir together the remainin 1/2 cup sugar with the vinegar and water until dissolved. Pour into the jar to cover well. Discard any excess brine. Use after 1 hour or refrigerate for up to a month.

Sub to my YouTube channel and follow me on TikTok or Instagram to get notified whenever we have new videos!

Links in this post may be affiliate posts. If you buy an item through an affiliate link, I get a small fee, which helps support this blog!

Categories
YouTube

Chilaquiles

Someone asked recently if I played any sports when I was growing up.

And at first, my initial reaction was no – ballet and dance were pretty much my entire life.

But then I realized, I actually did, although I never played any team sports or played anything competitively.

My mom and all her siblings were competitive swimmers, so as soon as we were old enough to get in the water, we all took swimming lessons every summer. By the time I hit high school, I was a pretty good swimmer.

My dad, on the other hand, played tennis a lot, so we also took tennis lessons for a while at our local park.

I also did a bit of ice skating, although I was never good enough to actually compete or perform.

I always wished I could do it all, but trying to stay uninjured for ballet was always my top priority.

When you randomly happen to have a lot of extra chips and salsa that needs to be eaten up…

Well, if you’re a normal person, you just eat a lot of chips and salsa.

BUT if you’re a content creator (aka weirdo like me) then you make chilaquiles!!

Sometimes it pays off to be a weirdo like me, and this is definitely one of those times.

You can’t go wrong with cheesy chips – these are like nachos, but way more flavorful!

Chilaquiles

slightly adapted from Epicurious

Ingredients
  • 1/2 lb thick-cut bacon, cut into small pieces
  • 6 garlic cloves, crushed, peeled
  • 1 serrano chile or jalapeno, thinly sliced
  • 1 (14.5-oz) can pinto beans, drained, rinsed
  • 2 cups salsa, plus more for serving
  • 8 cups thick tortilla chips, plus more
  • kosher salt
  • 4 oz Monterey Jack or pepper Jack, shredded (about 1 cup)
  • 1/2 oz Cotija or Parmesan, finely grated (about 1/4 cup)
  • 8 large eggs
  • 1/4 cup cilantro leaves with tender stems
  • hot sauce and lime wedges (for serving)
Cooking Directions
  1. Preheat oven to 425°F. Cook bacon in a large (12″) cast-iron or other ovenproof skillet over medium heat, stirring occasionally, until fat is rendered and bacon is beginning to crisp, 5–7 minutes. Add garlic and chile and continue to cook, stirring, until bacon is crisp and garlic is golden brown, 2–3 minutes more. Add beans, stir to combine, then stir in 2 cups salsa verde. Taste by dipping a tortilla chip into mixture; season with salt if needed.
  2. Transfer bean mixture to a large bowl (trying to add the chips to the skillet will make a mess, trust us). Gently stir in 8 cups chips with a rubber spatula until thoroughly coated without breaking chips. Return to hot skillet or a 9×13″ baking dish. Stick a handful of fresh chips vertically into mixture here and there—they will get extra crunchy as the chilaquiles bake. Sprinkle Monterey Jack and Cotija over. Bake until cheese is bubbly, 10–15 minutes.
  3. Top chilaquiles with fried eggs and cilantro. Serve with hot sauce, lime wedges, and more salsa verde alongside.

Sub to my YouTube channel and follow me on TikTok or Instagram to get notified whenever we have new videos!

Links in this post may be affiliate posts. If you buy an item through an affiliate link, I get a small fee, which helps support this blog!

Categories
YouTube

Cranberry Bliss Danishes

On Christmas morning, when I was six years old, there was my very first bike, white and pink with training wheels and all, sitting in front of the Christmas tree!

My little sister, who was three at the time, also got her first bike.

And let me tell you, I was SO excited to finally get to ride a bike!!! But at the same time, on the inside, I was so mad at the UNFAIRNESS of it all.

Like, yes, even at that age I totally understood that from my parents’ point of view, you can’t just get one kid a bike and not the other or you’re just asking for sibling drama. And yes, we had tons of fun riding up and down the sidewalk in front of our house together.

But here I had to wait all the way until I was six, and she just gets a bike when she’s three?!?!

Yes, I’m a libra, why do you ask?

If you have leftover cranberry sauce (or in my case, a bag of cranberries that never got used), this is a great way to use it up!

These are sweet and tart and creamy, and a great holiday breakfast or dessert. Plus they’re super easy to make, especially if you already have leftover cranberry sauce on hand!

Cranberry Bliss Danishes

barely adapted from B Sweet

Ingredients

Cranberry sauce

  • 6 oz fresh cranberries
  • 1/2 cup orange juice; fresh squeezed preferred
  • 1/4 cup pack brown sugar
  • 2 tbsp clover honey
  • 1/4 tsp cinnamon
  • a pinch of salt

Cream cheese danish

  • 1 sheet store bought puff pastry; defrosted
  • 8 oz cream cheese
  • 1/4 cup clover honey
  • 1 tsp orange zest
  • 1/2 tsp vanilla bean paste
  • pinch of salt
  • egg wash (1 whole egg plus 1 tbsp of water)
  • melted white chocolate, optional, for drizzling
Cooking Directions
  1. In a small saucepan, mix together all the cranberry sauce ingredients. Bring to a boil over medium heat and cook until the cranberries burst and the sauce has slightly thickened (about 5 minutes). The sauce will continue to thicken as it cools.
  2. Remove from the heat and let cool. Then add to a bowl and store covered in the refrigerator until you are ready to use it.
  3. Preheat the oven to 400F and line two cookie sheets with parchment paper.
  4. In a medium bowl, mix together softened cream cheese, honey, orange zest, vanilla bean paste, and salt until fully combined and set aside.
  5. Using a sharp knife or rotary cutter, cut the sheet of puff pastry into 8-12 pieces.
  6. Place the puff pastry squares on the cookie sheets. Gently tuck the corners in. Place a tablespoon of cream cheese into the middle of the pastry, then make an indention for the sauce. Spoon a teaspoon of the cranberry sauce into the indention.
  7. Brush the pastry with egg wash. Than place in the oven and bake for 25-30 minutes until golden brown.
  8. Let cool, drizzle with melted white chocolate and sprinkle with orange zest.

Sub to my YouTube channel and follow me on TikTok or Instagram to get notified whenever we have new videos!

Links in this post may be affiliate posts. If you buy an item through an affiliate link, I get a small fee, which helps support this blog!

Categories
YouTube

Cheesy egg bake with sausage and squash

Throughout my childhood, we had very specific traditions for Christmas morning if we were celebrating Christmas at home.

If we were up before our parents – which, of course we were, it was Christmas after all – we were allowed to get into our stockings. Couldn’t touch any presents, but stockings were fair game.

There was always a tangerine in the toe, and plenty of See’s candy – I still look forward to the chocolate coins every year. Knick knacks, or little toys – there was definitely a period of a few years where every Christmas stocking contained a packet of Pokemon cards. And maybe a little gift card or something to round it all out.

Once the parents were awake, it was time for Christmas breakfast. Two things were a must: Cinnabon cinnamon rolls, which we’d pick up from the mall on Christmas Eve, and treet n’ eggs – scrambled eggs with cubes of treet mixed in – which is a canned meat, similar to spam.

Then it was time for presents – with all that wrapping paper saved to make origami paper of course, and then off we’d go to spend the rest of the day with relatives!

Things are of course looking very different this year, but I hope you are all having a happy, cozy, stress-free holiday season!

This is a really, really tasty breakfast bake. It’s hearty and flavorful from the sausage and squash, and all the veggies not only make it healthy, but also add a ton more flavor.

This would be a great dish for brunch or when you have guests, or it reheats wonderfully for your own breakfast all week long!

Cheesy Egg Bake with Sausage and Squash

slightly adapted from Bon Appetit

Ingredients
  • 1 lb winter squash, stemmed, seeded, cut into 1/2-inch-thick wedges or slices
  • 1 lb mushrooms, sliced
  • 4 tbsp extra-virgin olive oil, divided
  • kosher salt, freshly ground pepper
  • 1/2 lb sausage (such as breakfast, Italian, or chorizo), broken into walnut-sized pieces
  • 1/2 large red or yellow onion, sliced
  • 1 Fresno chile, stemmed, sliced into rings
  • 1 garlic clove, finely grated
  • 10 large eggs
  • 1 cup milk
  • 1 1/4 cups grated cheese (such as cheddar, Monterey Jack, or mozzarella), divided
  • chopped scallion greens, parsley, basil, and/or cilantro (for serving)
Cooking Directions
  1. Arrange a rack in center of oven; preheat to 475°F. Toss squash and mushrooms with 2 tbsp oil in a 3-qt baking dish; generously season with salt and pepper. Roast until softened, about 10 minutes.
  2. Toss sausage, onion, chile, and garlic with remaining 2 tbsp oil in a large bowl; season with salt and pepper. Scrape into dish with squash and mushrooms and toss to combine. Return to oven and roast until squash is tender and browned and other vegetables are softened, 10–15 minutes.
  3. Meanwhile, whisk eggs and milk in same bowl and stir in 1 cup cheese; season with salt and pepper.
  4. Reduce oven temperature to 350°F. Carefully pour egg mixture into baking dish (rather than pouring it over the top, pick a spot near edge of dish and pour custard there; this will make for a prettier surface when baked). Top with remaining 1/4 cup cheese. Bake until eggs are set but still slightly wobbly in the center and edges are puffed and brown, 10–15 minutes.
  5. Let egg bake cool 10 minutes. Serve topped with scallions and herbs.

Sub to my YouTube channel and follow me on TikTok or Instagram to get notified whenever we have new videos!

Links in this post may be affiliate posts. If you buy an item through an affiliate link, I get a small fee, which helps support this blog!