It takes a bit of practice to roll sushi perfectly, so don’t worry if you don’t get it right on the first try. (I sure didn’t!) Just keep trying, and keep in mind – even if they don’t look great, they are still edible! Mistakes taste just as good as perfectly rolled sushi. If you prefer to make inside-out maki rolls (uramaki sushi), see my How to Roll Inside-Out Maki [1] post.
Rolling the Maki
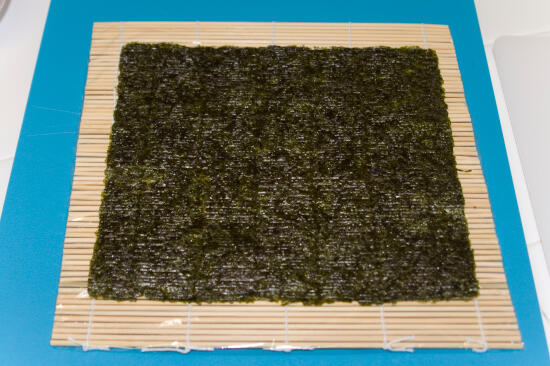
Lay a piece of nori [2] on the rolling mat [3], shiny side down.
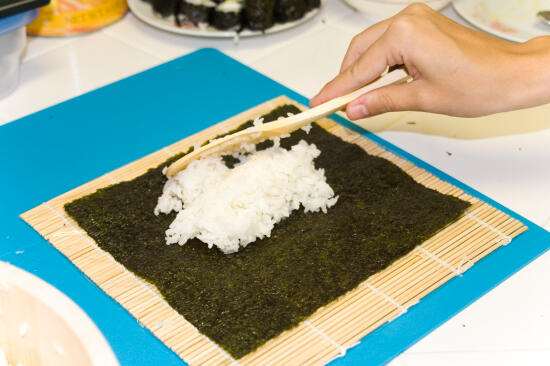
Place about 1/2 cup of sumeshi [4] on the nori.
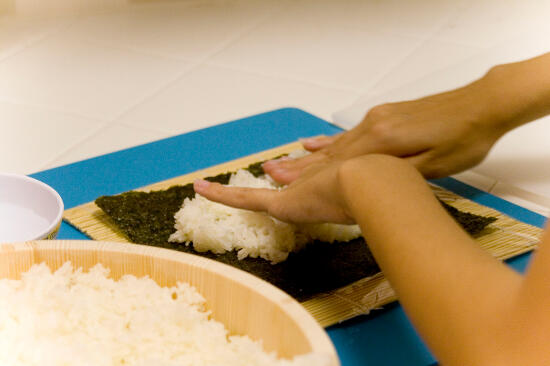
Wet your hands with water so the rice won’t stick to your hands. I find it’s useful to have a small bowl of water sitting next to my work area so I don’t have to keep running between the sink and my work area to keep my hands wet.

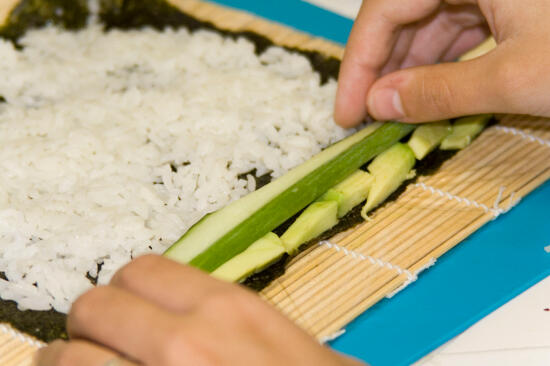
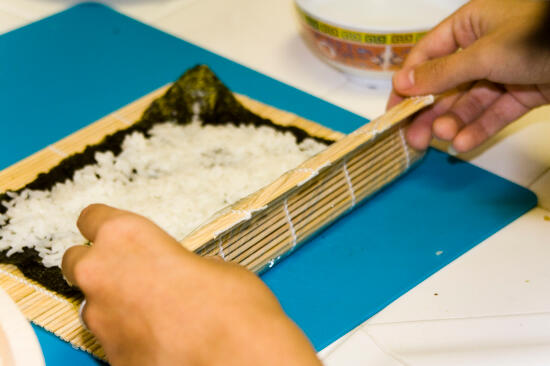
Spread the rice over the nori with your hands, leaving a 1/2-inch strip of nori uncovered at the bottom.
Place your desired fillings along this strip of uncovered nori on the edge closest to you.
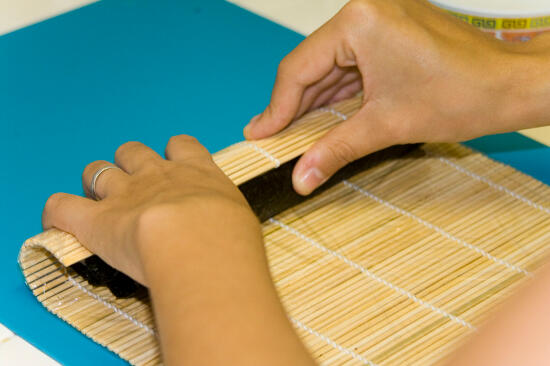
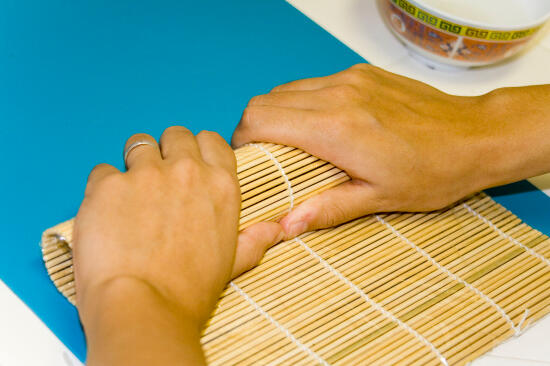
Using the rolling mat [3], begin to tightly roll the sushi. Start at the side nearest to you, and roll away from you. Make sure you don’t roll the rolling mat [3] into your sushi!
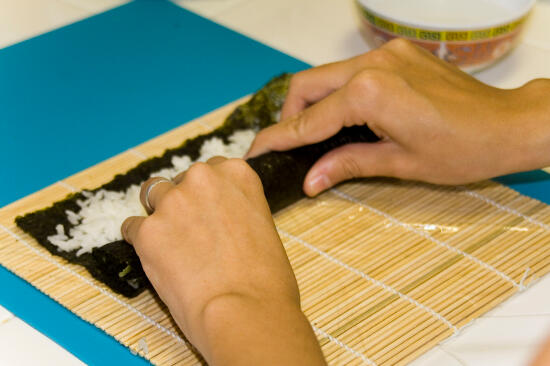
When the sushi is completely rolled, use the rolling mat [3] to squeeze the sushi so it does not unroll when you are trying to cut it.
Using a very sharp knife, cut the sushi into six or eight pieces, depending on how thick you like your sushi. It helps to have your knife freshly sharpened; otherwise it’s pretty easy to squish your sushi when you are cutting it. This can cause the sushi to fall apart when you are eating it, and become kind of a pain. Also, it helps to wet your knife before cutting the sushi, so the rice and fillings won’t stick to it.
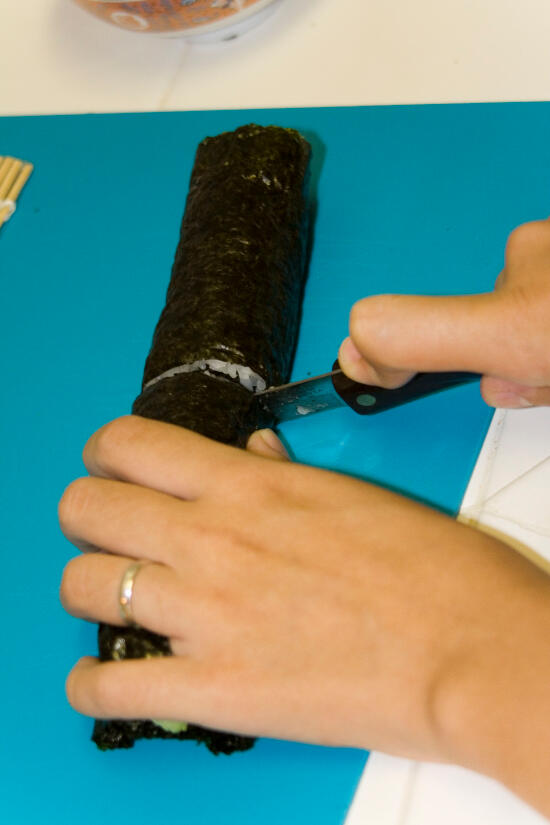
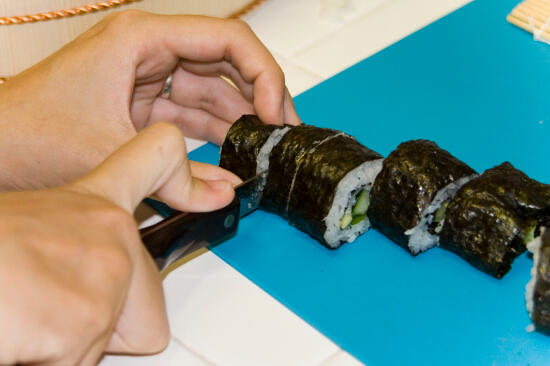
WARNING: Please be very careful using the knife! Do not allow children to use sharp knives, and keep fingers and other body parts away from the blade. I am not liable for any injury you might incur while using knives or other sharp objects.